
Wall Tent Build: The Deck, Part 1
When the cold weather hit this fall, we were not mentally prepared. We are used to Missouri's long, warm falls that some years seem to stretch into winter. After a few less-than-cozy nights in late September, we decided it was time to start thinking about our living situation this winter.
Our family tossed around a few ideas. Mainly, it came down to renting or upgrading to a winter camp. Renting feels like throwing money away, and it's difficult to find good places to live without a long lease. Since we have always dreamed of having a canvas wall tent, this seemed like the perfect season of life to actually give it a try.
Wall tents can go on the ground, but people frequently build them on a platform for longer-term uses. This gets you off the ground and away from creepy crawlies, water, and snow. We decided to build a floating deck for our wall tent just two feet away from our tiny bunk house site. Once the bunk house is completed, we will connect the deck to the house. Since we wanted a very-large porch for the very-small bunk house anyway, this seemed like a good idea.
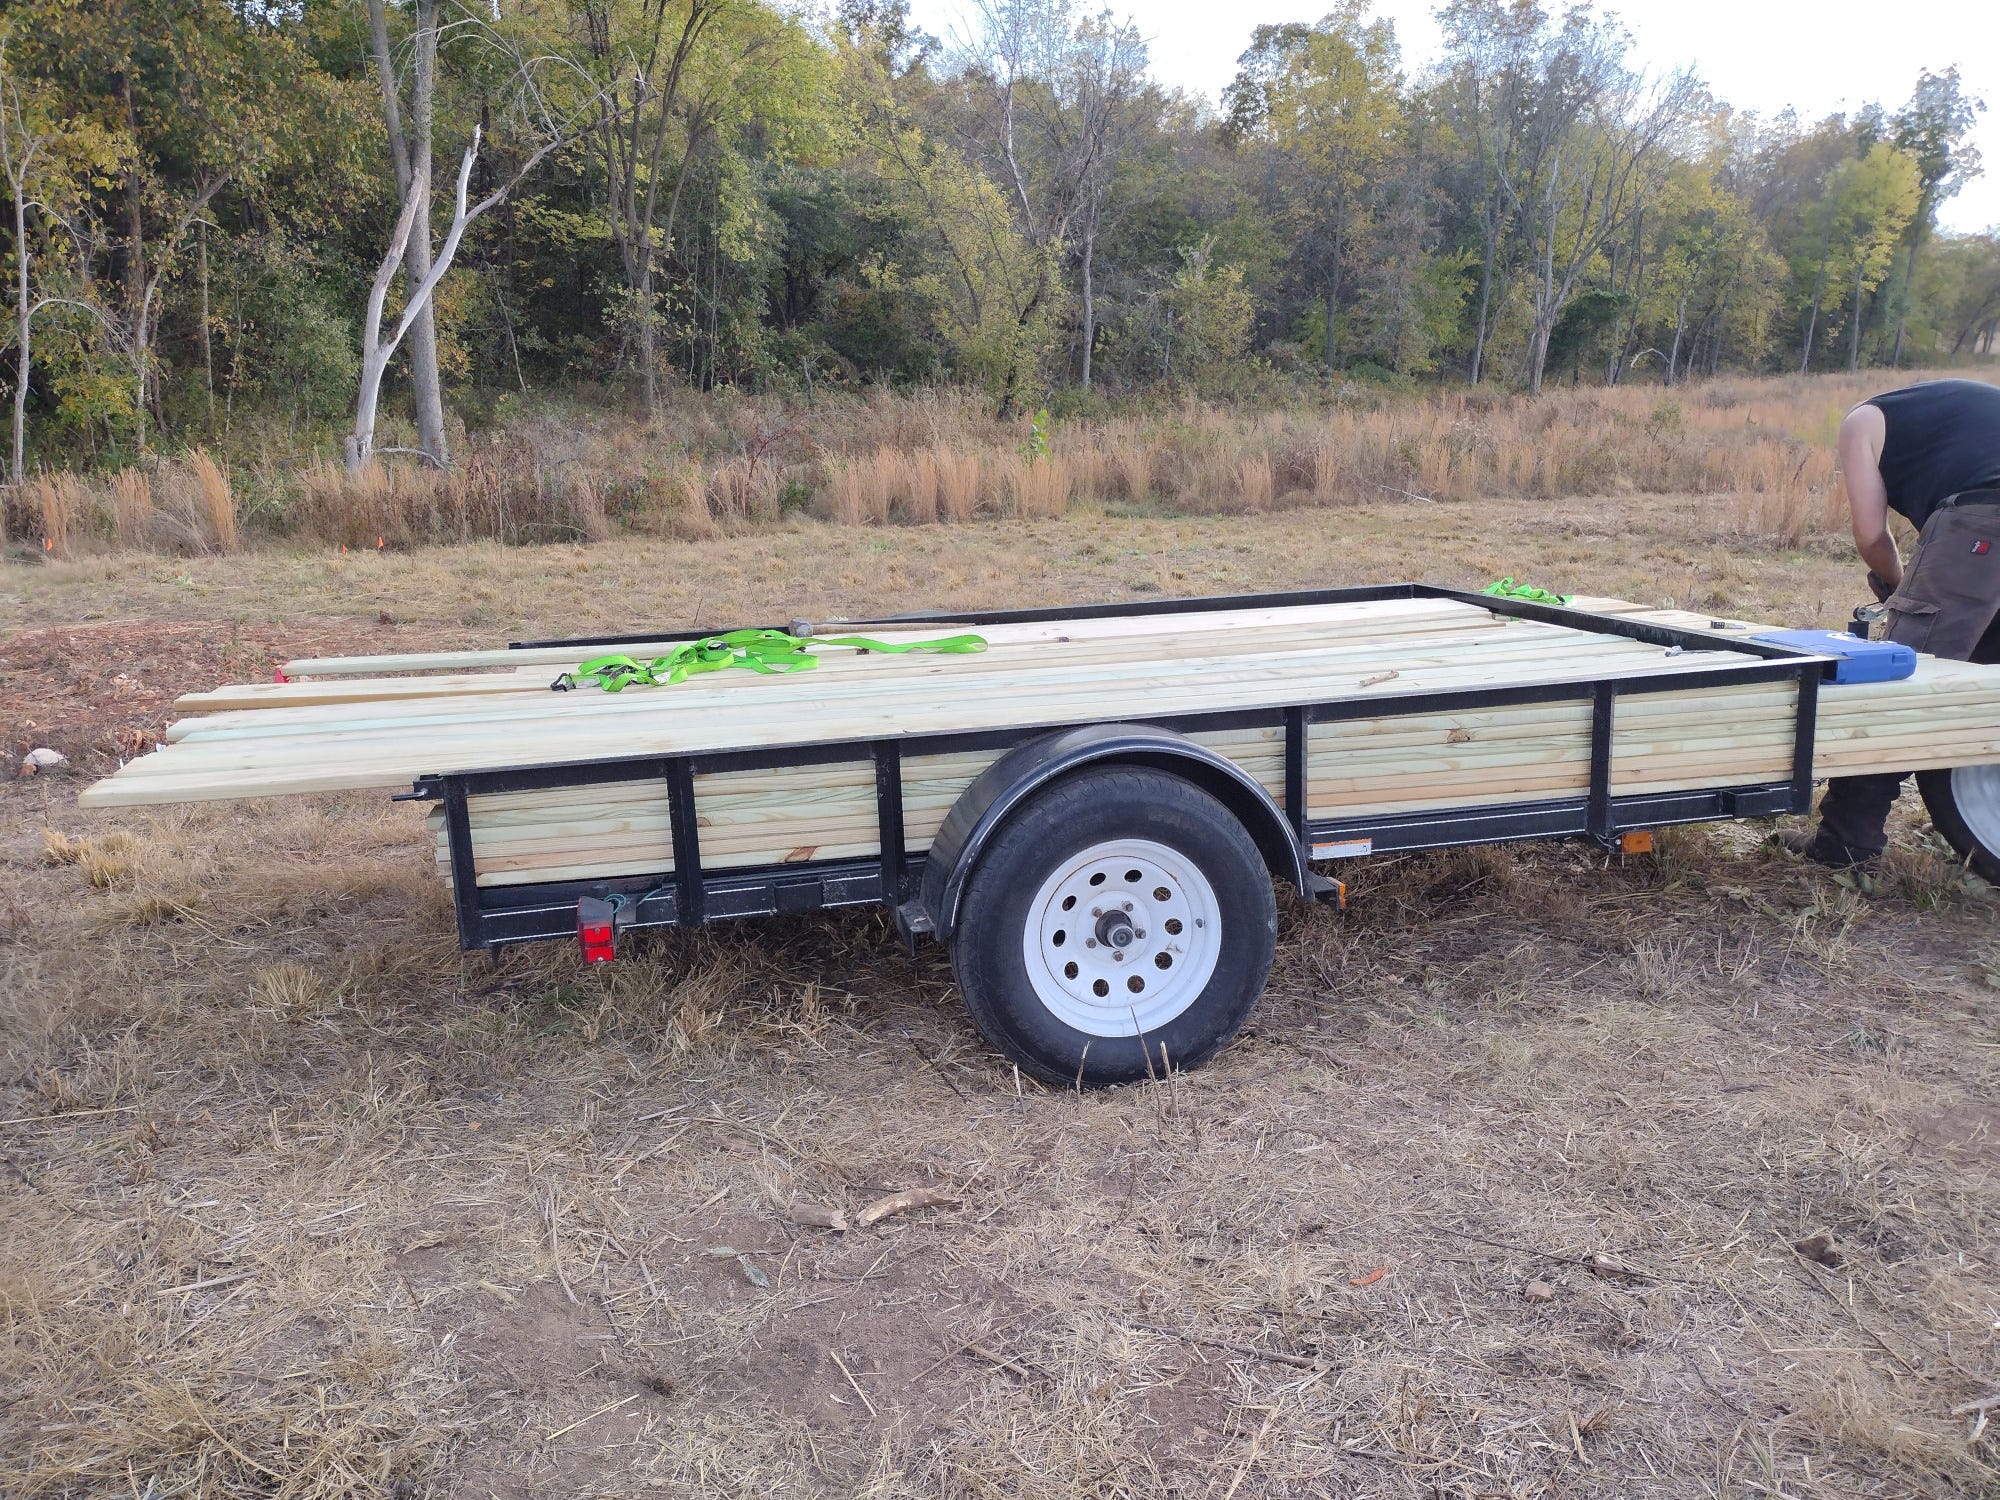
We decided to construct a 32'x16' deck, room for a 24'x16' tent and 8' extended fly for a porch. We picked up our boards from Menards an early Saturday morning. It ended up taking three loads for our little utility trailer to haul all the supplies.
Since we were in a hurry, we decided to build our deck using deck blocks instead of a pier foundation. We have used them in the past for smaller applications, and it seemed like a good idea.
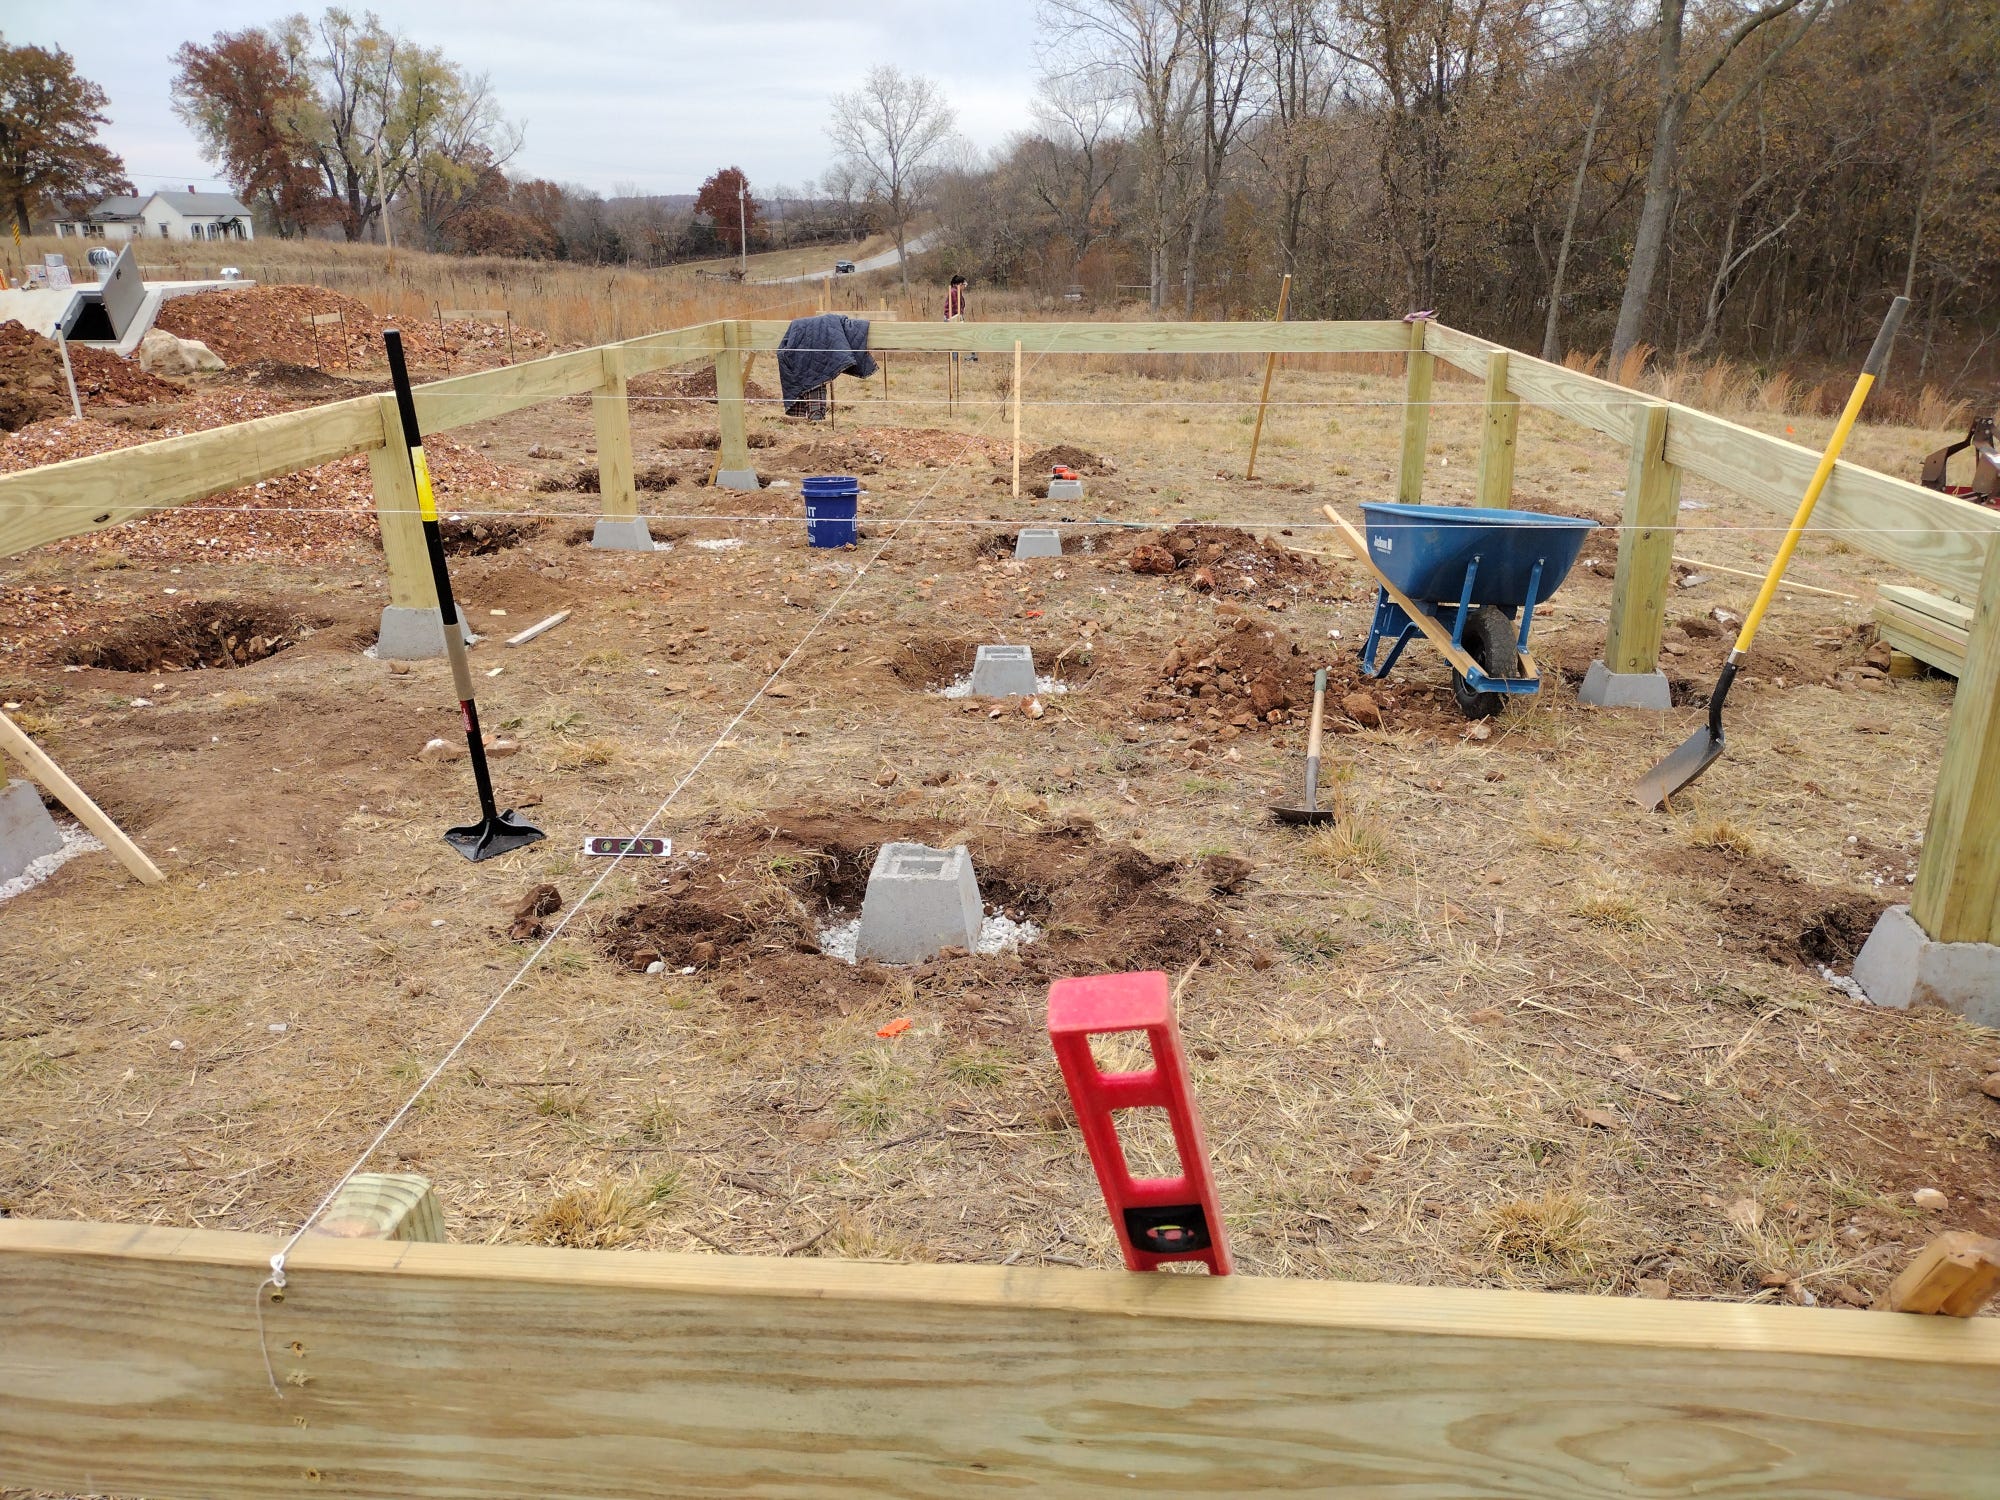
Our building site is sloped, so getting the deck blocks into place was surprisingly challenging. We put up a string line and did our best to figure out the spacing. Then we started building the frame of the deck with 2x8s, placing 6x6 posts as we went.
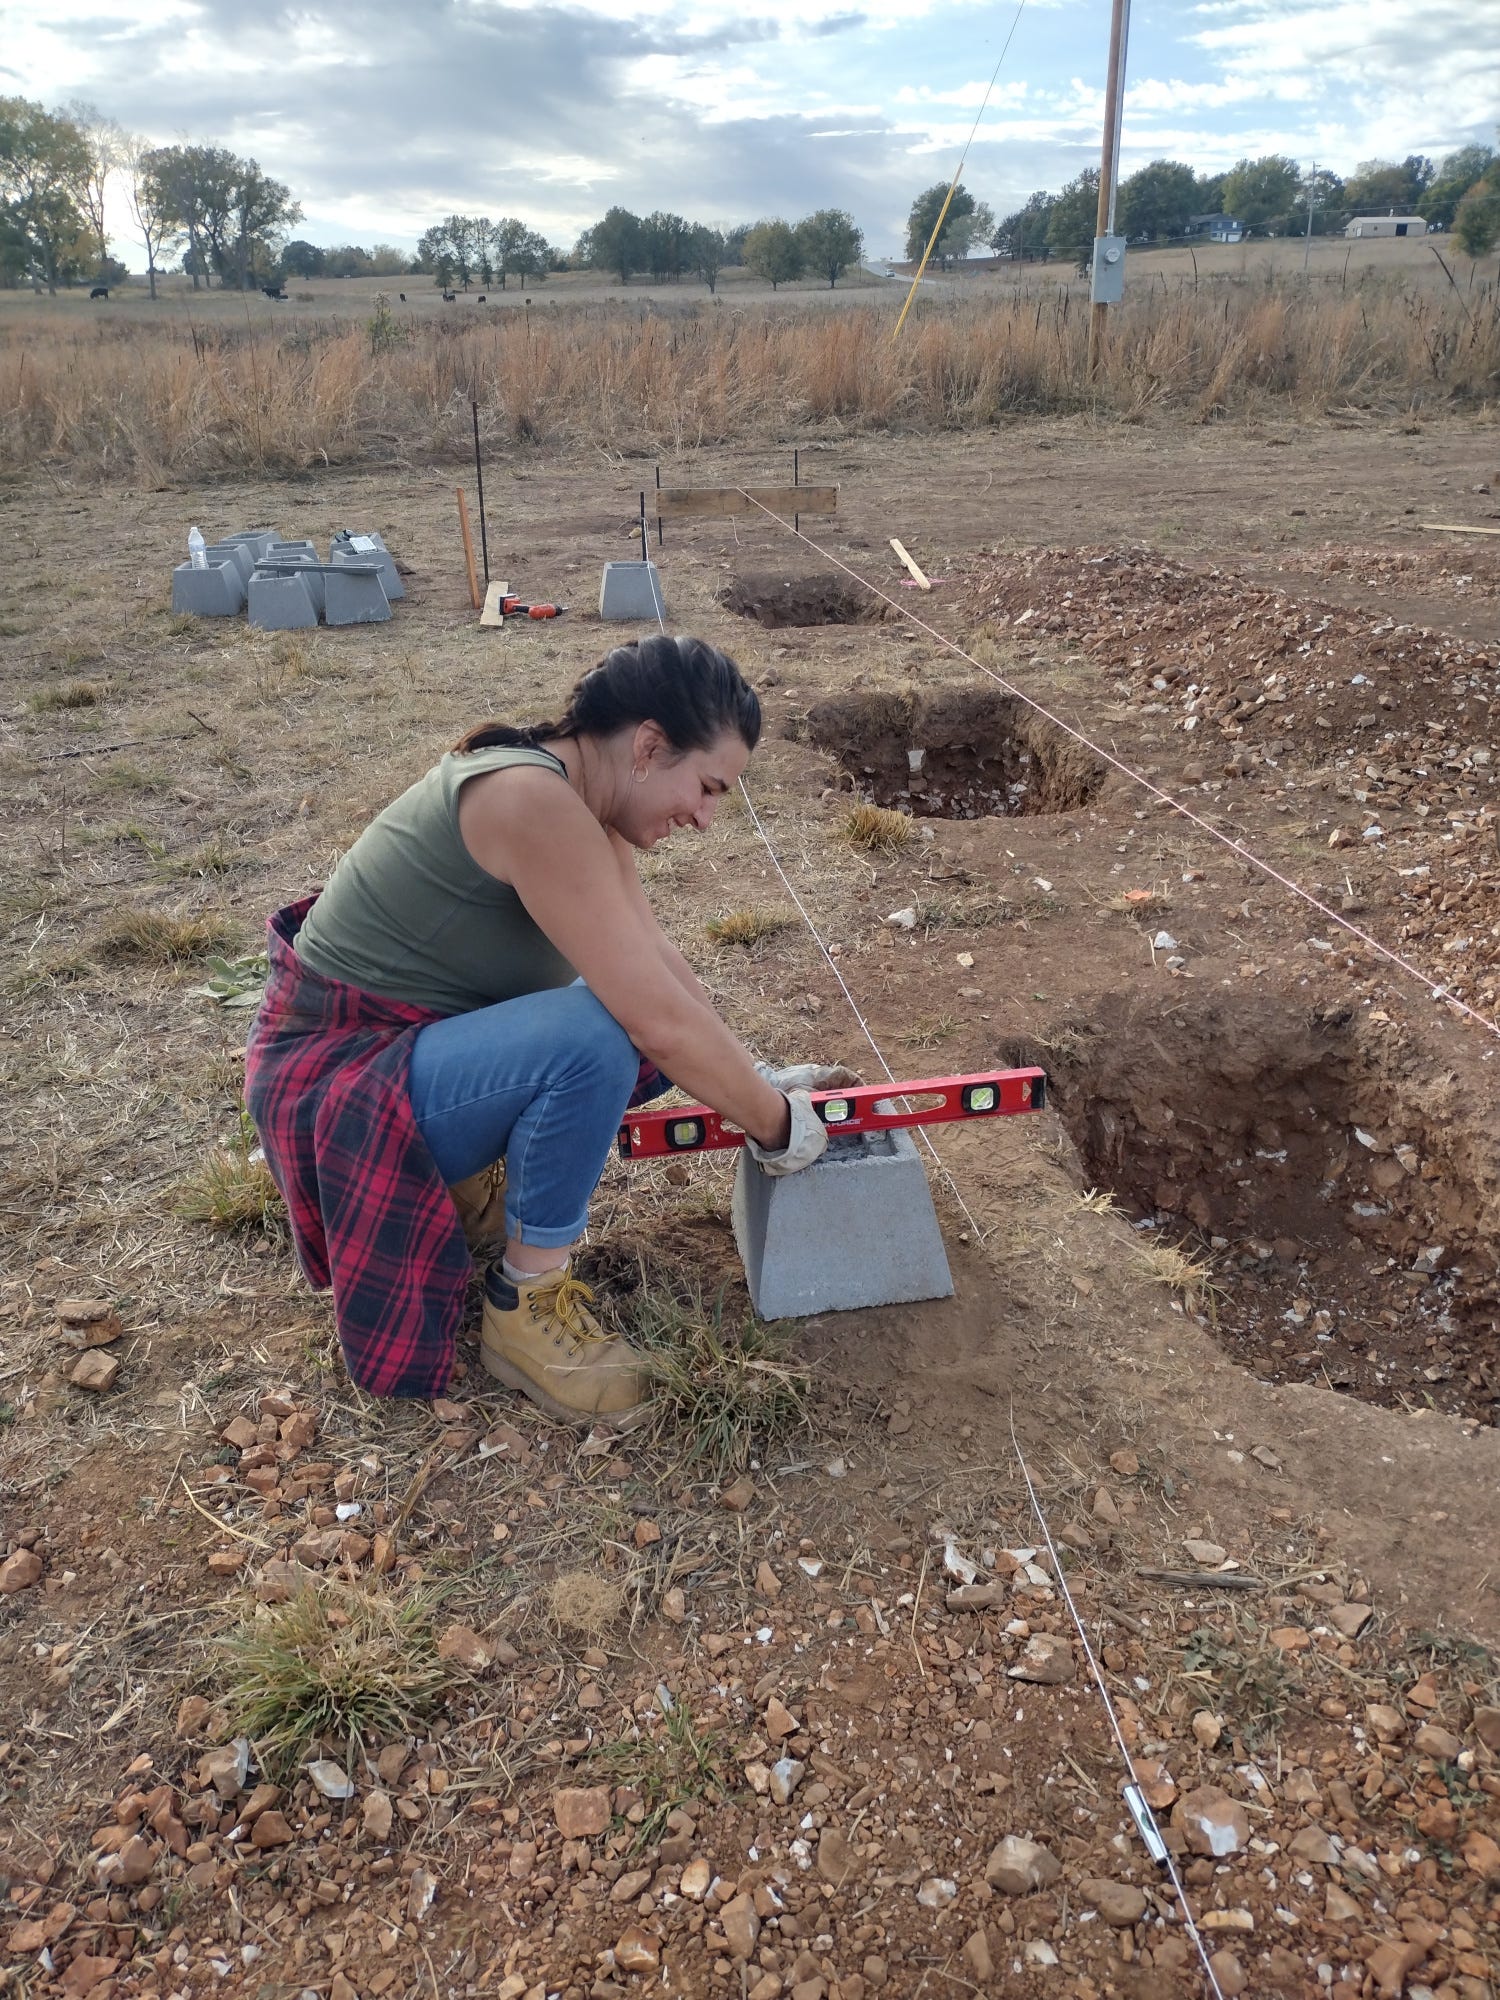
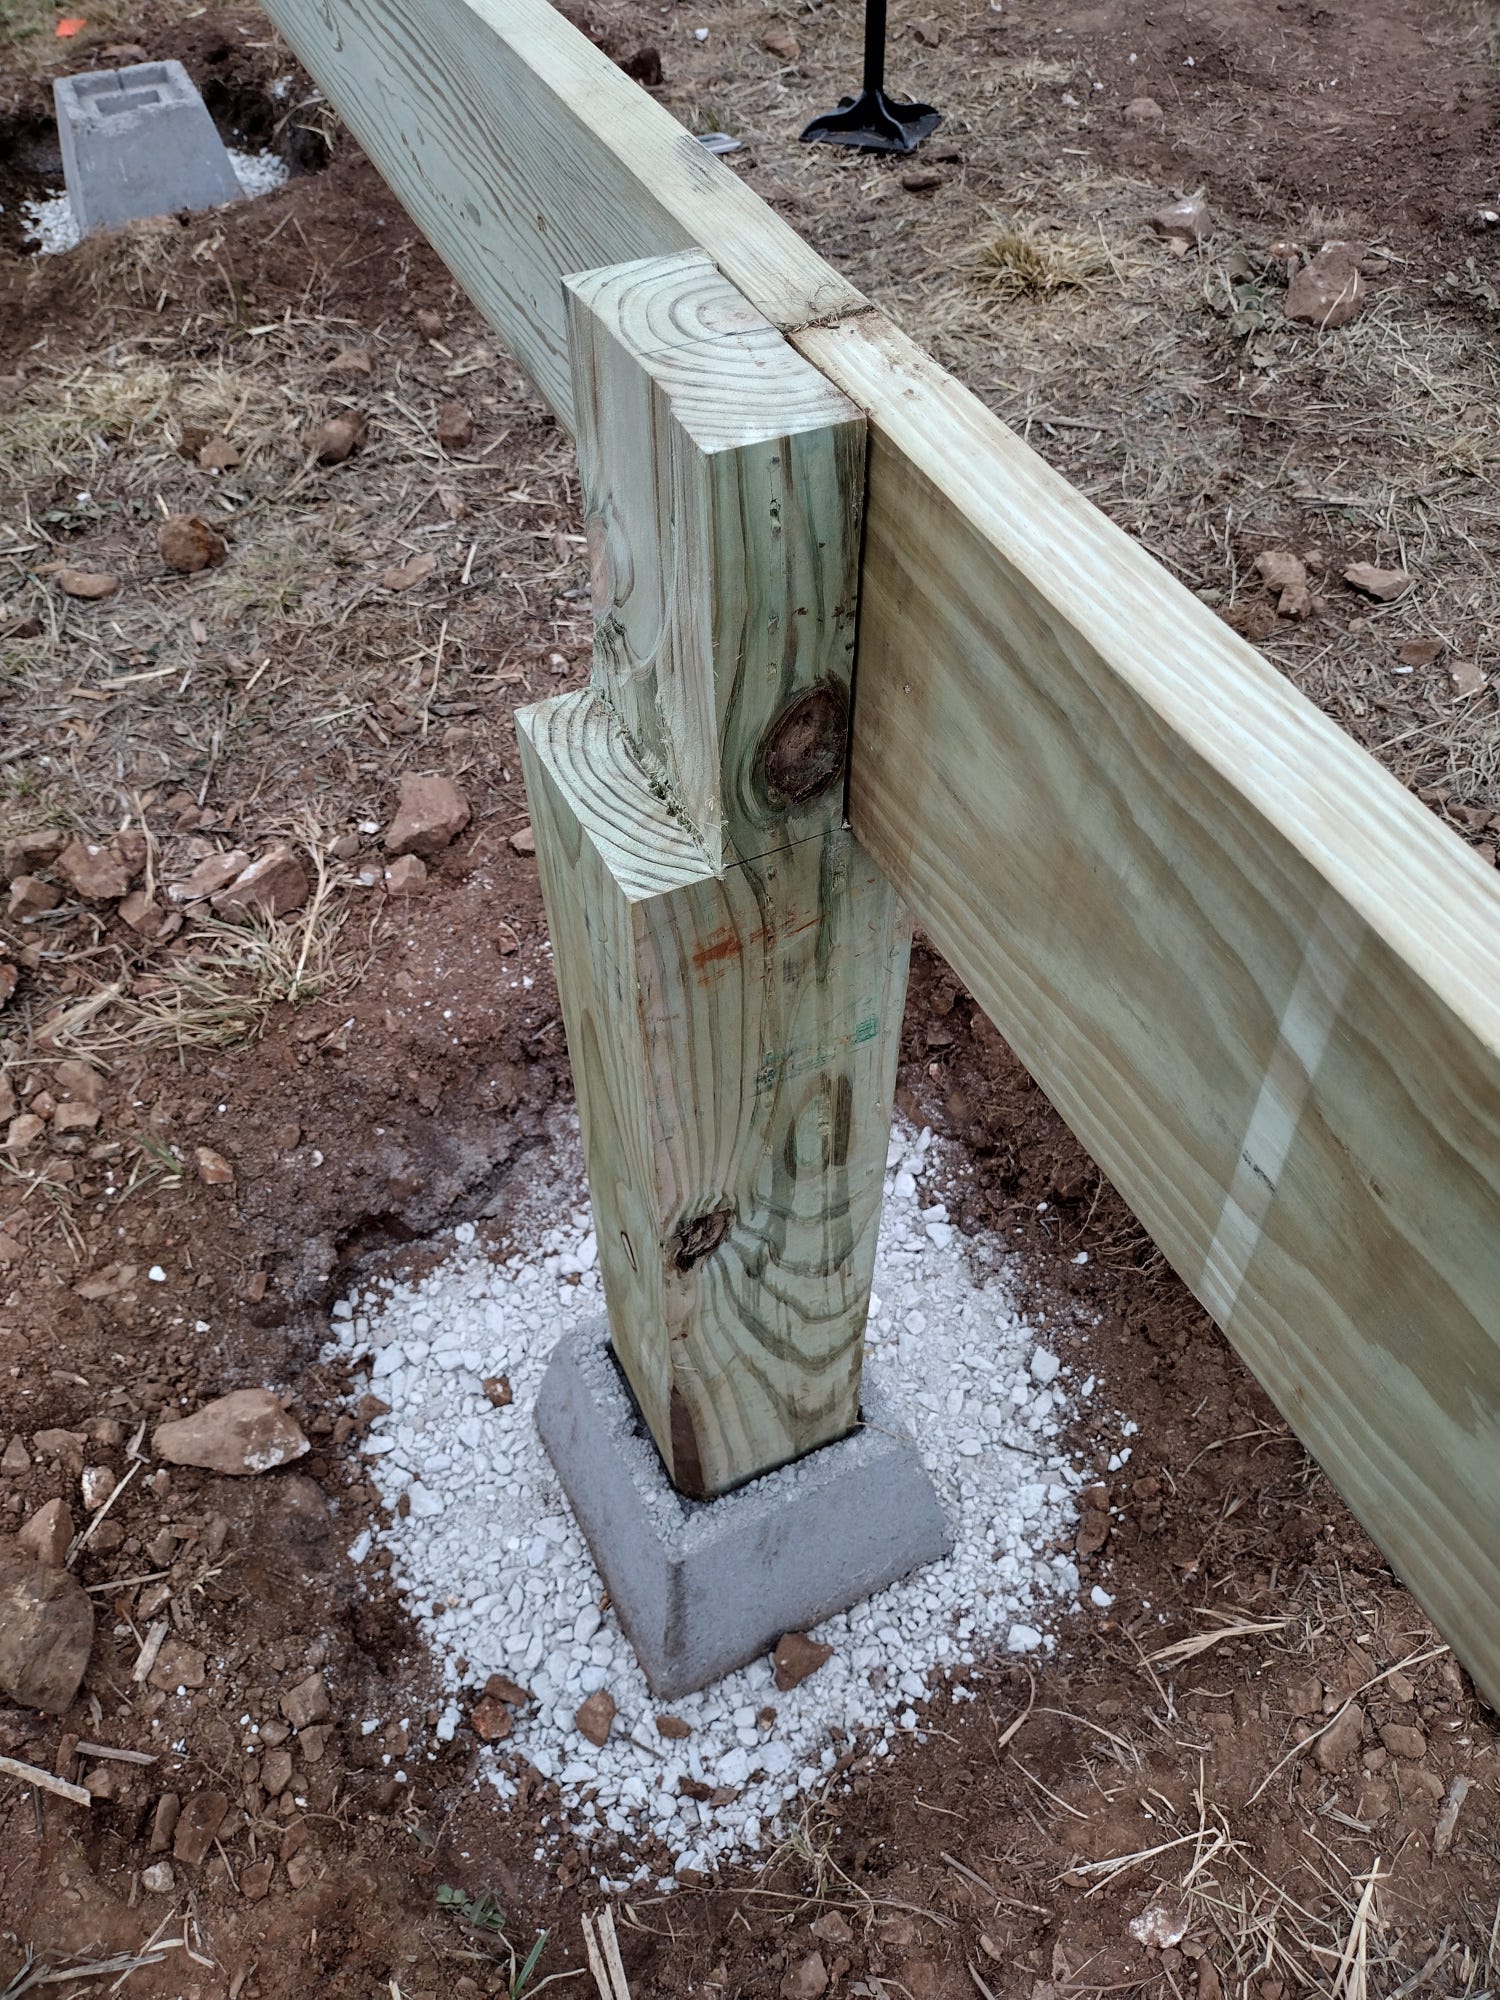
Our rocky soil was difficult to level, so repositioning the blocks even a little made them uneven. We decided to dig our blocks down into the soil a few inches and lay a bed of gravel under each one.
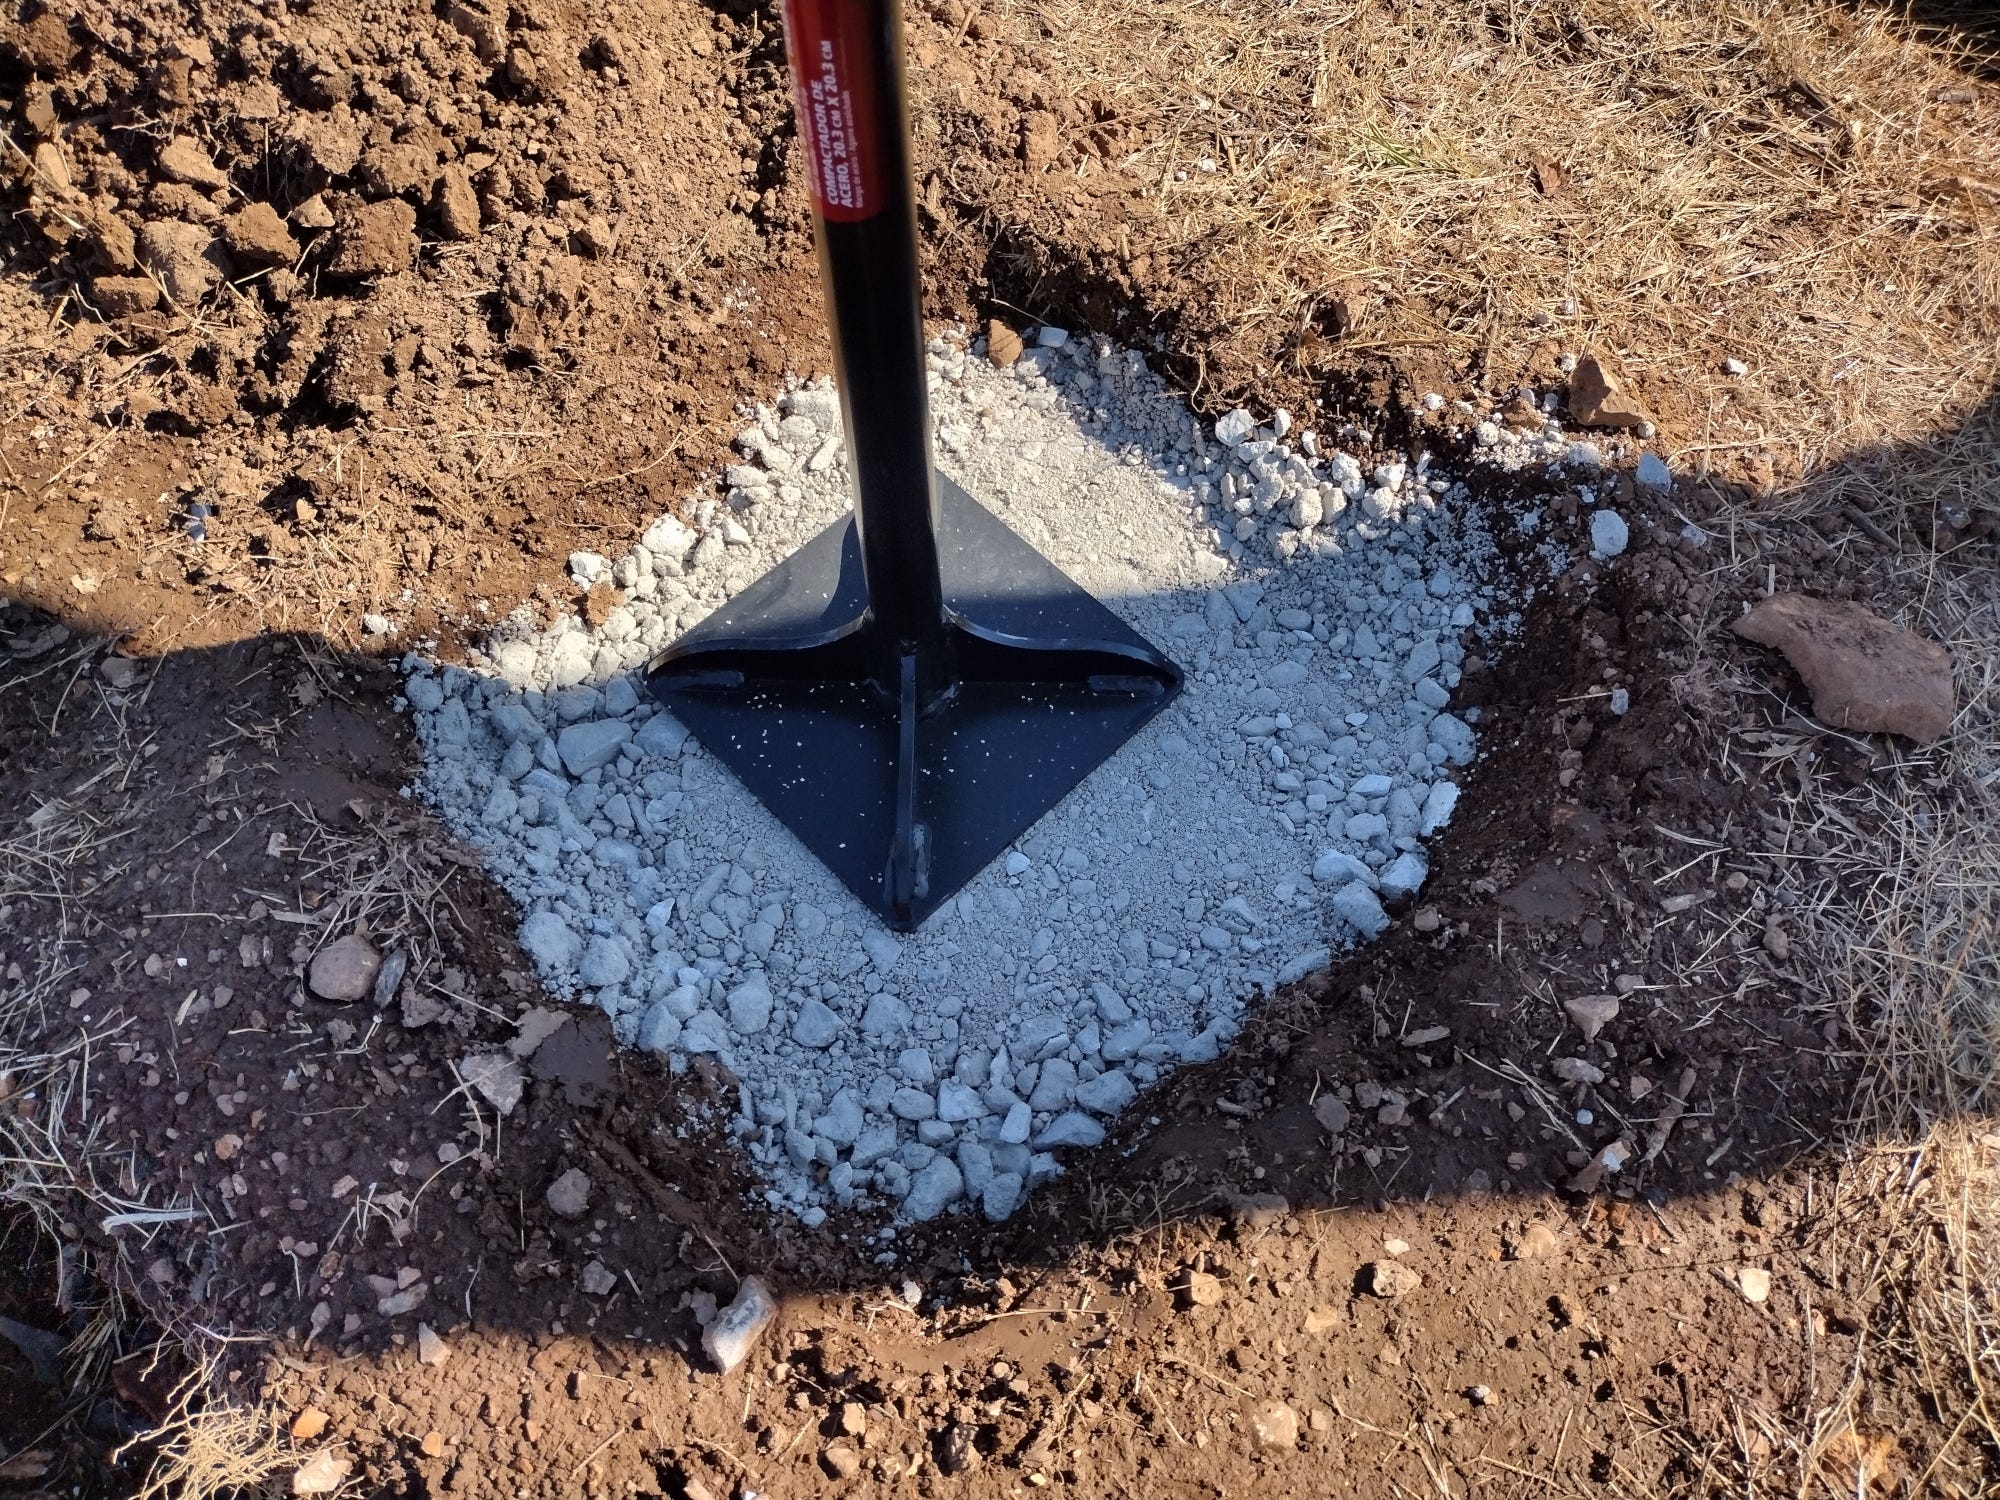
An even bed of gravel made the blocks easier to adjust when needed. This method made the process of placing the blocks and posts much easier. Our progress went more quickly after this change.
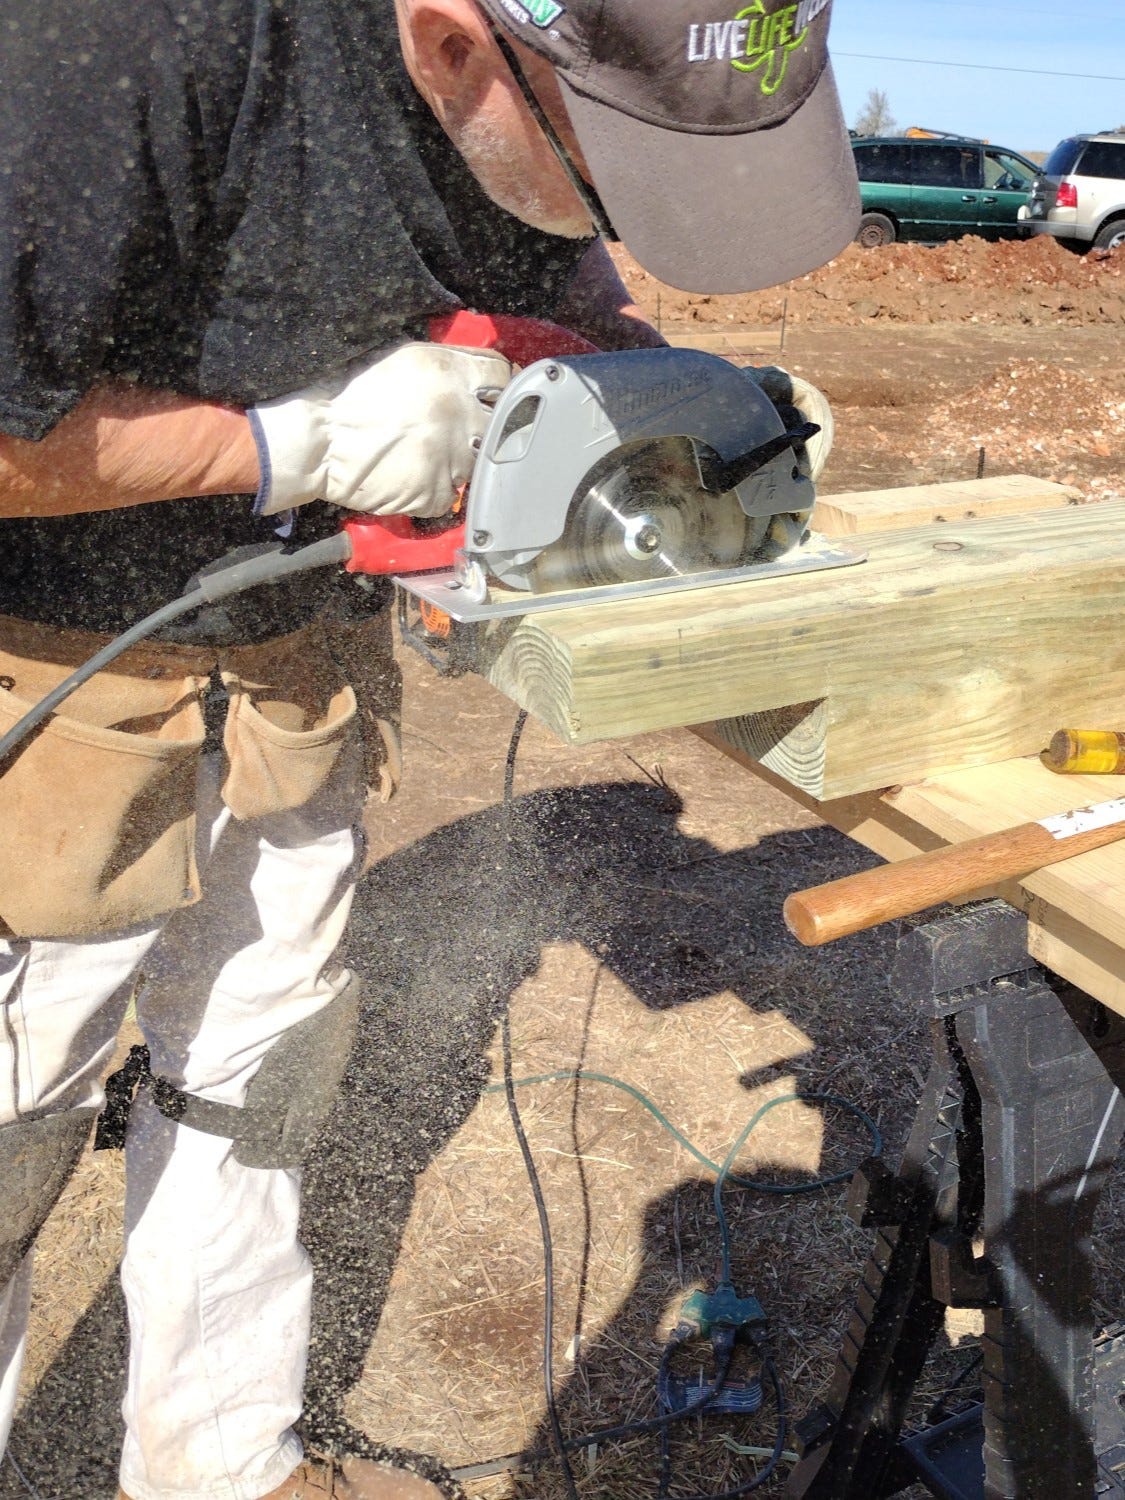
We opted to notch our posts, which was a small project of its own. Our dad and brothers tackled that particular project. They tried several methods -- hand saw, chainsaw, reciprocating saw, circular saw, and even miter saw. After a lot of struggle, our dad found a Perkins Brothers video on notching that helped a lot. It involved partially cutting the notch with a skill saw, then finishing with a chisel. It was a blessing he found that video, as we had a lot of tricky notching to do!
Once we worked out our bugs, getting the rest of the frame up went a bit more smoothly.
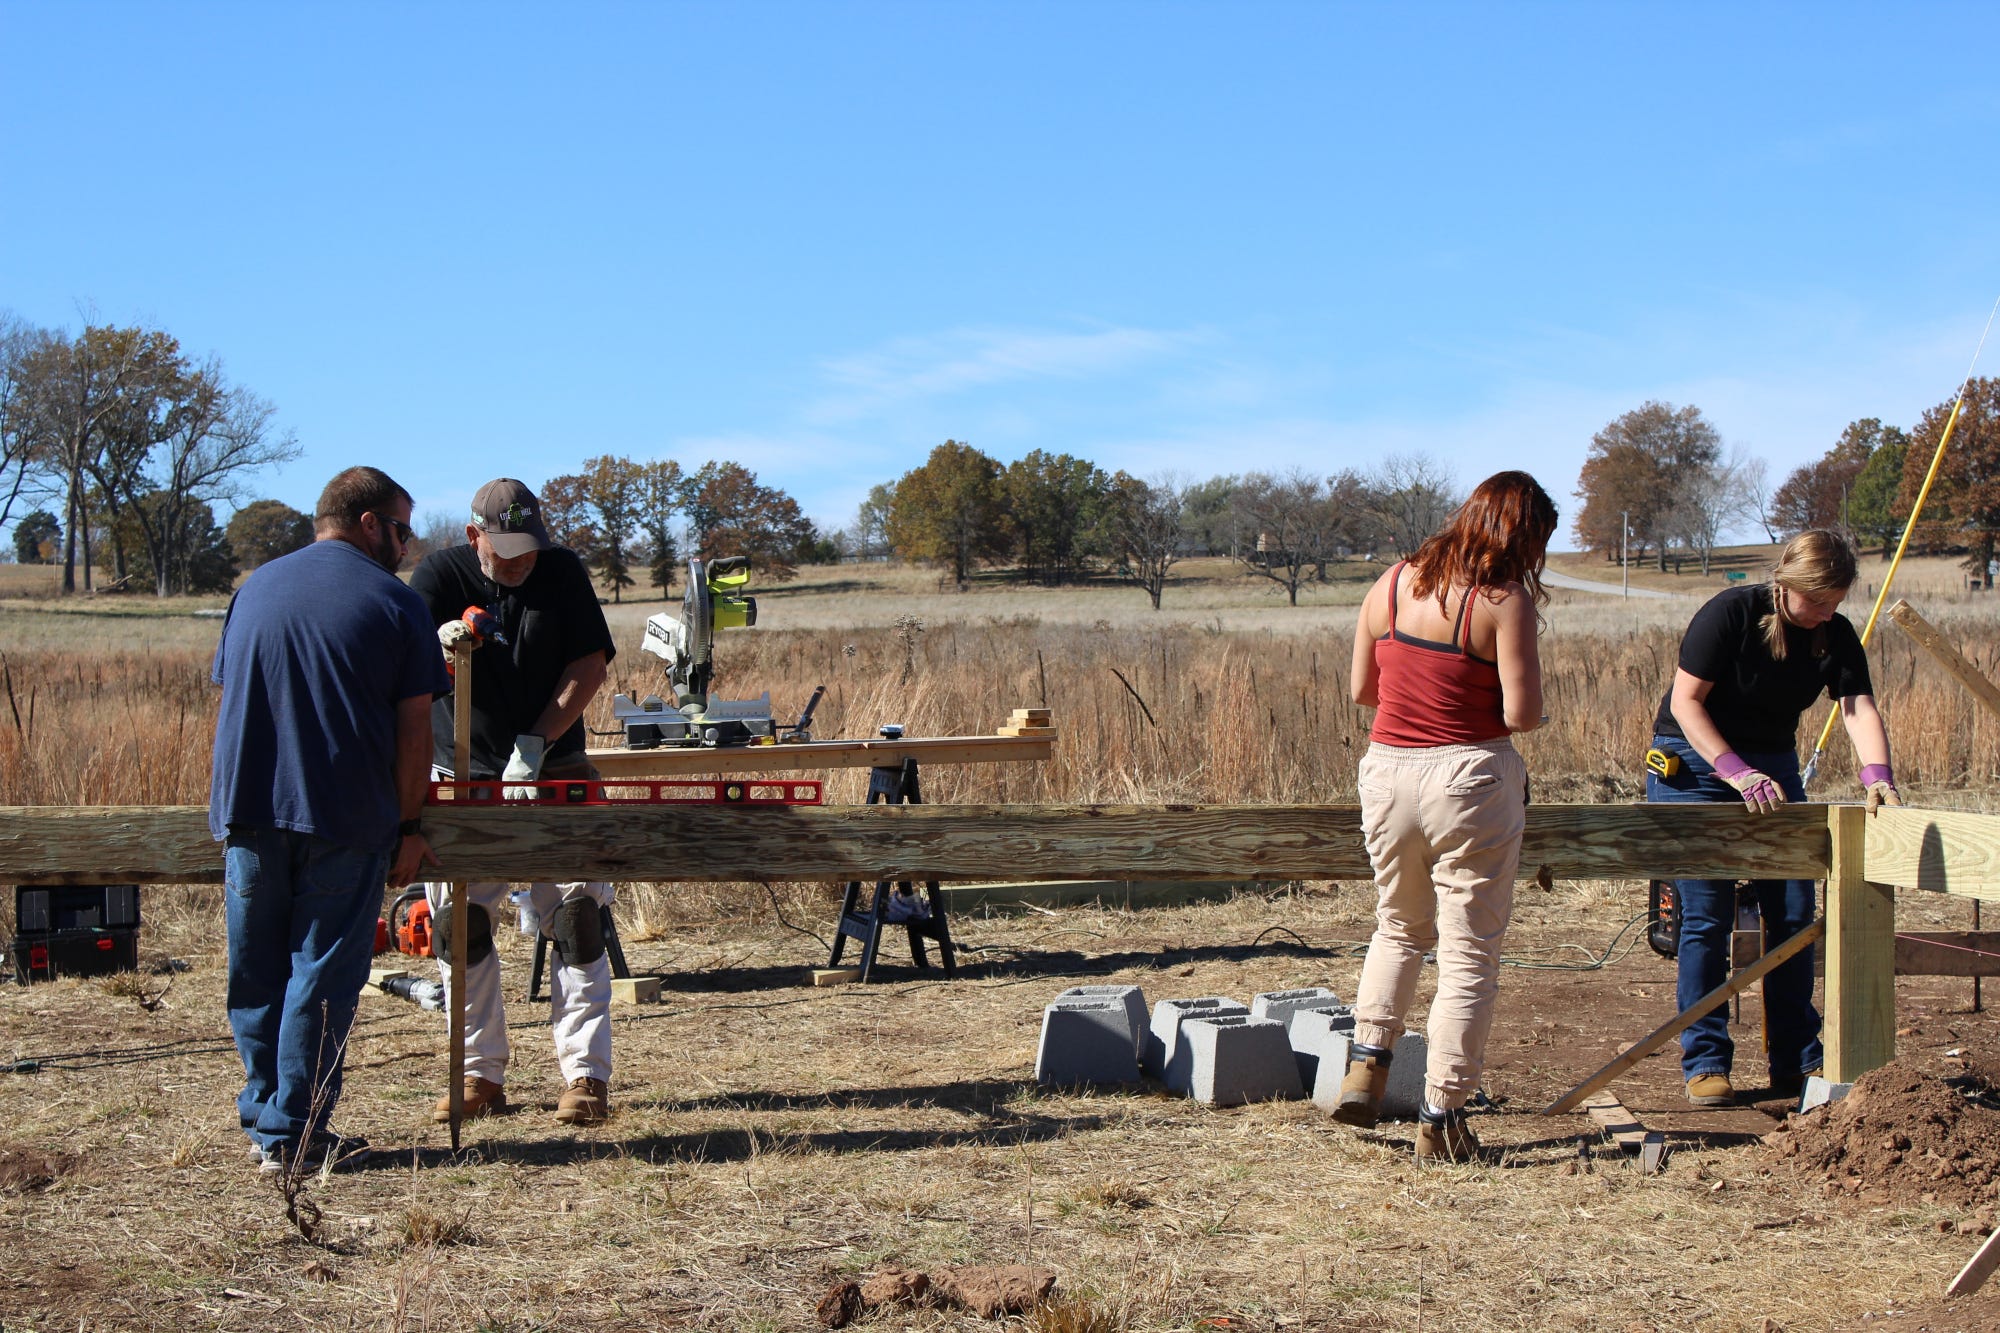
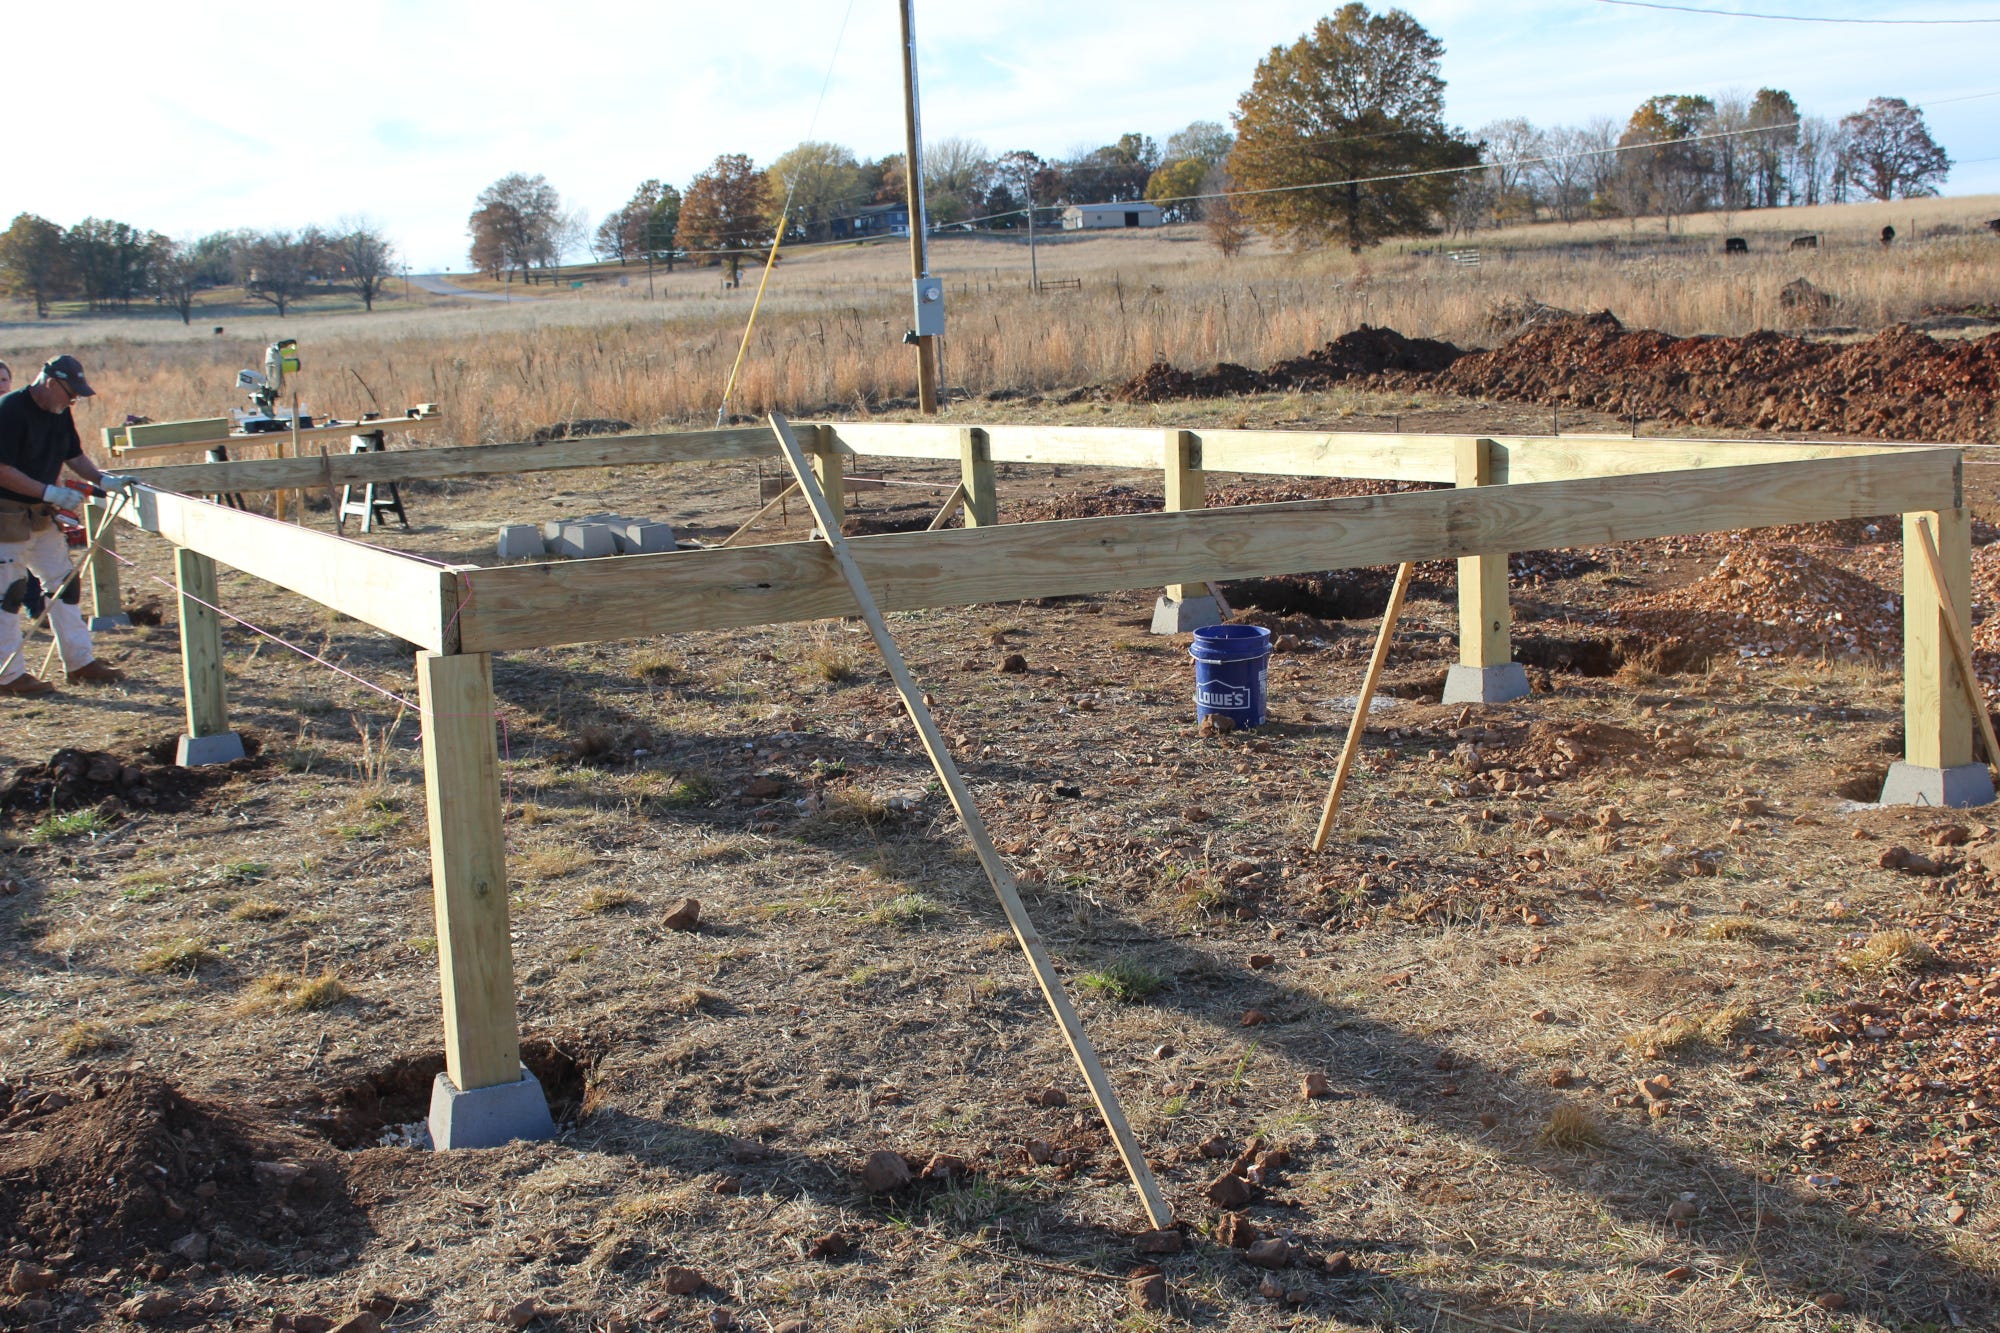
We worked our way around the deck perimeter slowly, as we were using green pressure treated lumber that was rather warped and bowed. Each new board and post threatened to pull those behind it out of plumb and out of square. We checked for square repeatedly using the 3-4-5 method. We were careful, and by the time we made our way all the way around, we felt fairly confident that we were in good shape (no pun intended).
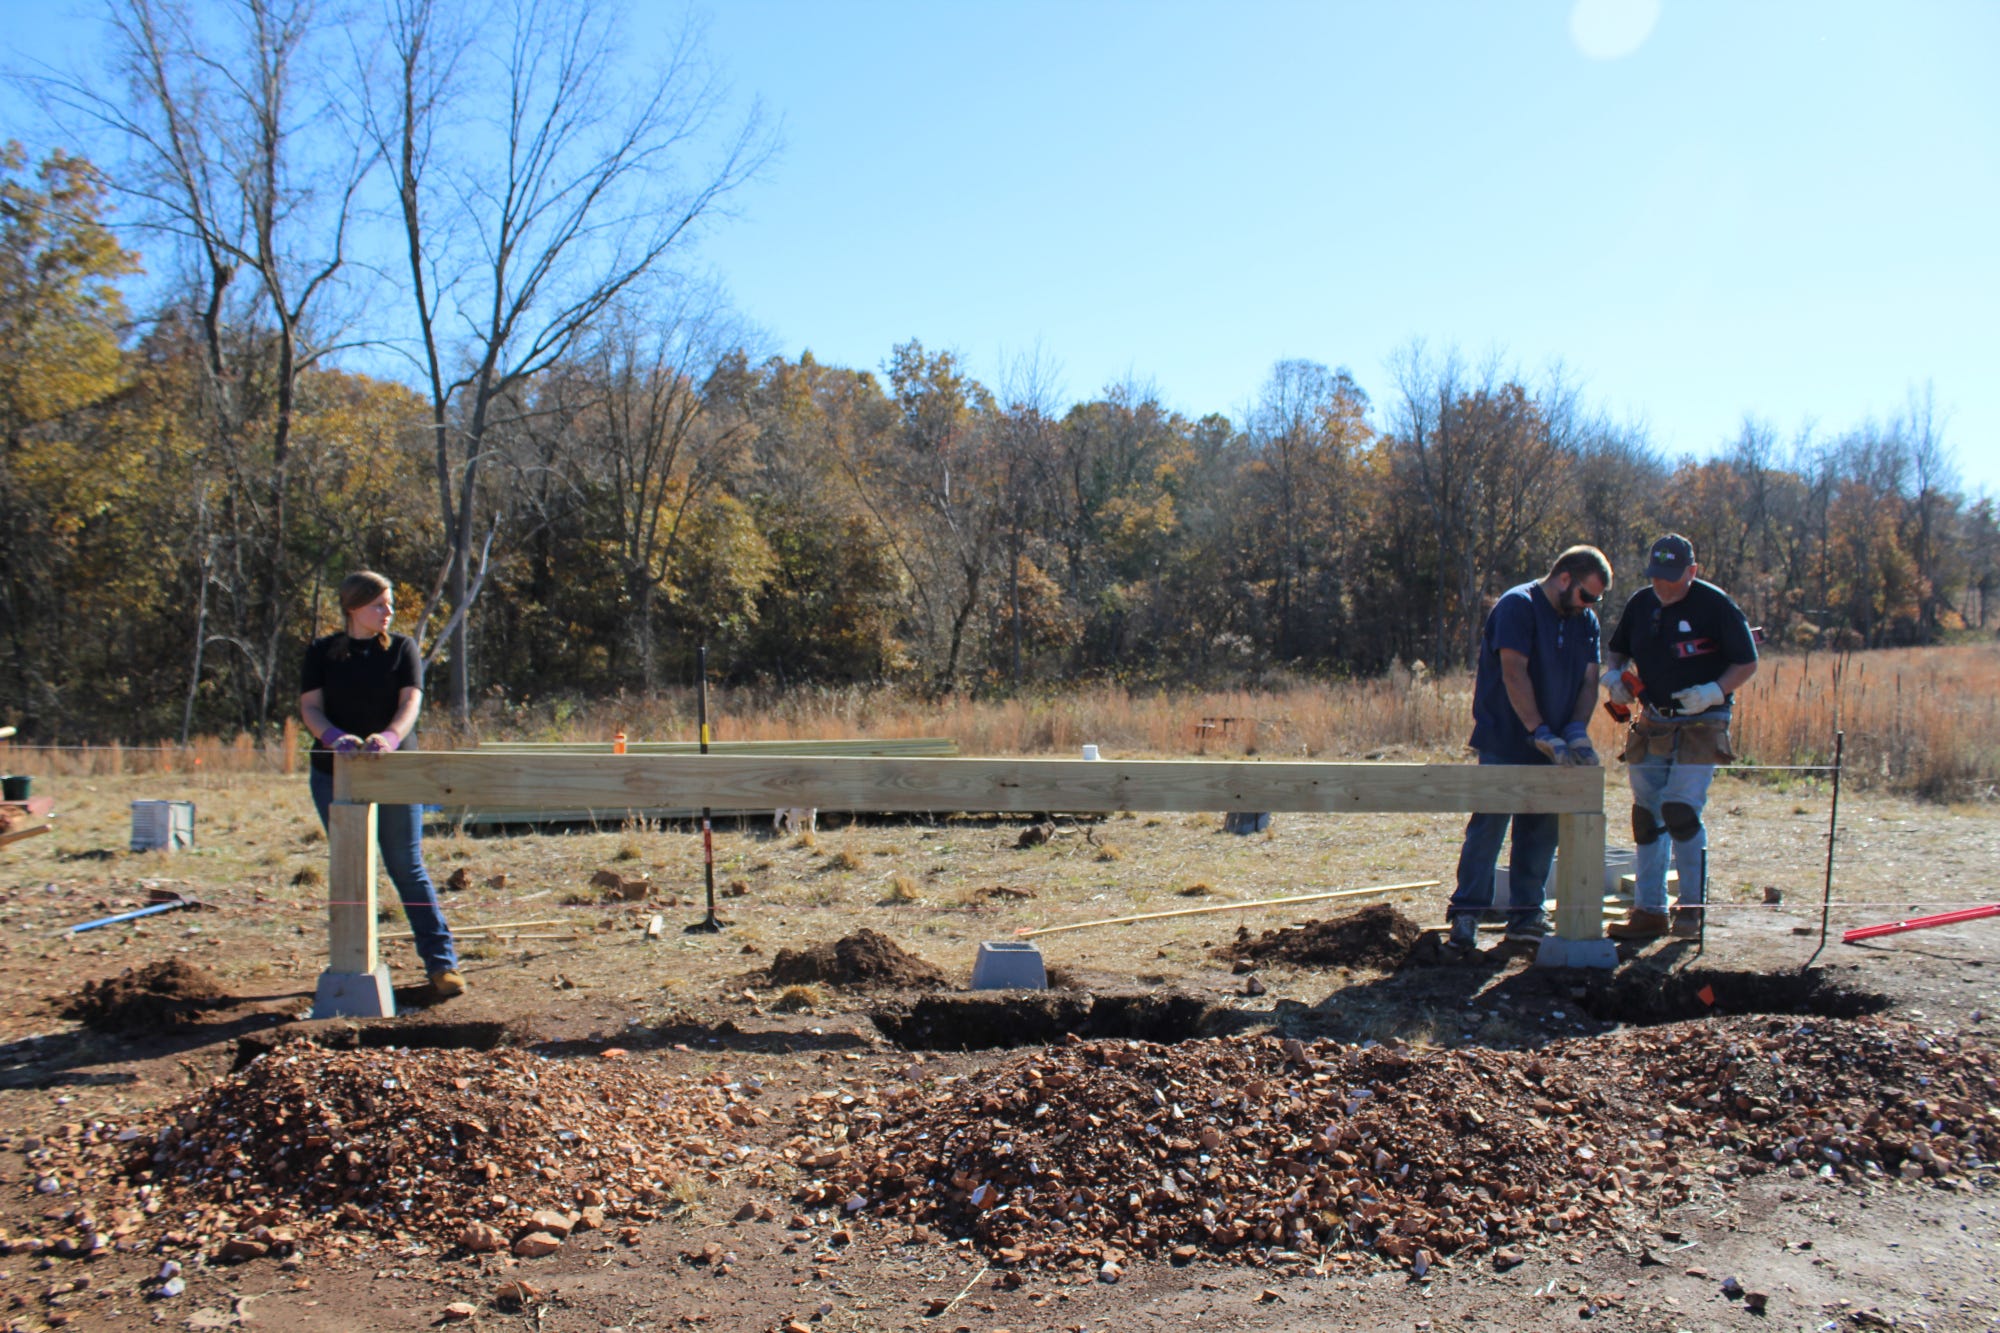
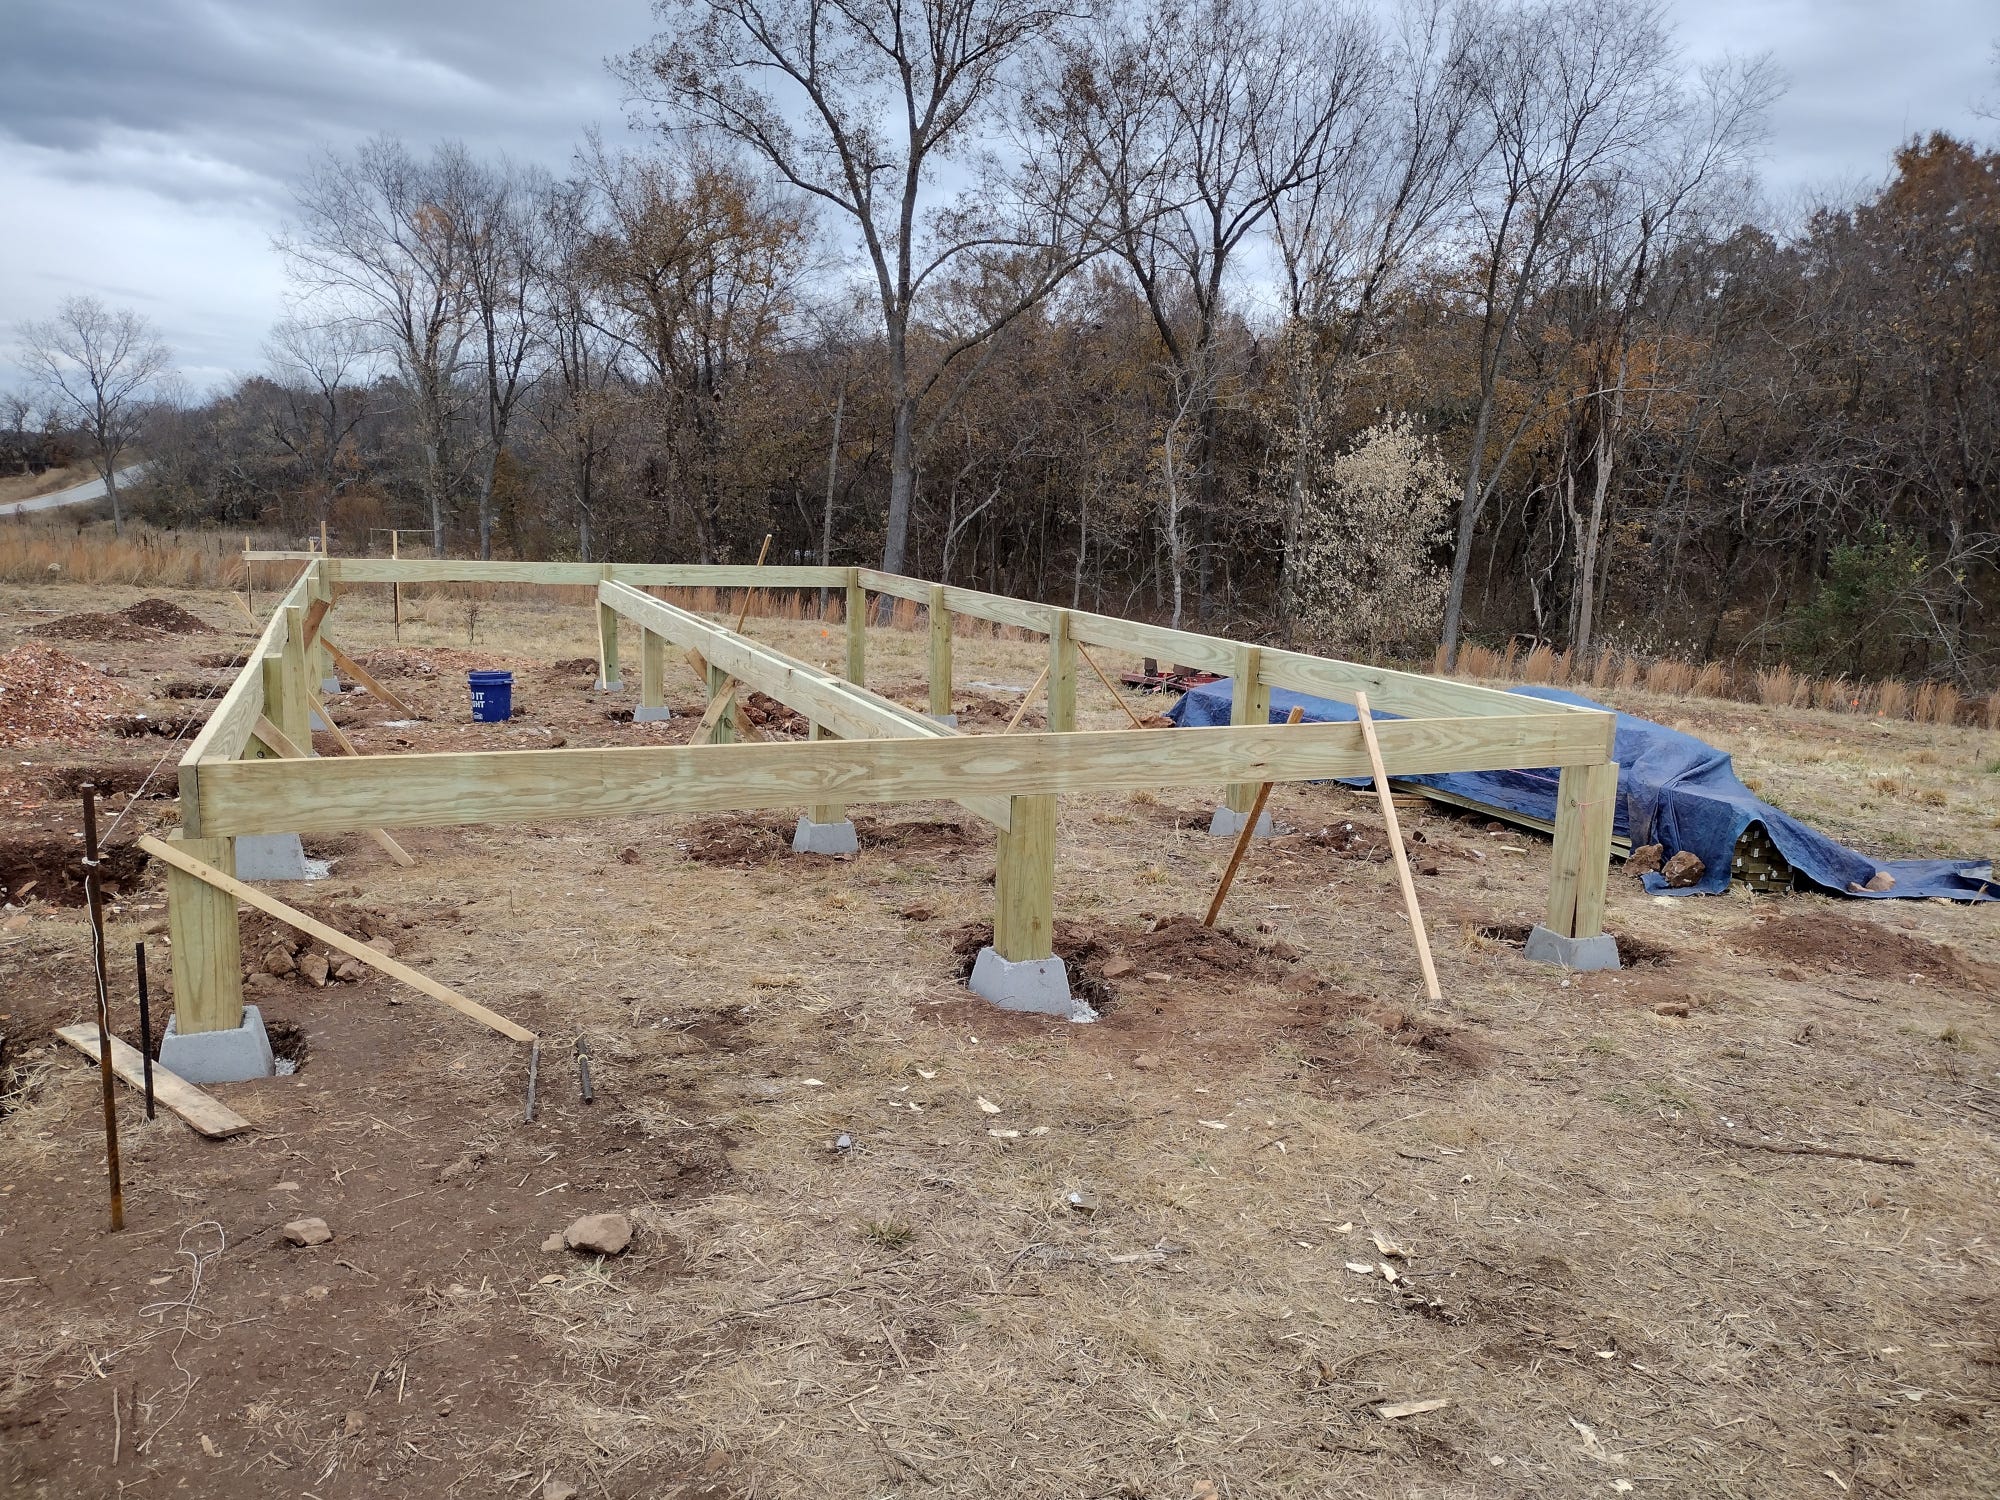
Since we opted to use affordable 2x6s as our joists, we needed to run a beam down the middle for support. We ran several string lines to mark the locations for the posts.
We opted for a split beam in the center, resting on each side of the notched posts. We built this section of the frame just like we had everything else, placing the posts as we went.

Dealing with the bowed boards was tricky, as was getting the posts placed just right. We were so thankful when we finished the center beam. It looked great.
Hindsight being what it is, we would have buried our posts in cement instead of using deck blocks. This would have given us a stable base from which to work. As it was, we did our best to keep our boards straight, but they weren't perfect. We hoped that adding a few joists would help square everything up.
Look for Wall Tent Build: The Deck, Part 2 next week!