
Wall Tent Build: The Frame
With our deck finished, it was time to turn our attention to the tent frame. We started with plans from Colorado Yurt Company for their 16x20 tent. We made some adjustments, as our tent is 16x24. Since our deck build was totally different, we used the plans as a loose guide.
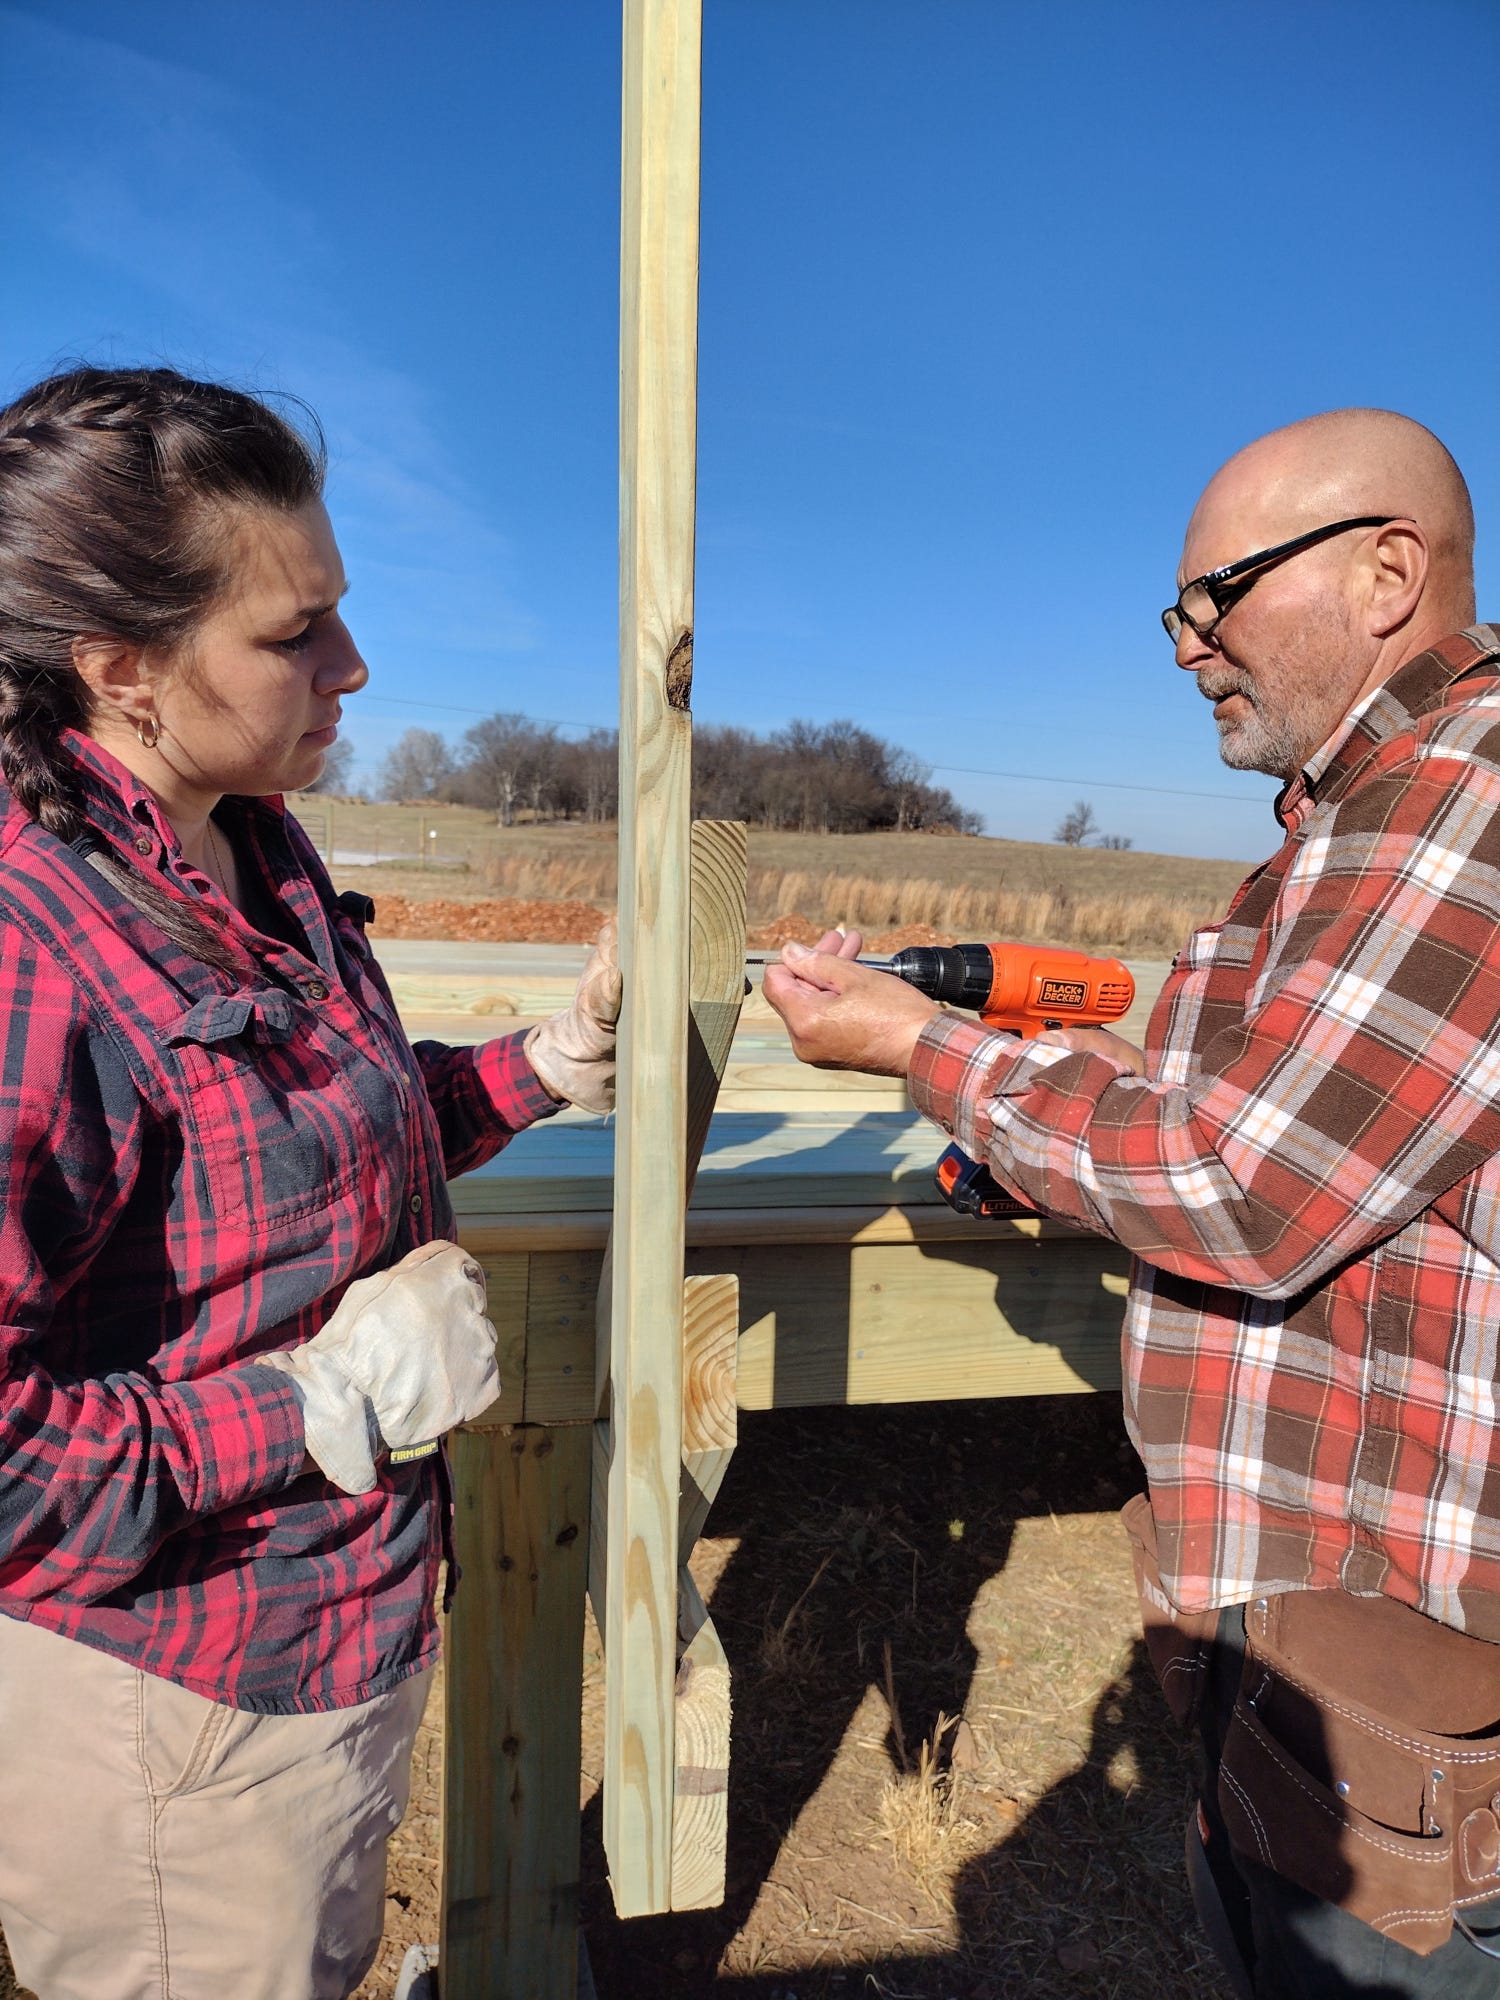
We started with the hitching rails -- the external part of the tent frame, which is basically boards you tie the tent to. My dad and I made quick work of cutting the lumber for our project.
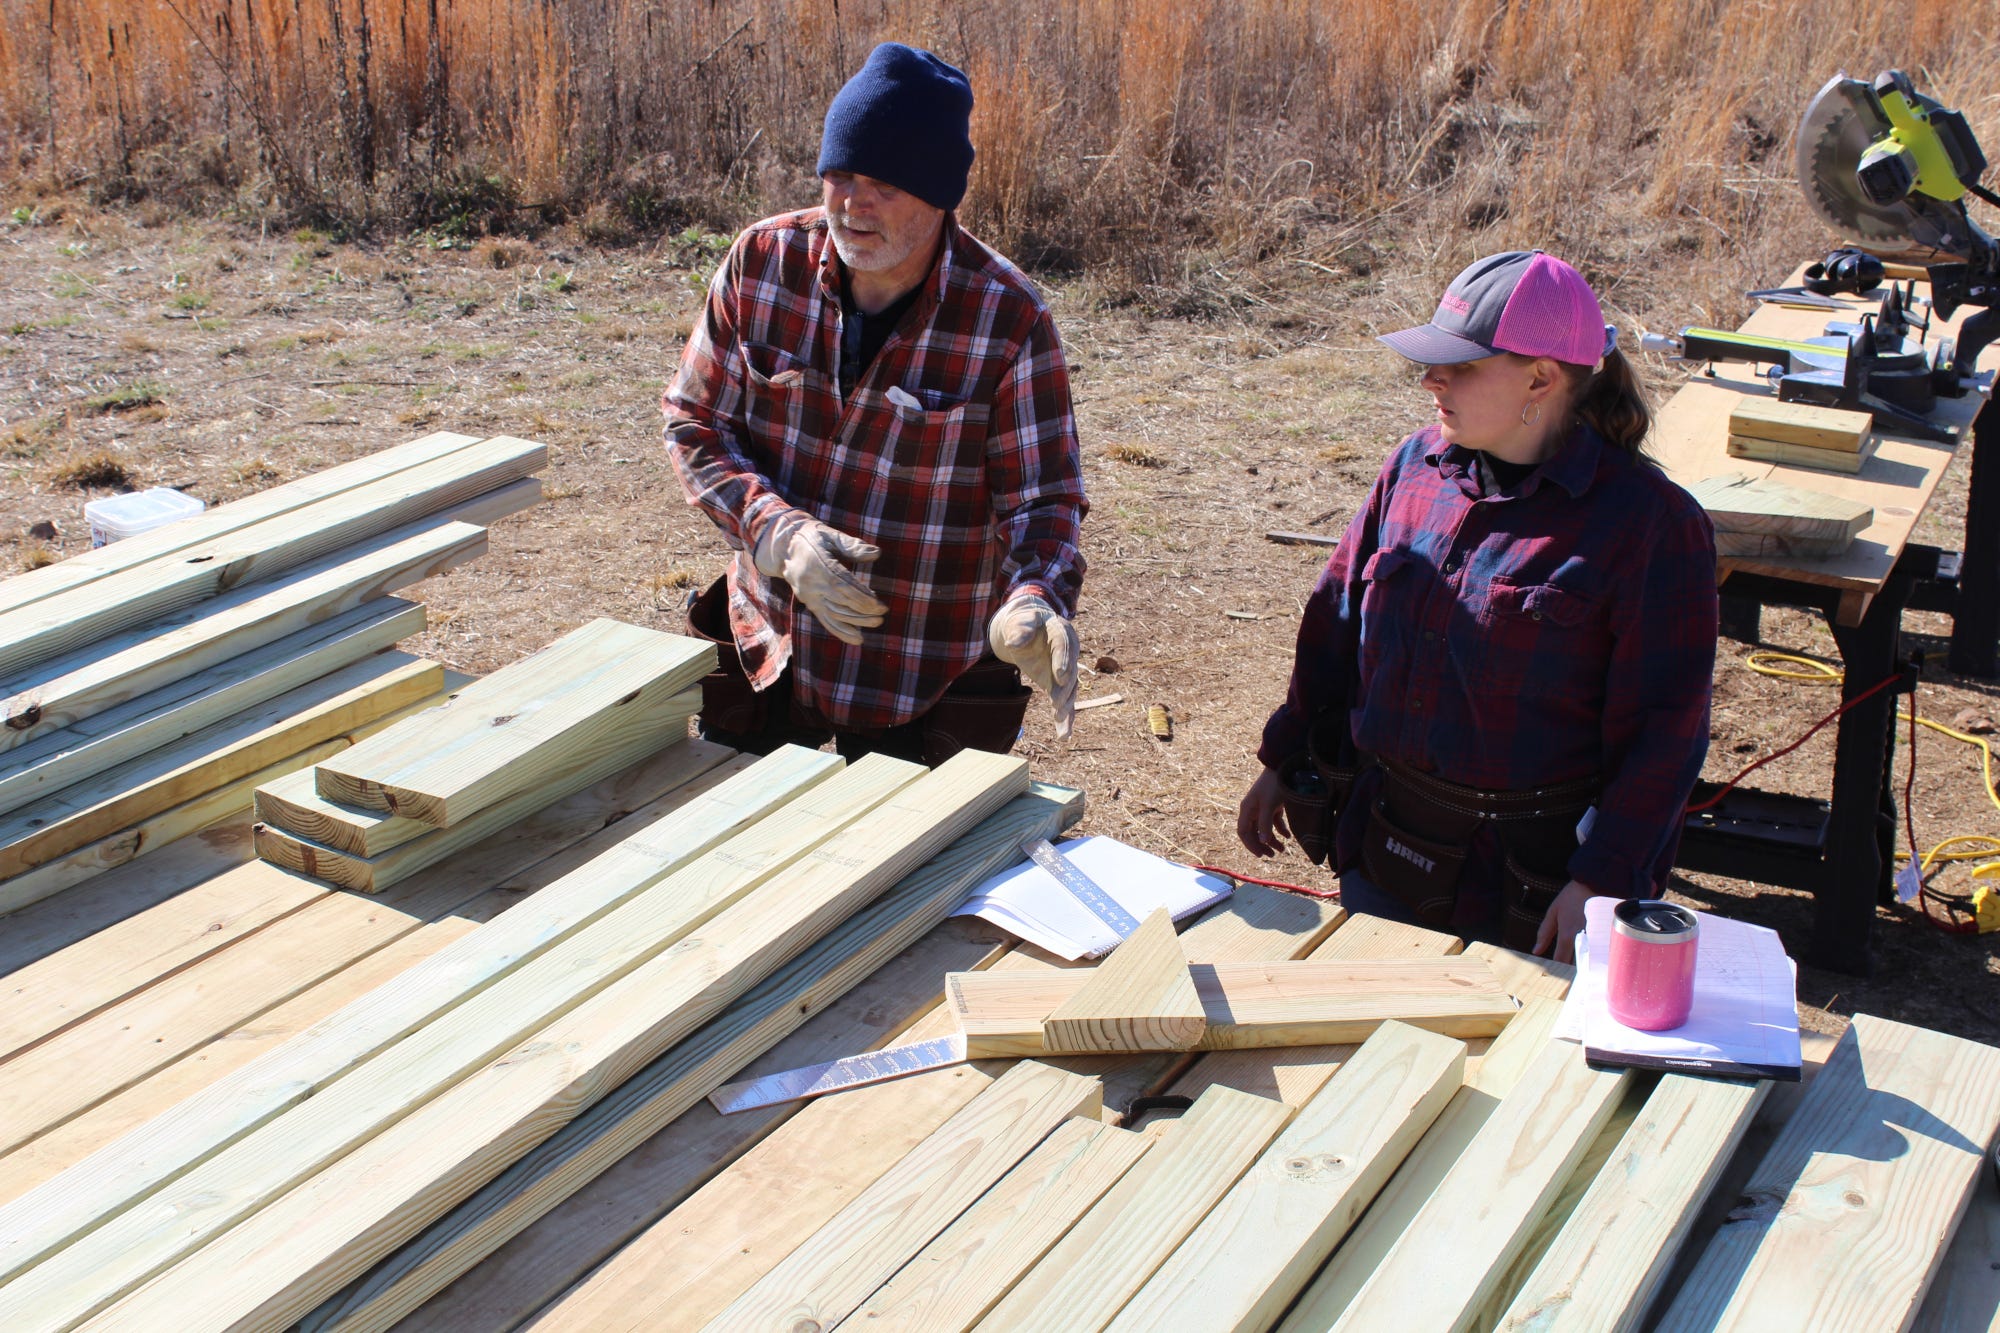
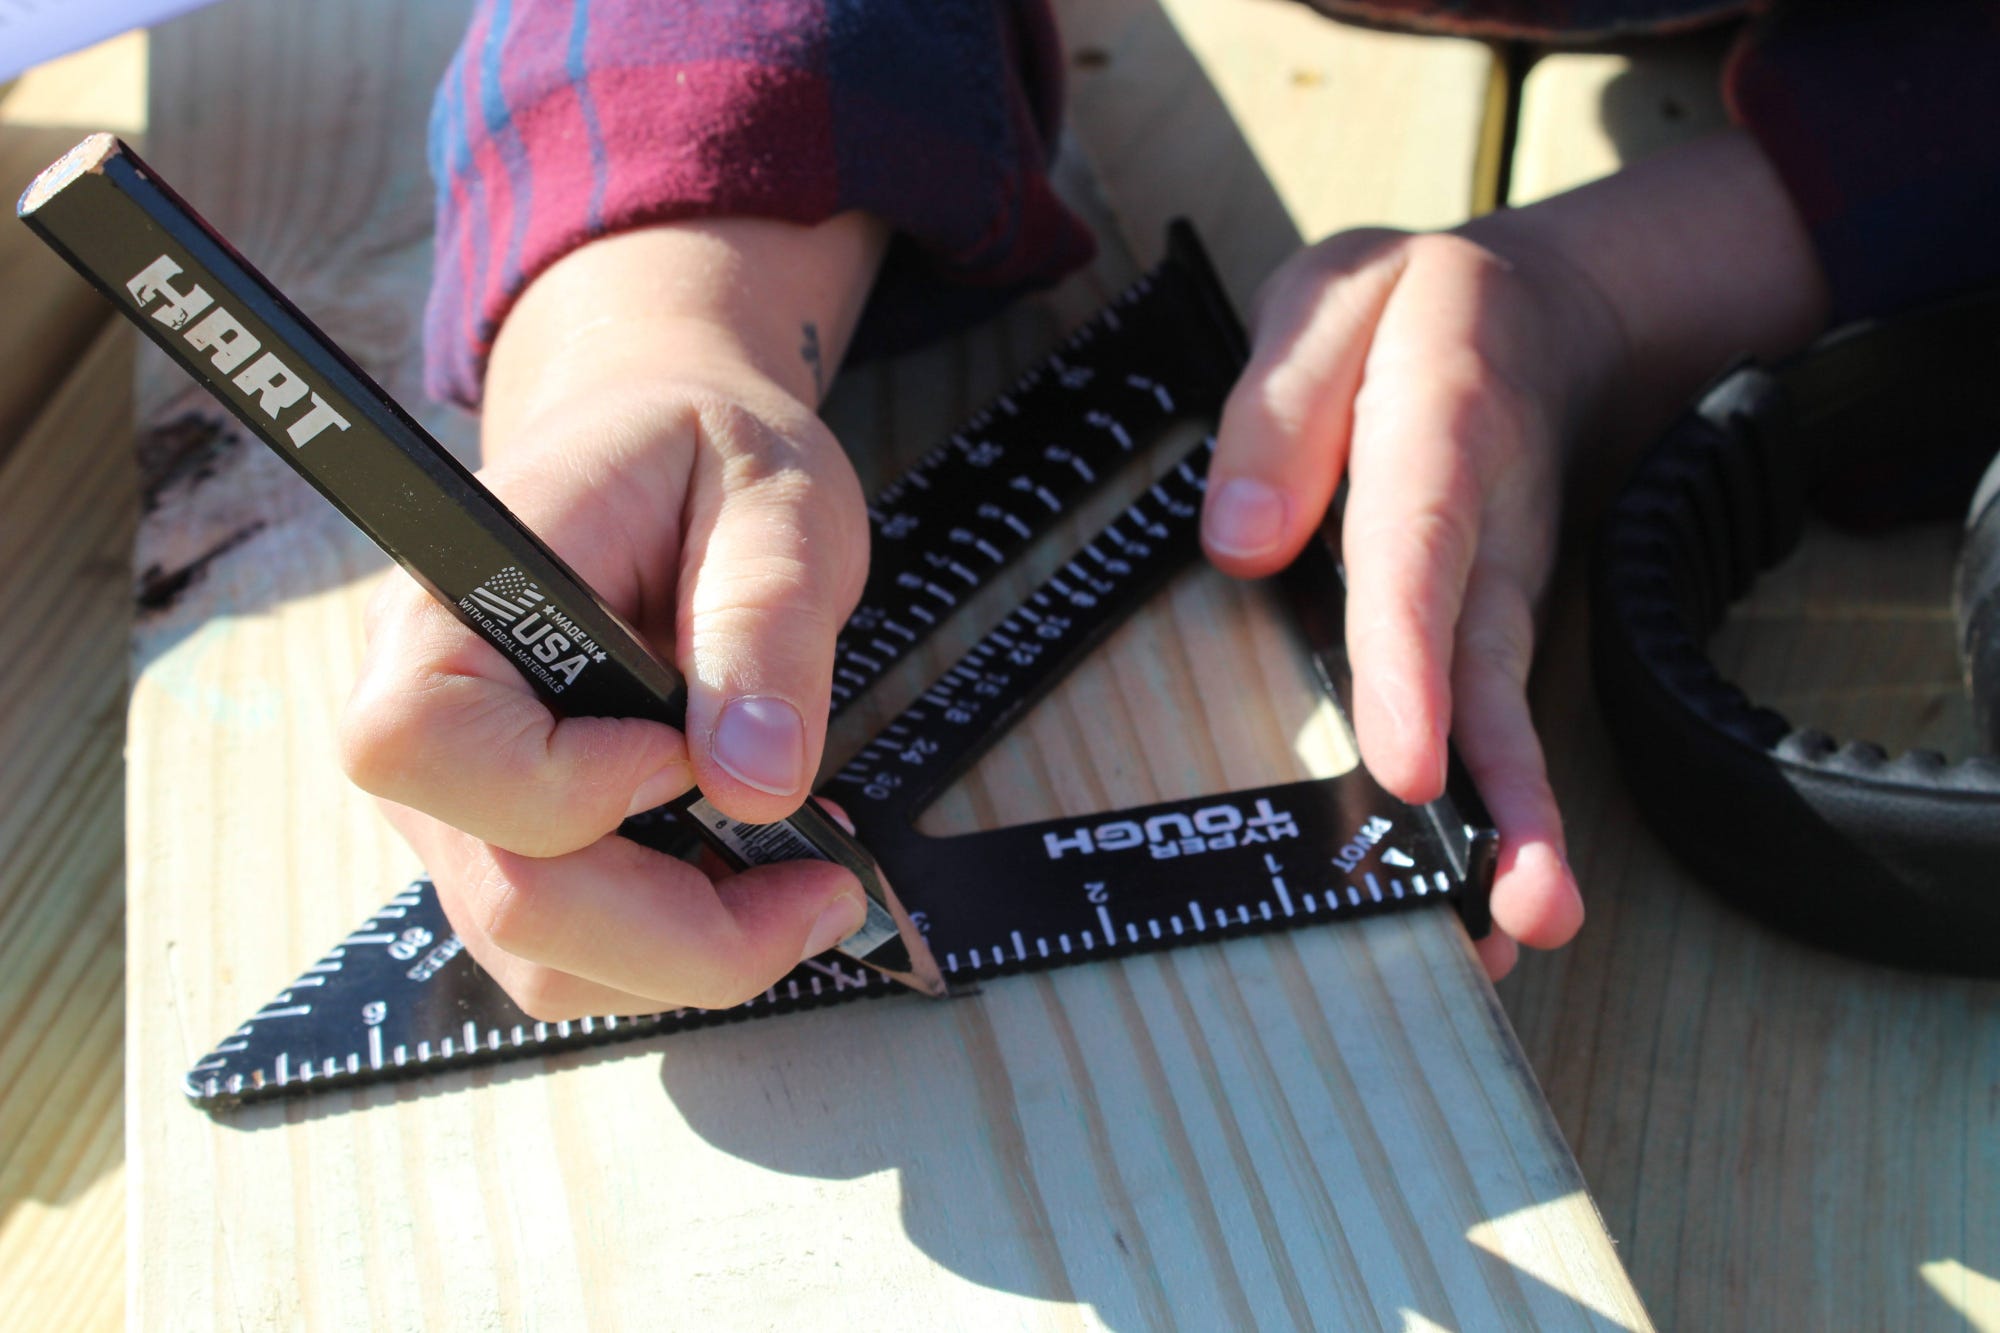
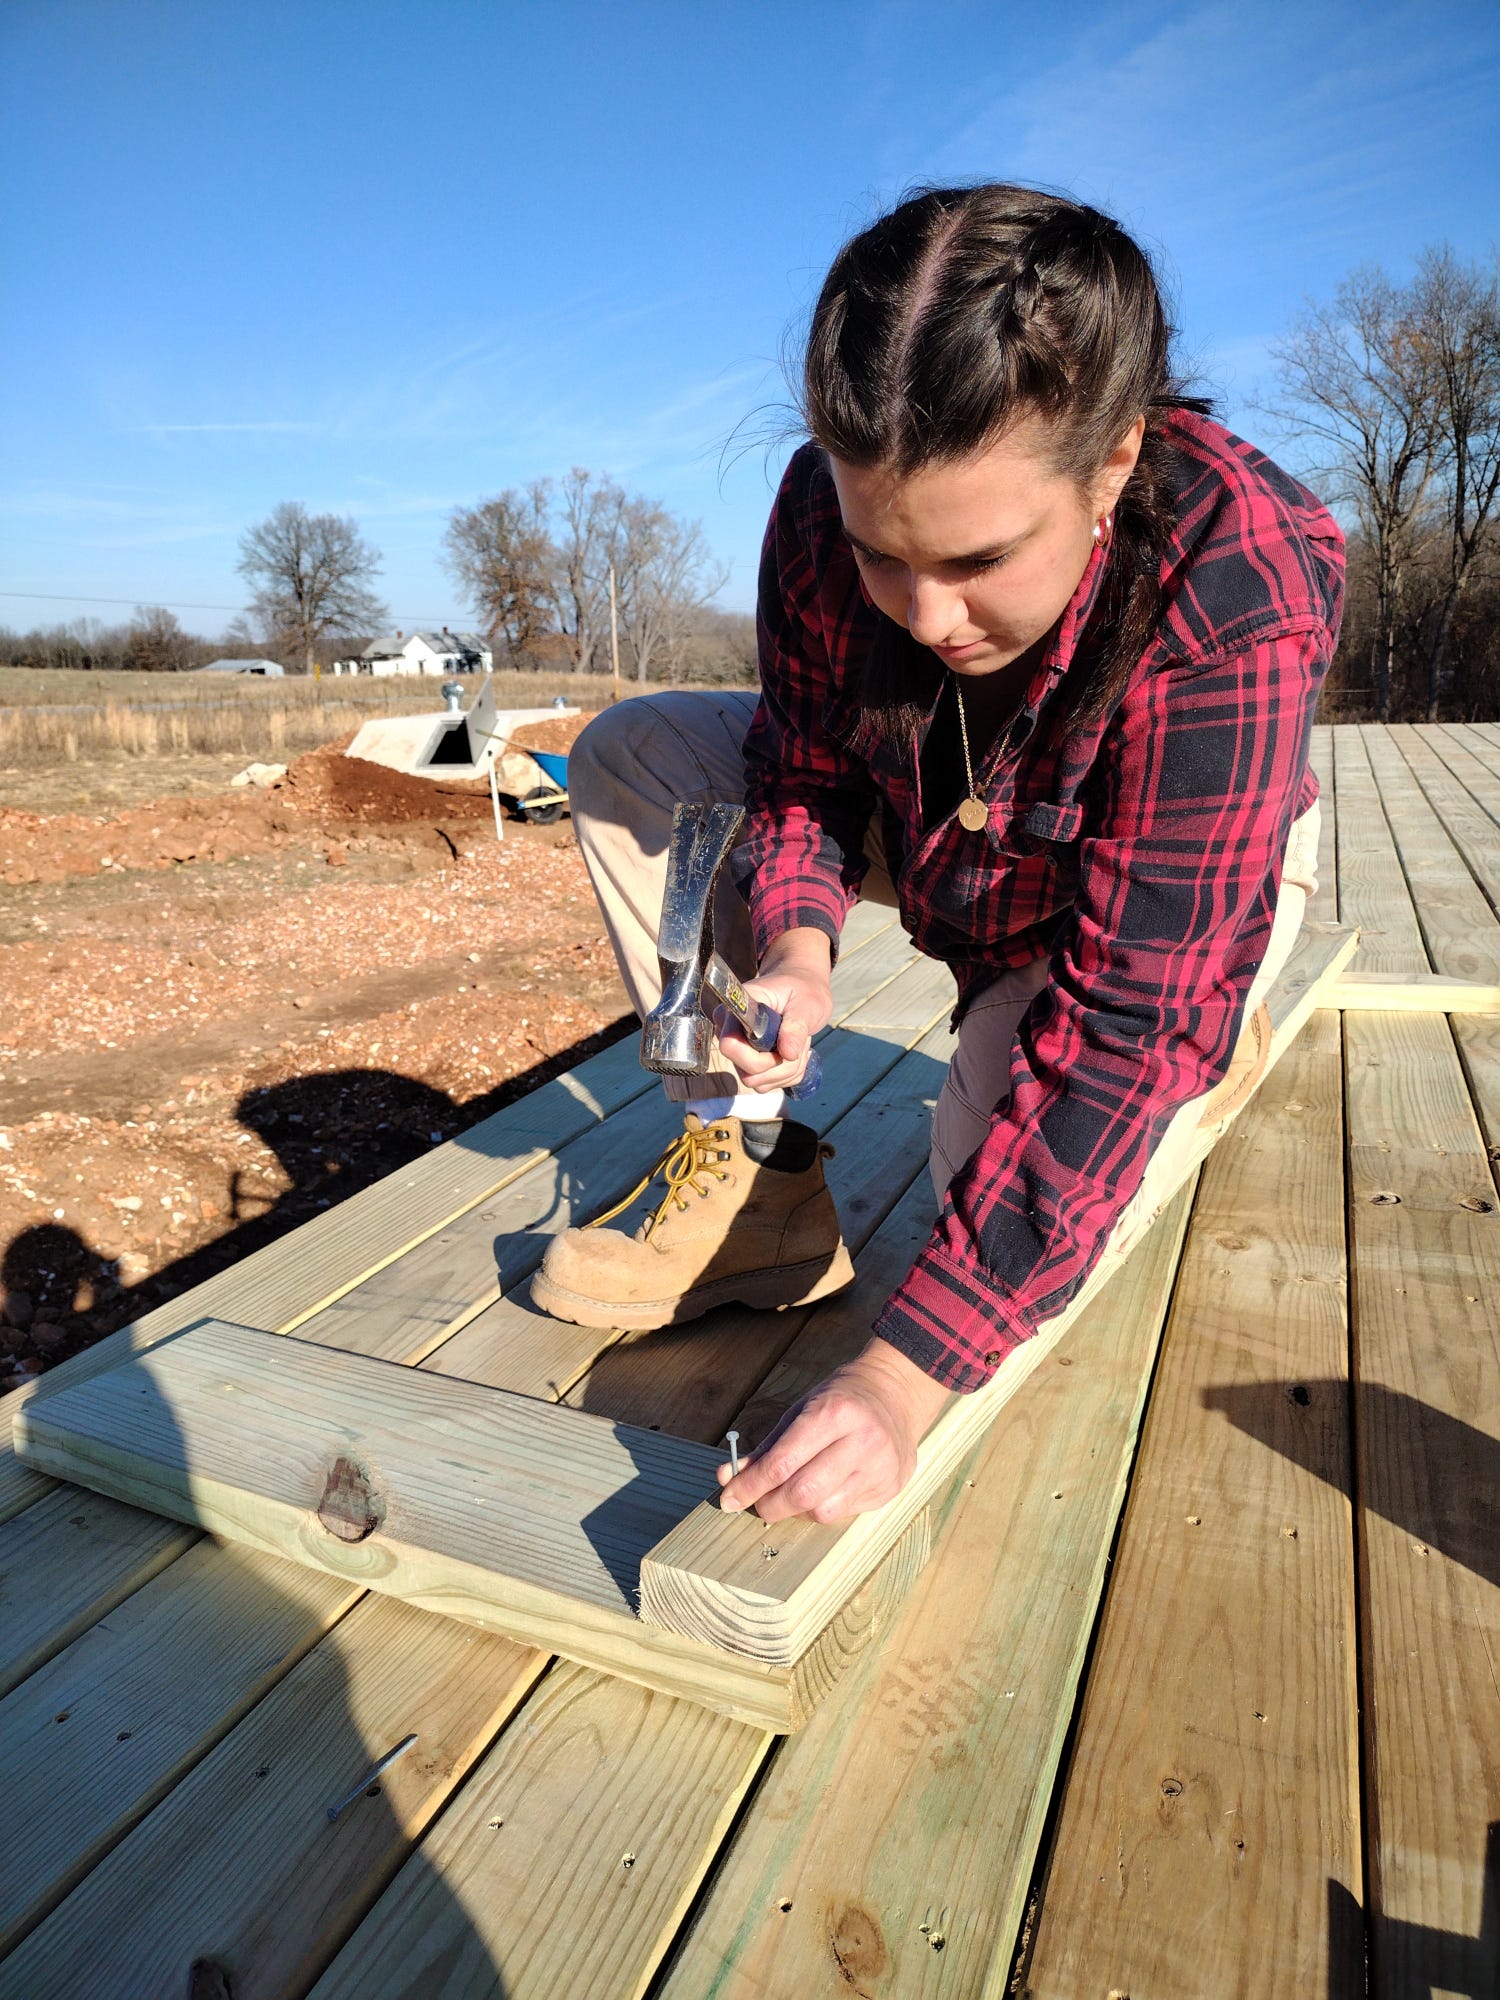
We built each rail post by connecting a 2x4 to a 2x8 base. Grace and I used a combination of screws and nails.
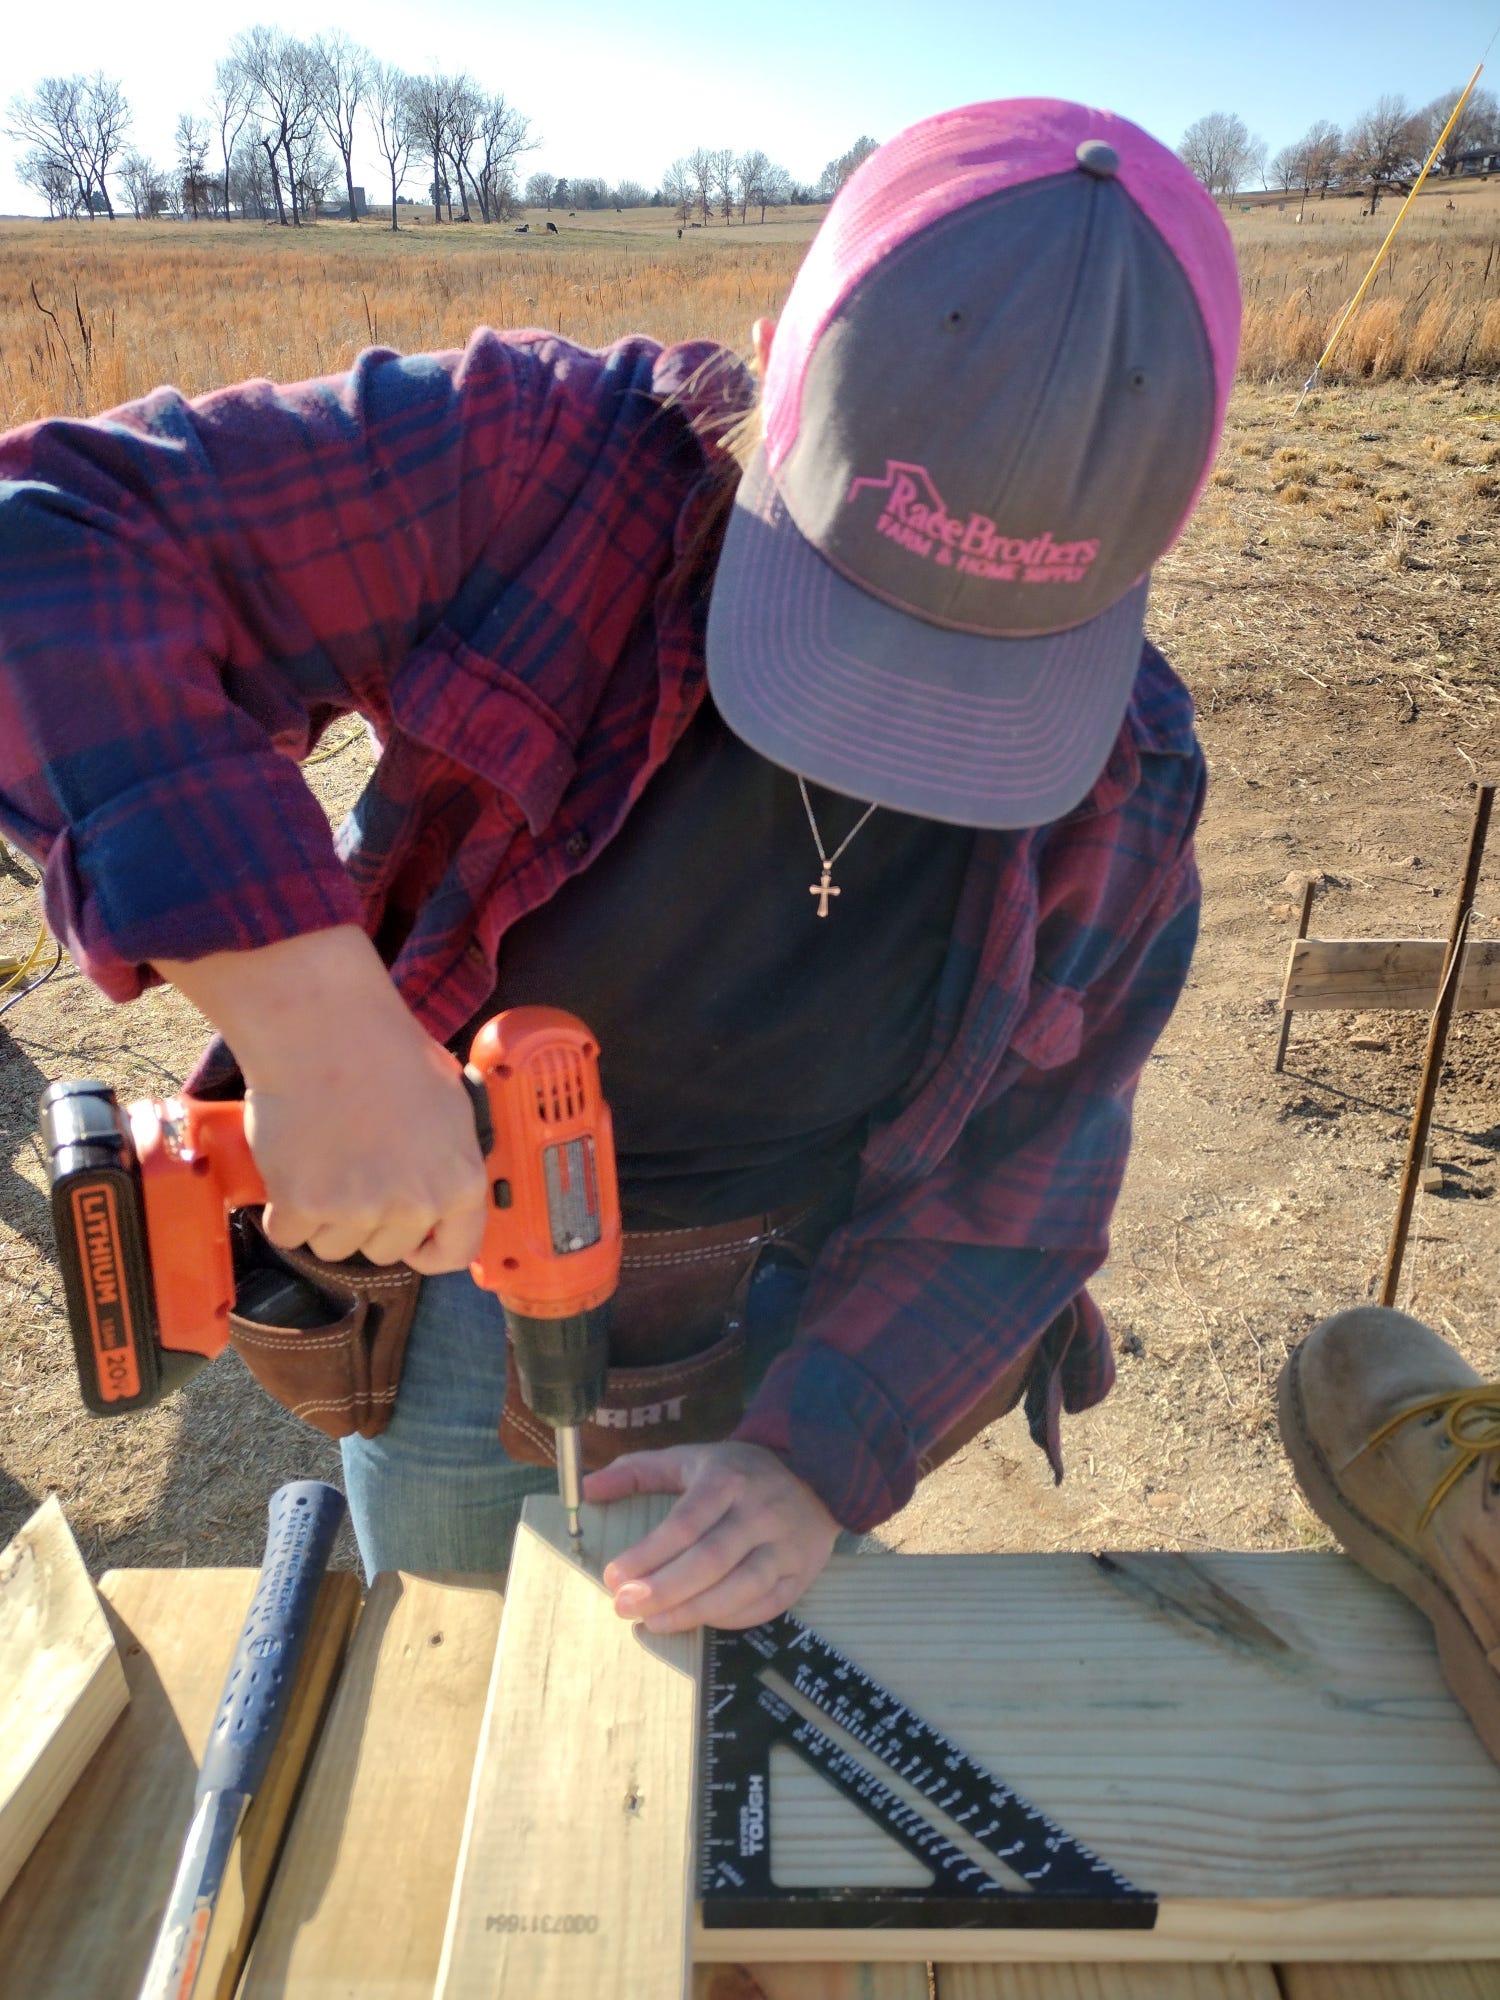
We attached the 2x8s to the posts of our deck with structural screws, and then Dad and Grace added 2x4 bracing. I made coffee for everyone and took pictures during this part of the project. Priorities, right?
The process of making the rail posts was straightforward, and the results were promising.

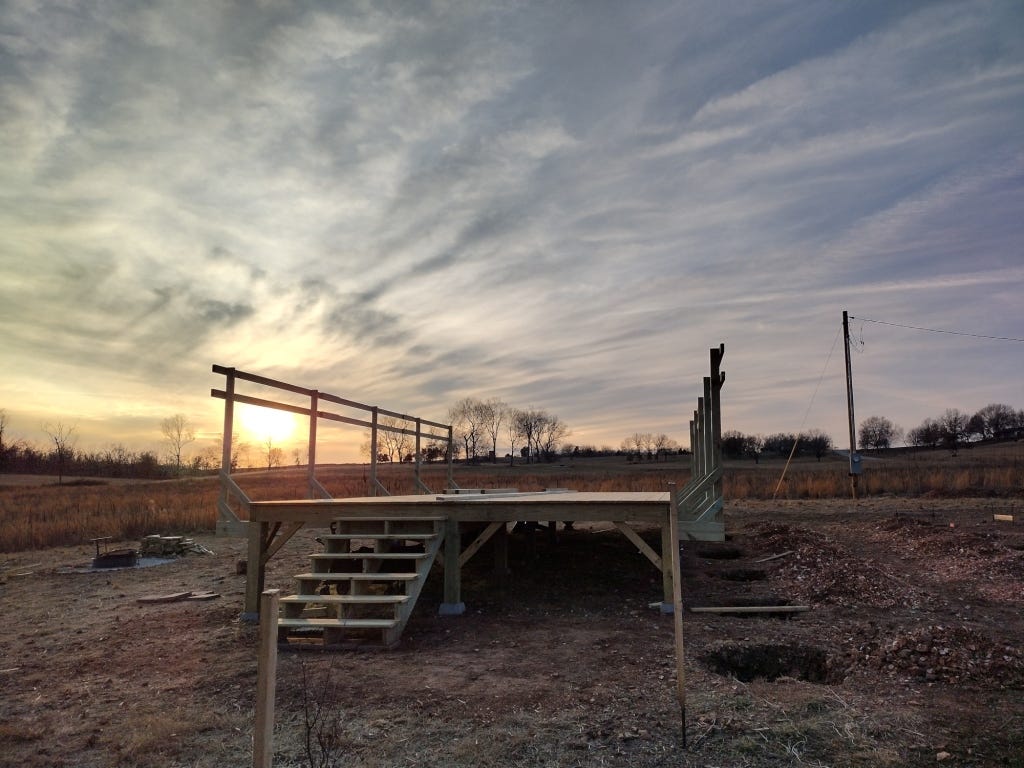
We constructed the rails from 2x4s spliced together. We made our rails just over the length of our deck -- about 32 feet. In hindsight, we wish we would have made them about an extra foot long on each end.
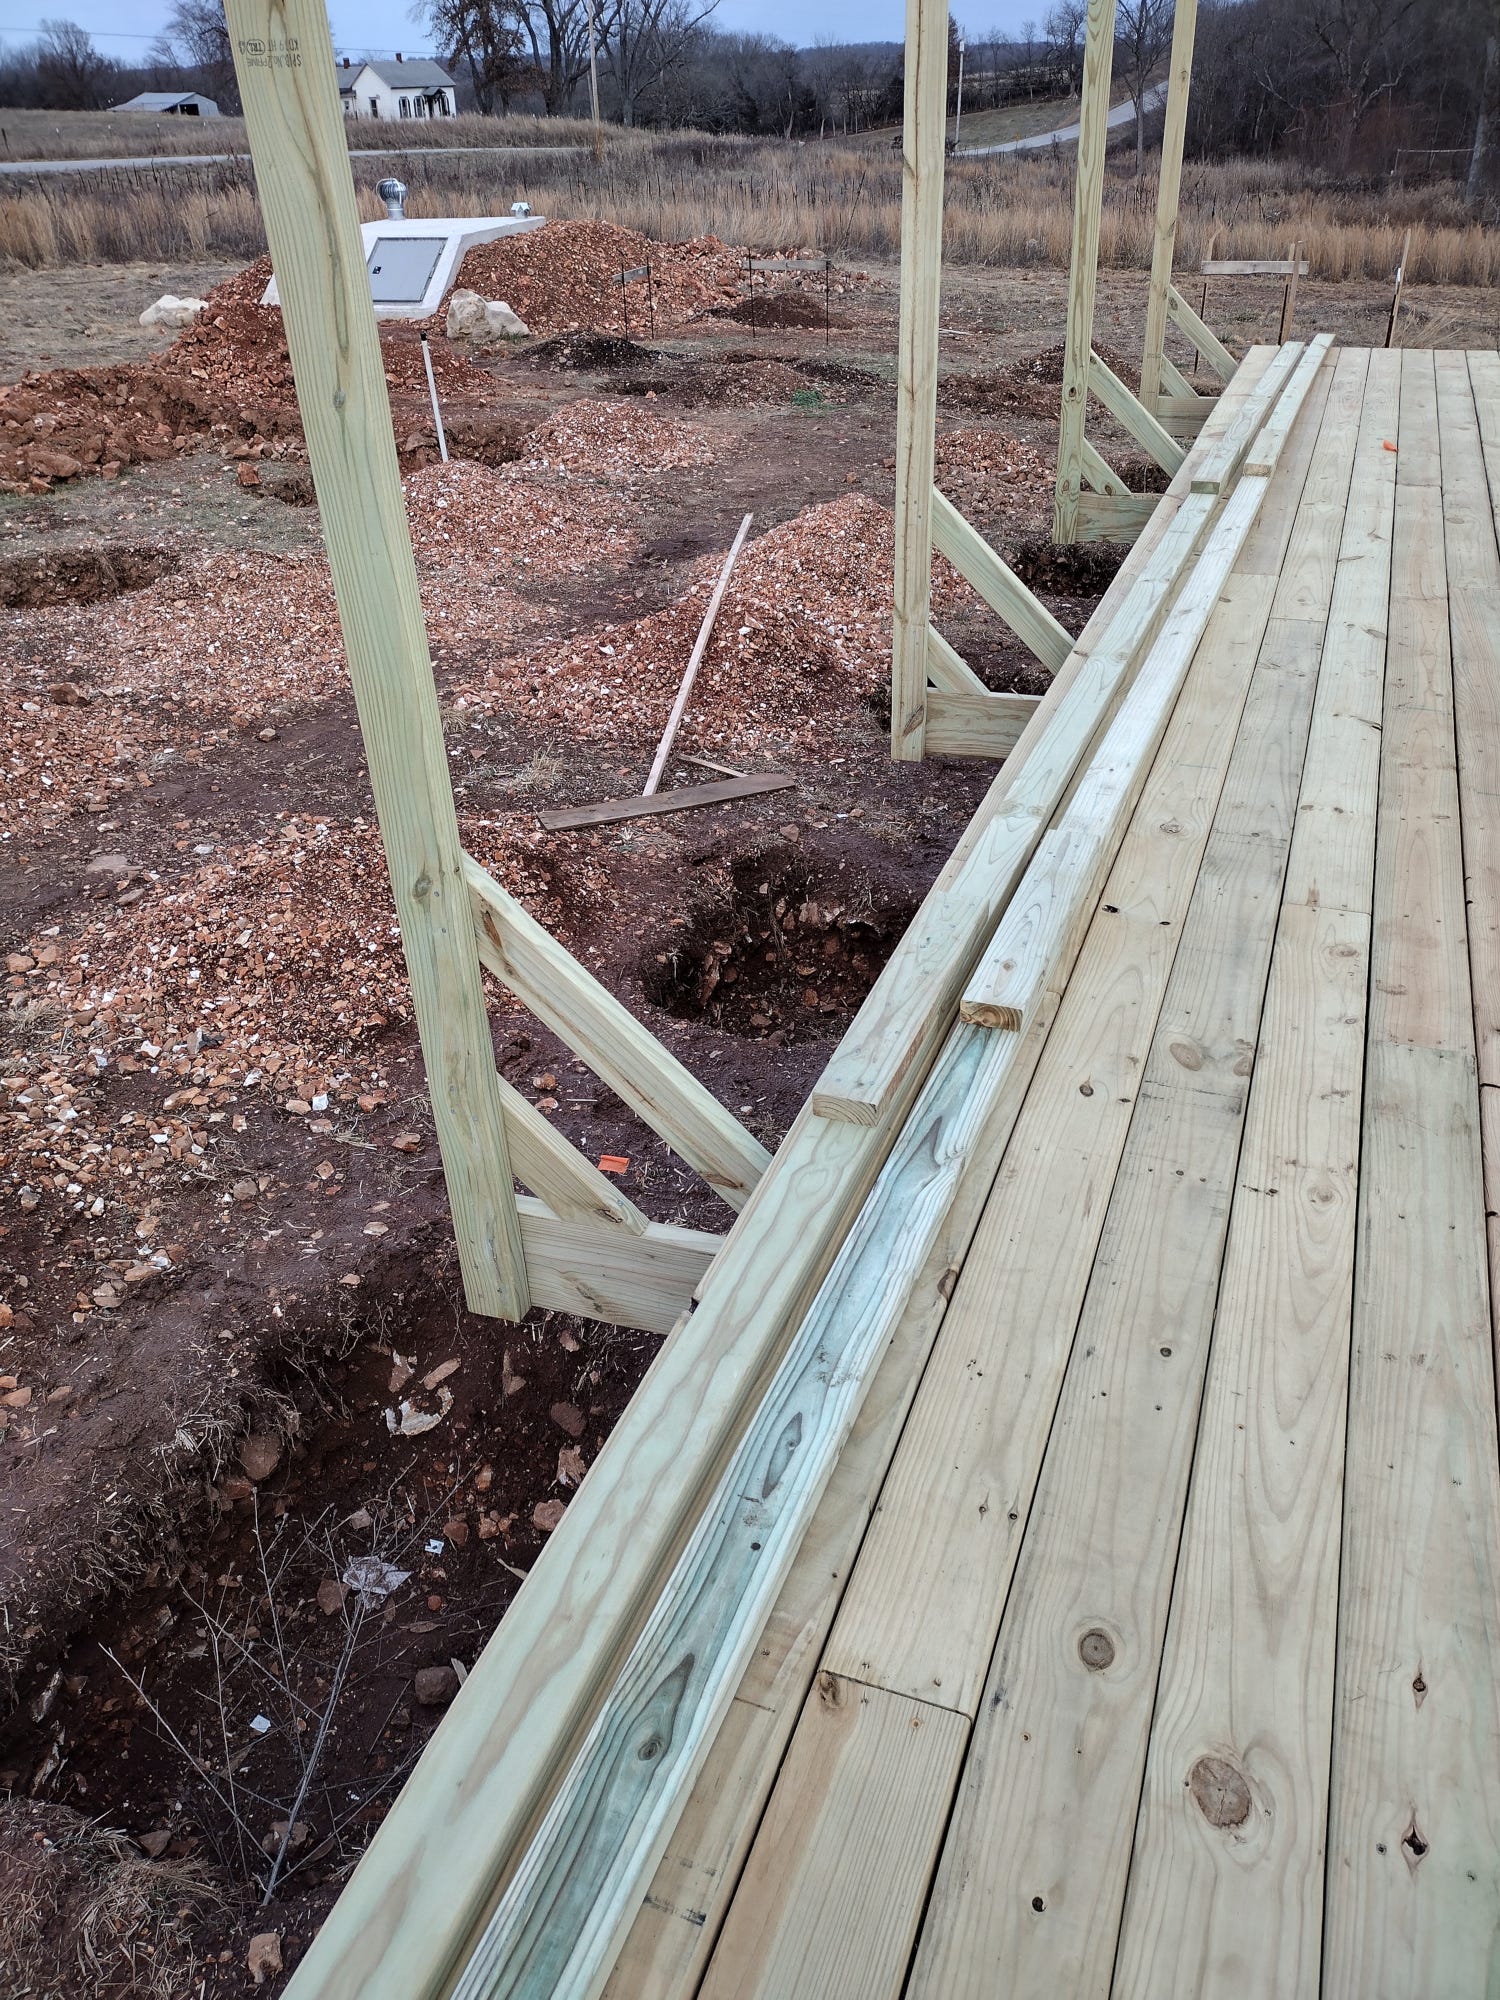
Getting the rails in place was tricky, due to the height of our deck and the footings we dug for the bunk house along one side. So, we used scrap wood for temporary blocking. We set the wood in place and attached it to the posts with screws.

With the hitching rails done, we were one step closer to setting up our wall tent.
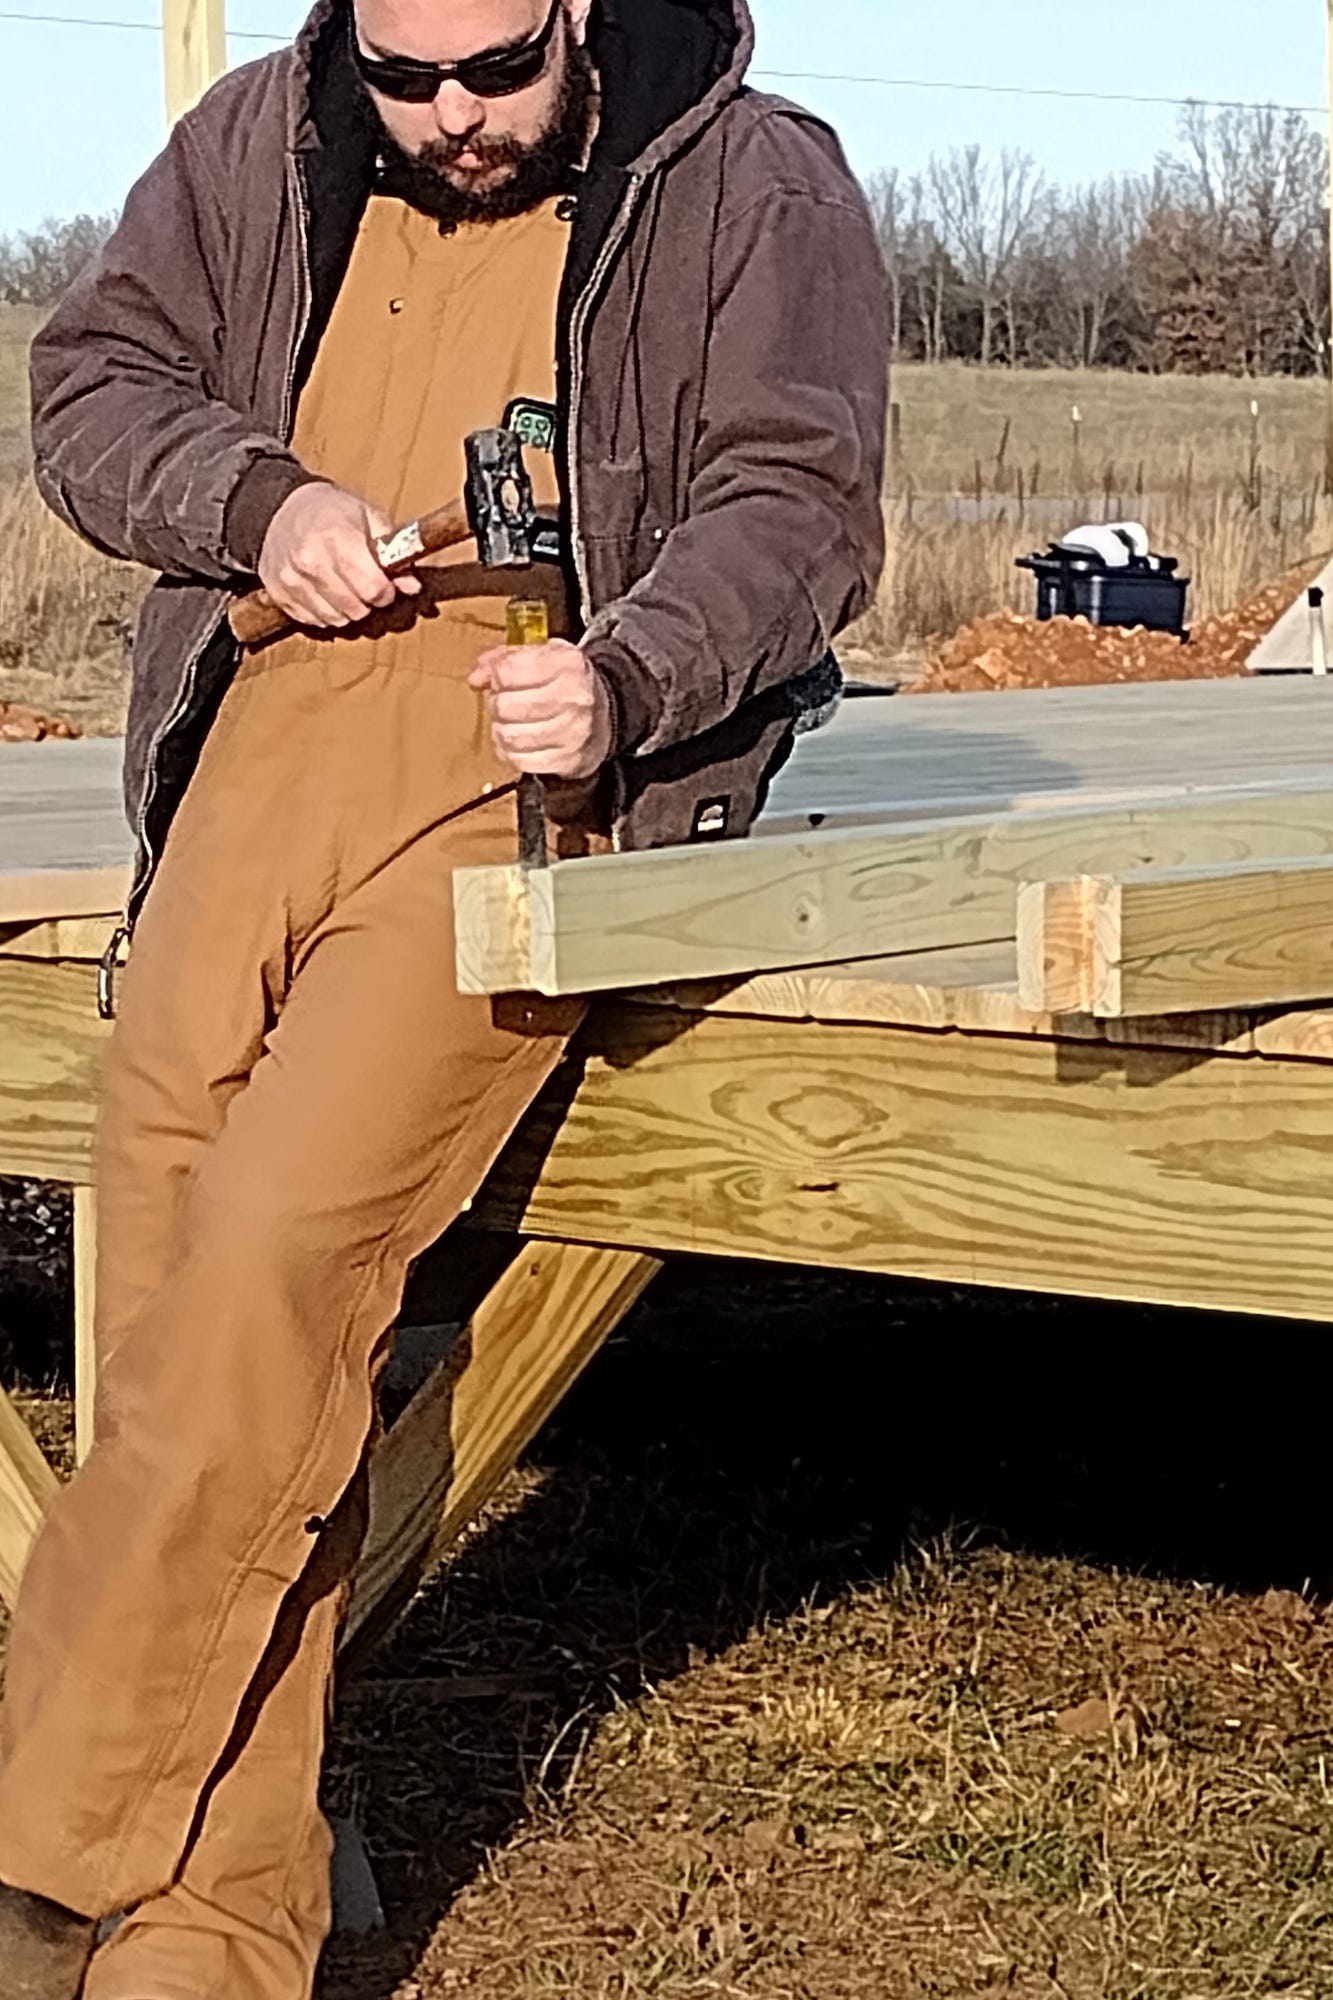
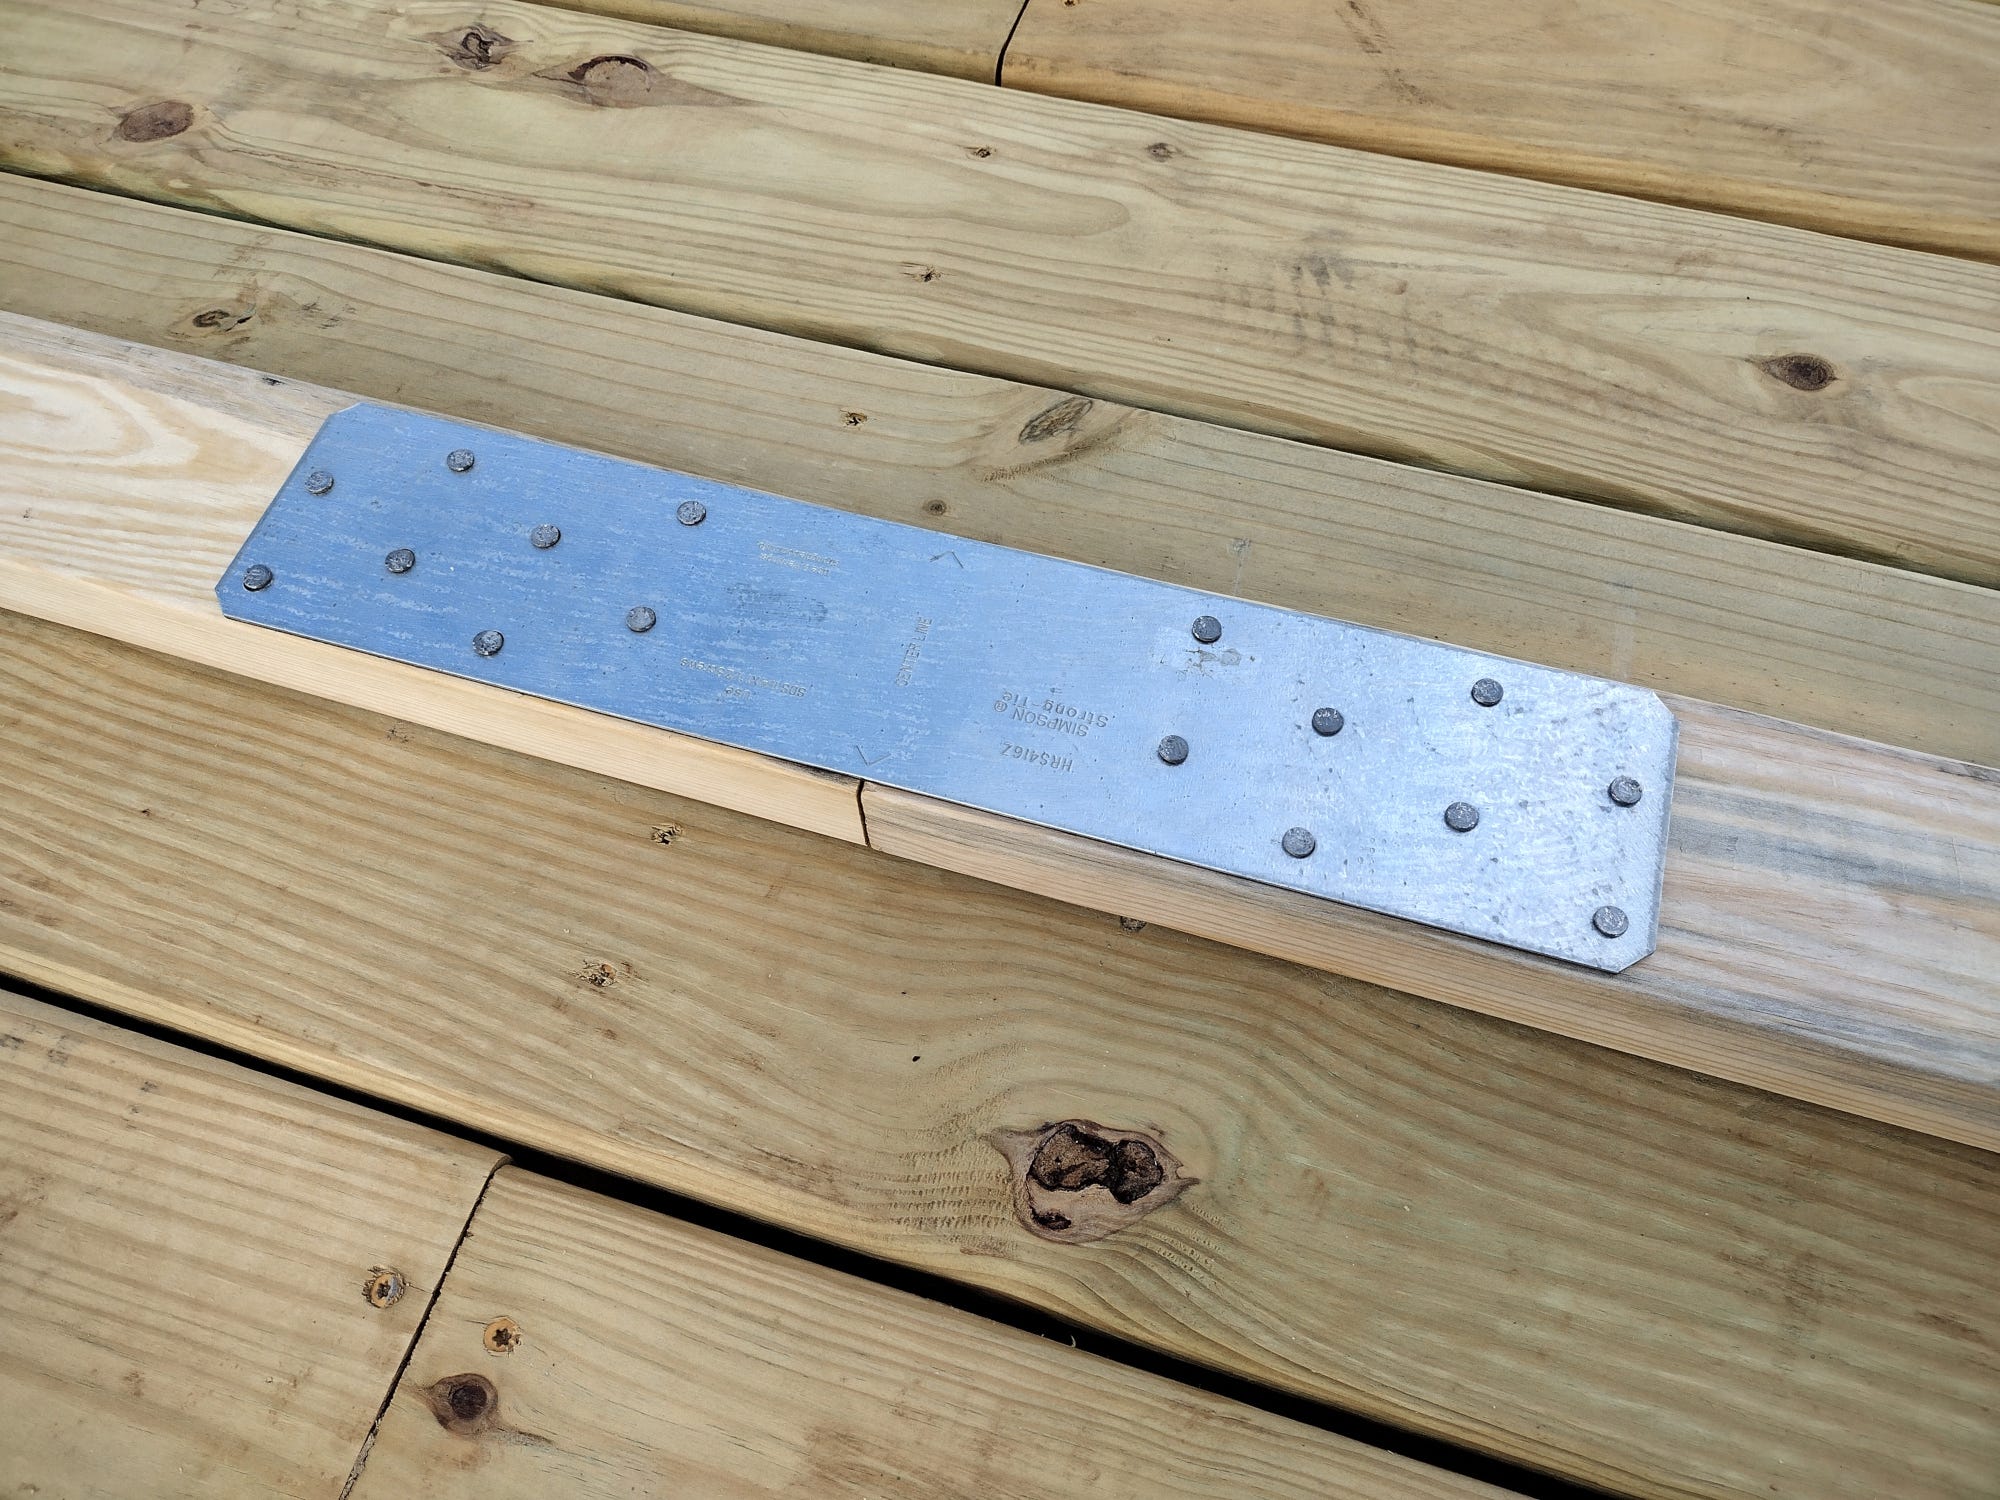
The next step was preparing our ridge pole. We used some steel ties from Lowe's to attach three 2x4s end to end -- two ties for each joint. We made the pole long enough to stick out 9 extra inches on each side of the tent fly. We used four 4x4 posts to support our ridge pole. Dad and our brother Jeremiah notched the top of each post so the pole would rest half way inside.
With the basic frame finished, we were ready to set up the tent. Come back next week to see how it went!