
Wall Tent Build: The Inside
Many people use their wall tents with the a simple frame like we started with -- just hitching rails and a ridge pole. Since we will be living in ours for a few months, we wanted to add some support to our ridge pole on the inside of our tent.
We also wanted walls that we could push beds up against. Some of the beds will act as couches during the day, with the wall acting as the back (with plenty of pillows).
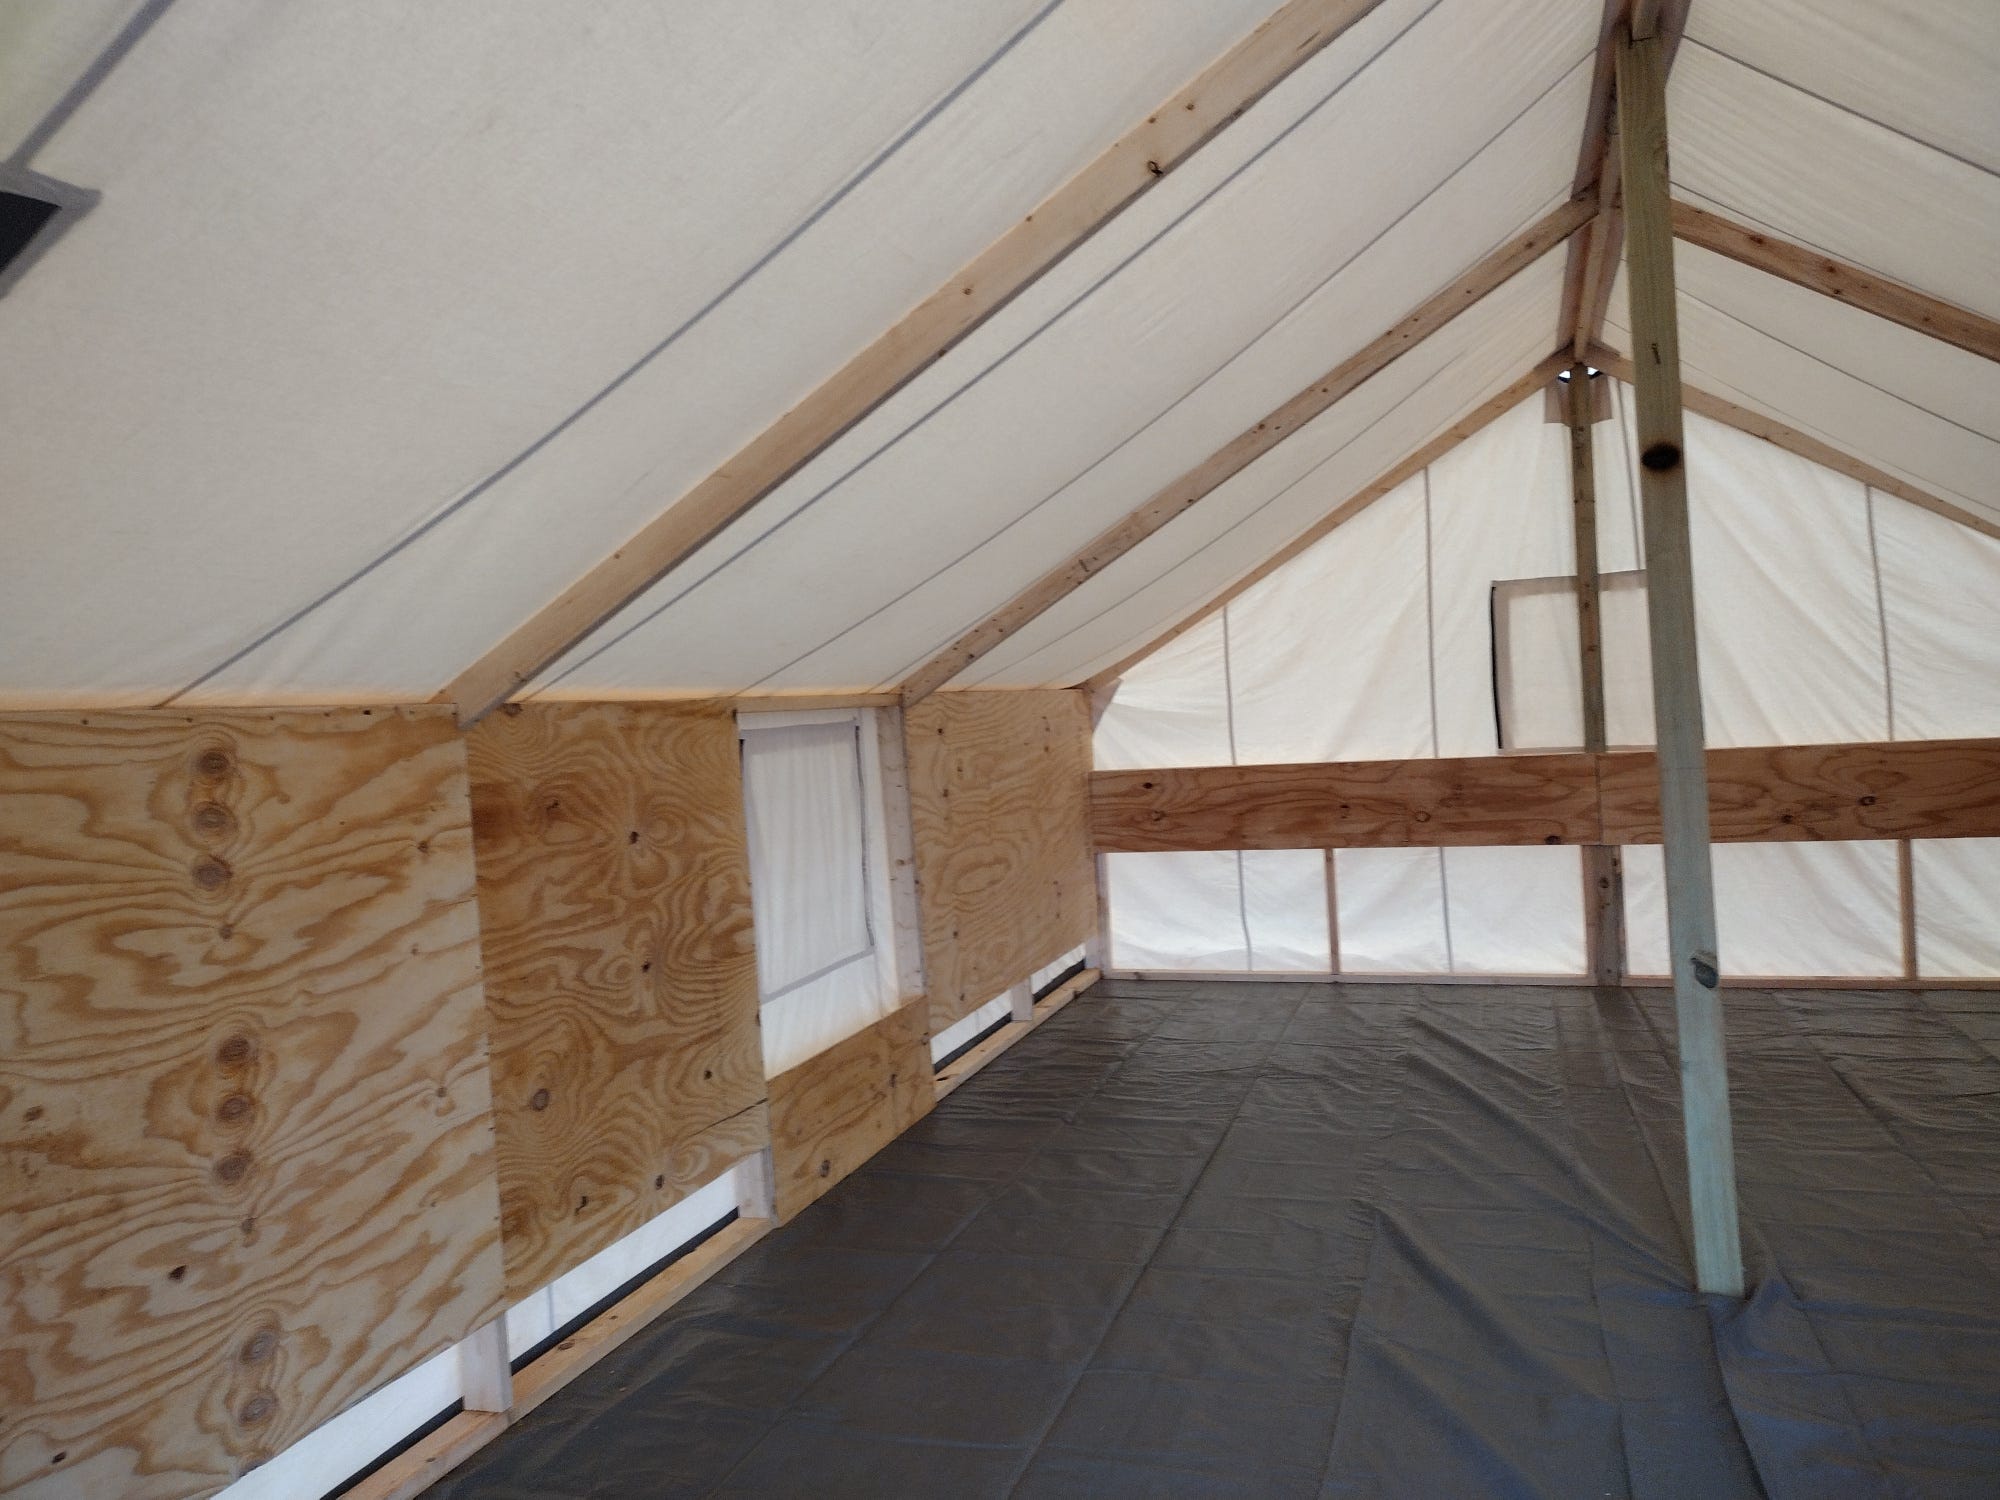
For our side walls, we measured the length and height of our tent sides, then designed the wall a bit smaller (about an inch or two). This allows room for the canvas to shrink once it gets rained on (something you should expect with canvas). We built the walls flat on the floor. We used 2x4s and plywood.
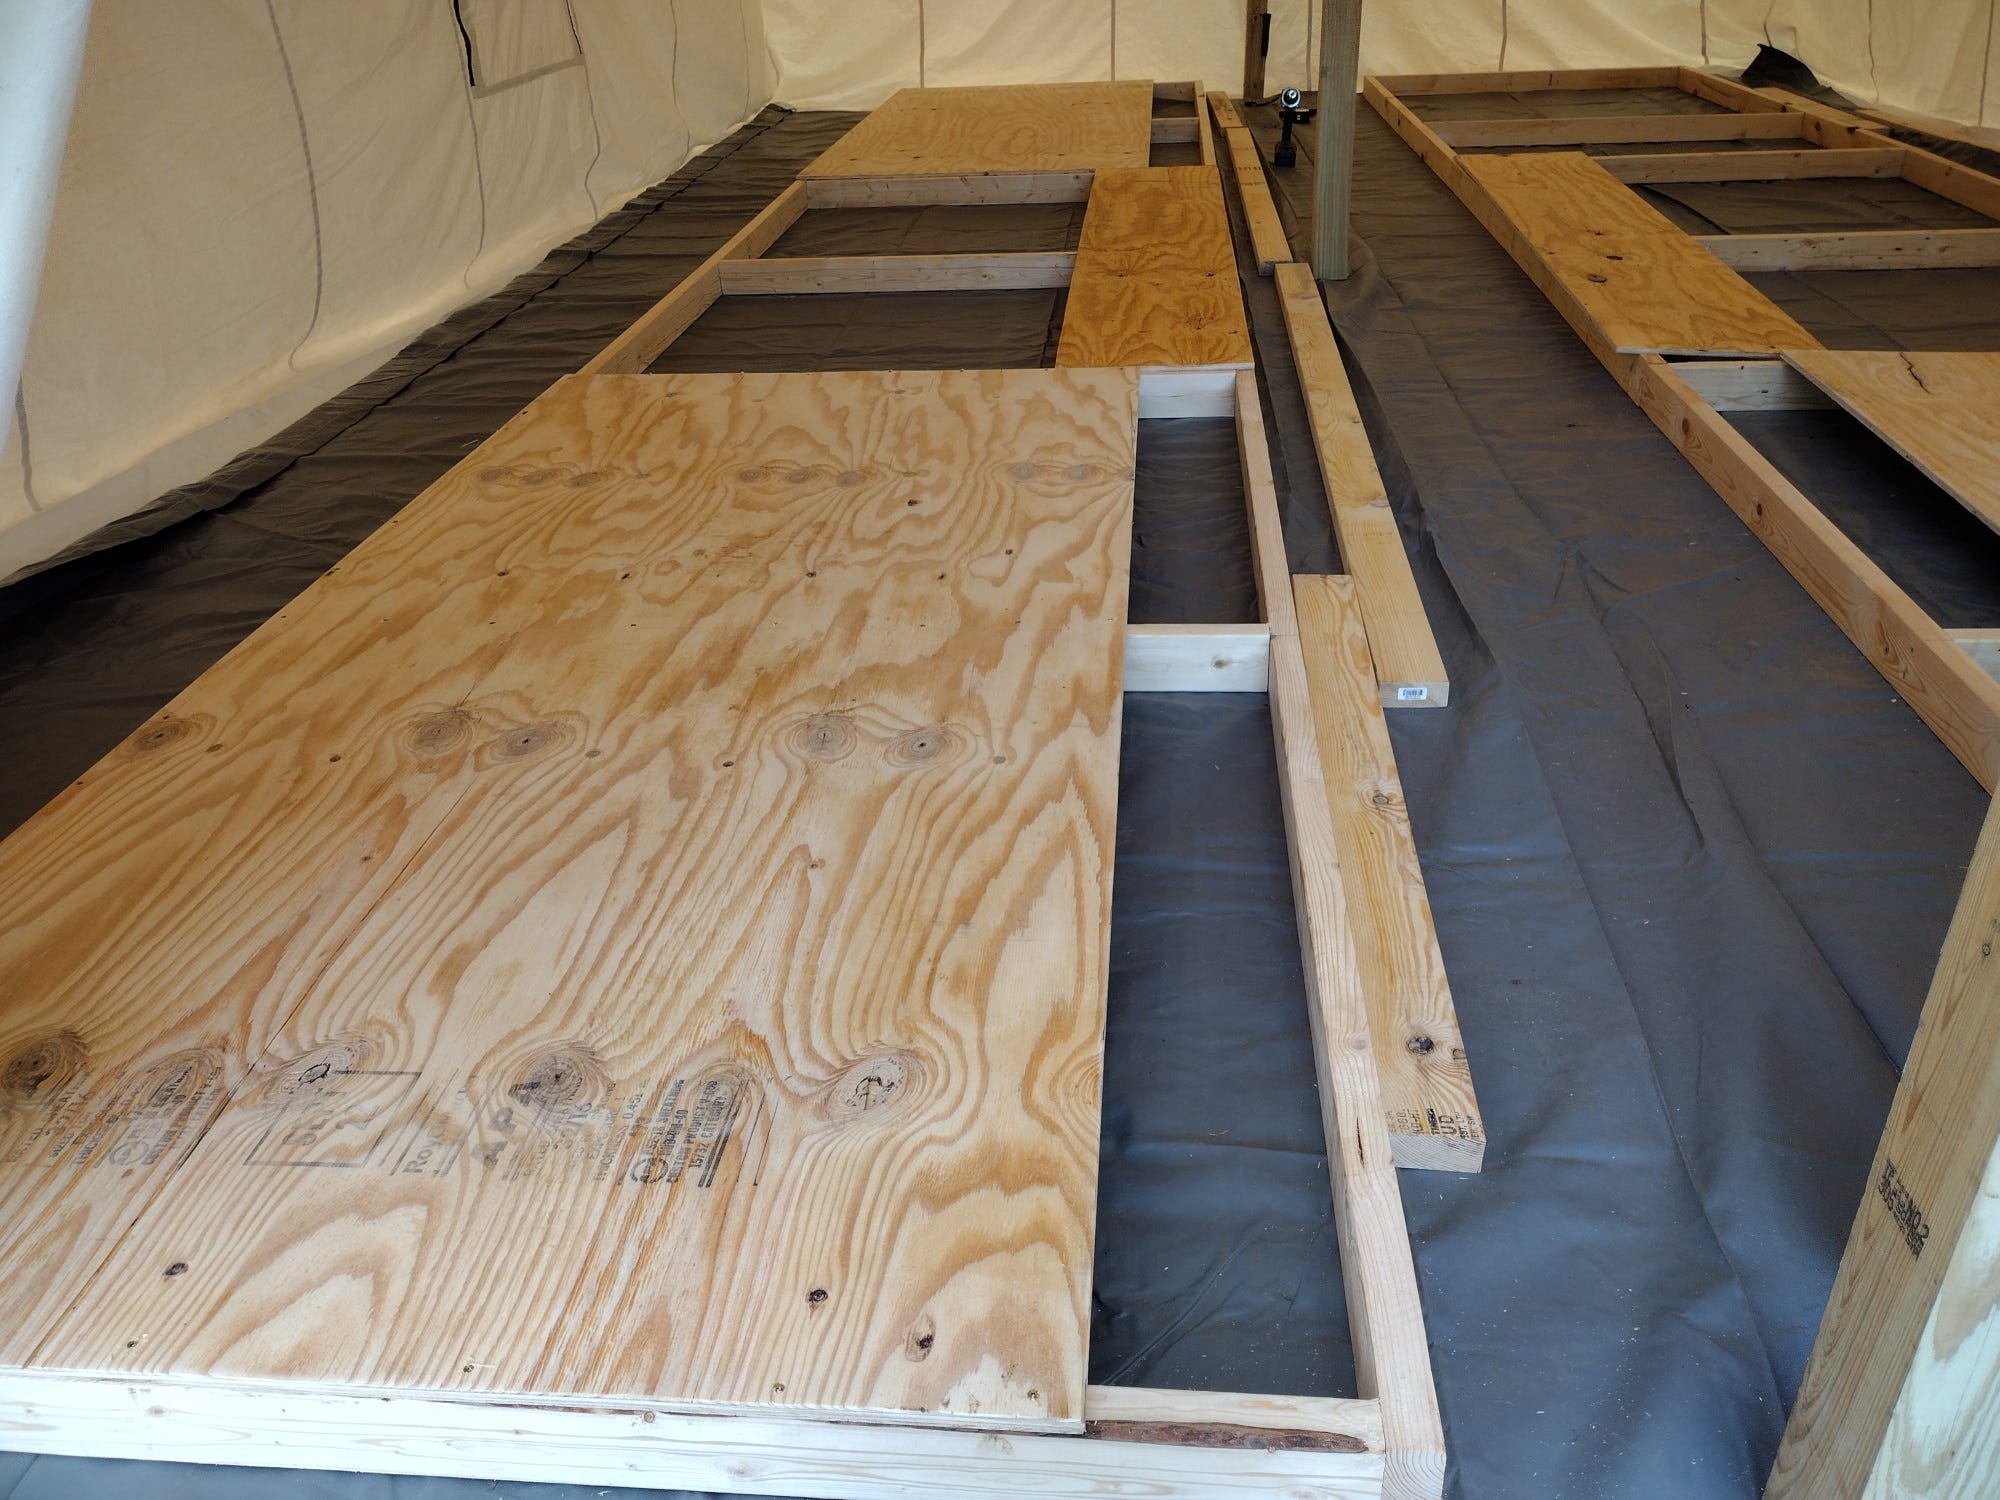
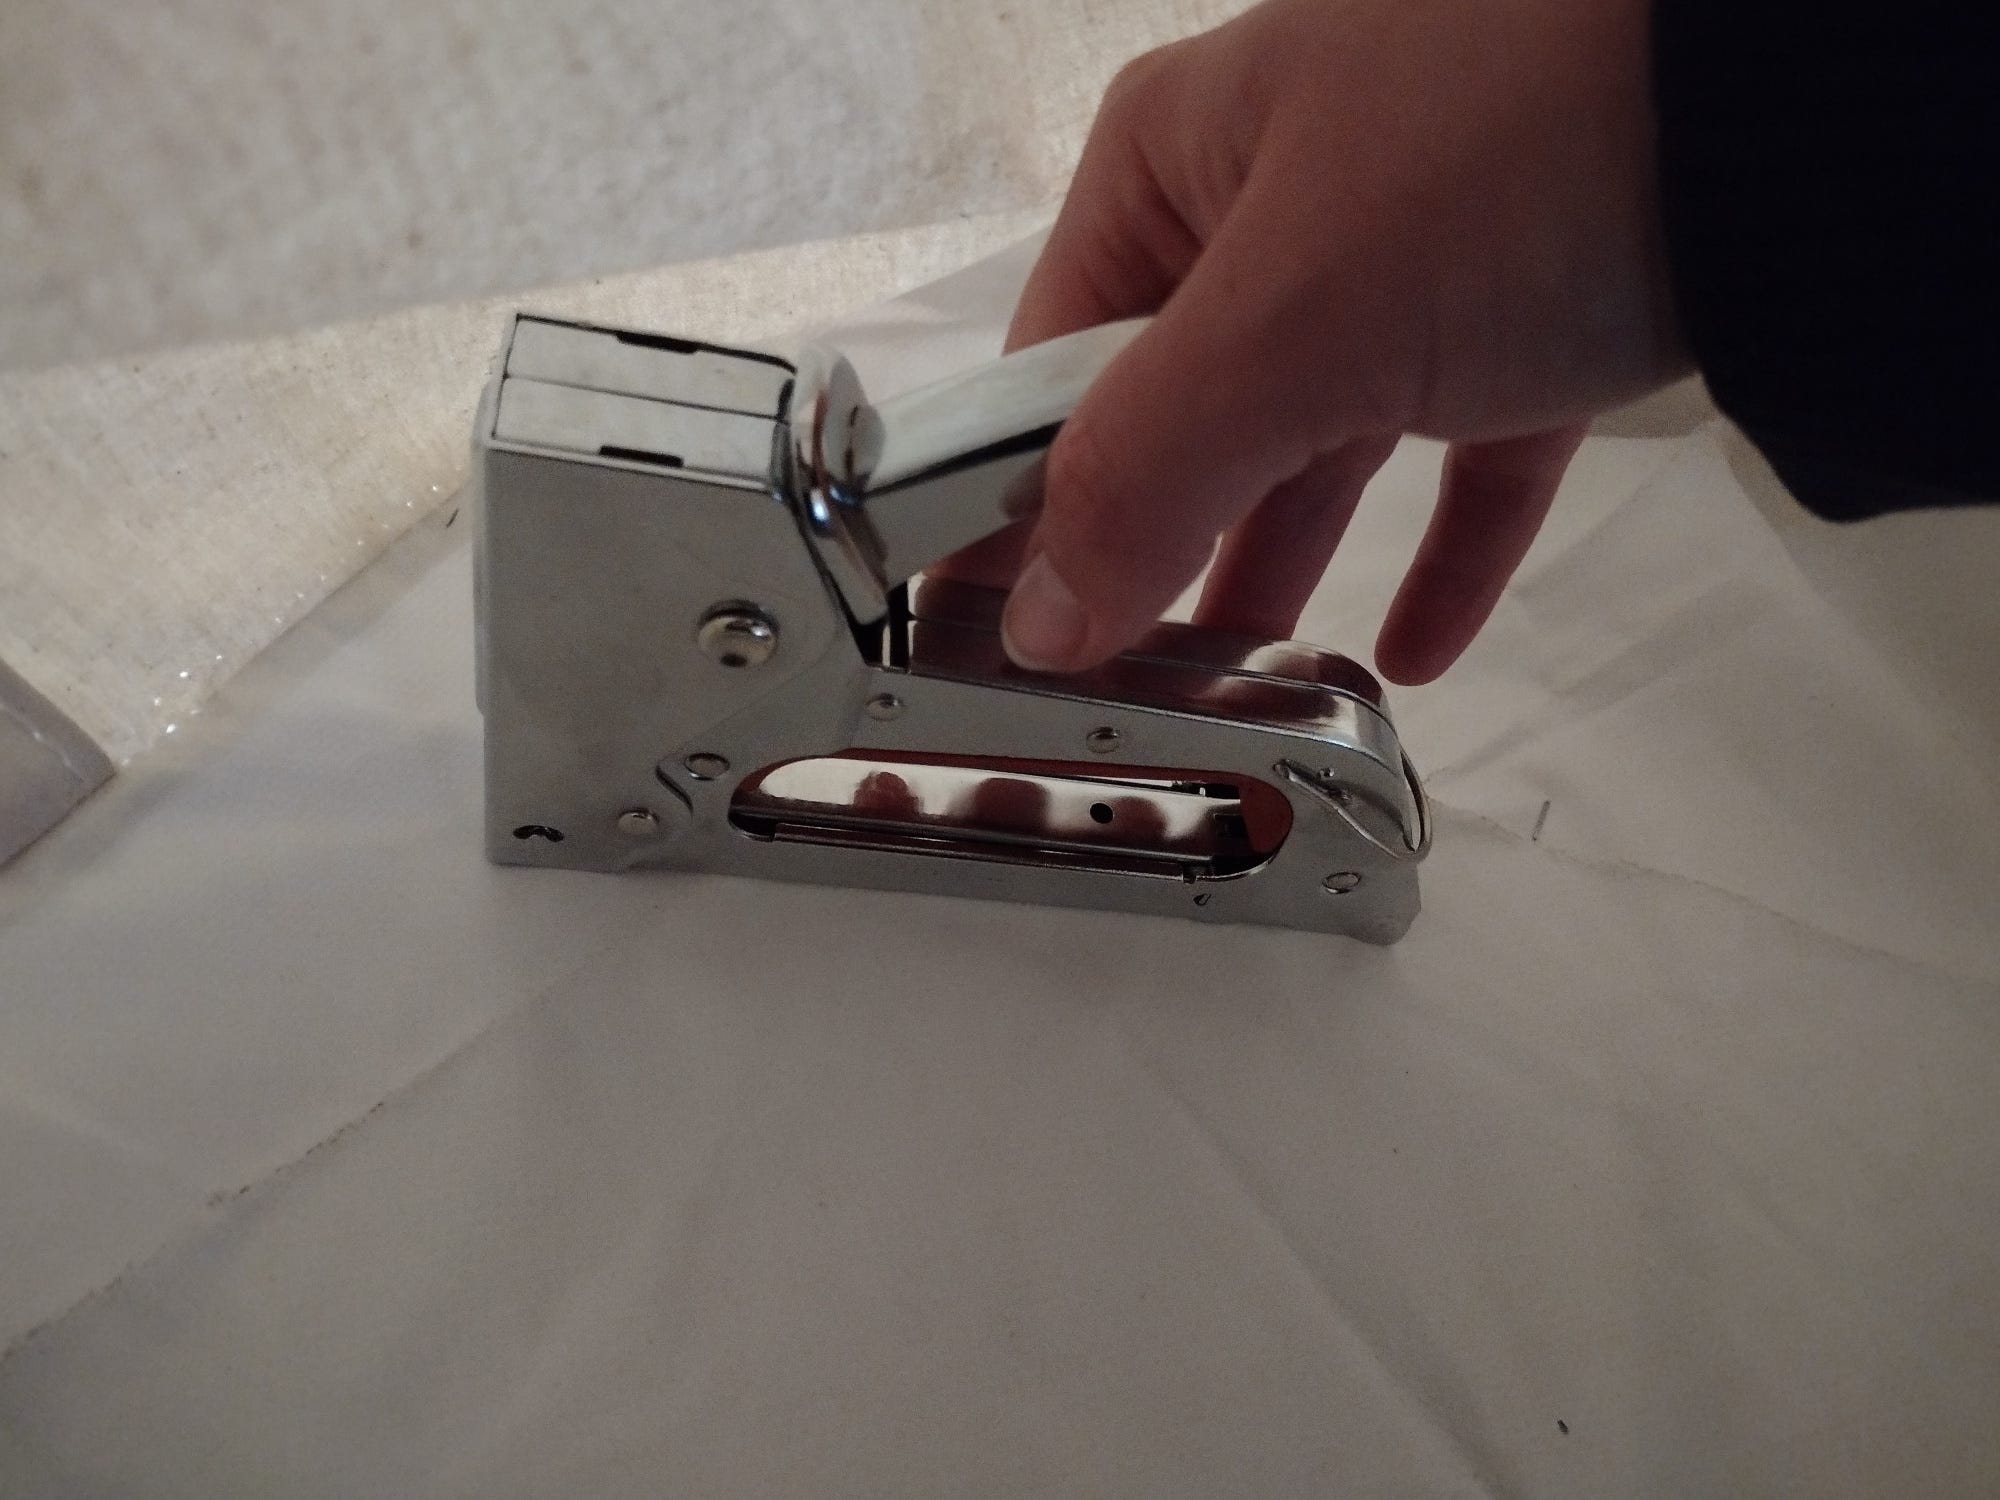
Before standing up the walls, we stapled the sod cloth to the deck so that it wouldn't move around. Then, we stood up the walls and secured them with structural screws. We added a brace on the front end. Then, we built a basic wall frame on the back end. We didn't put our walls on the edge of the deck -- we put them about an inch inside so that there was room for the tent to shrink.
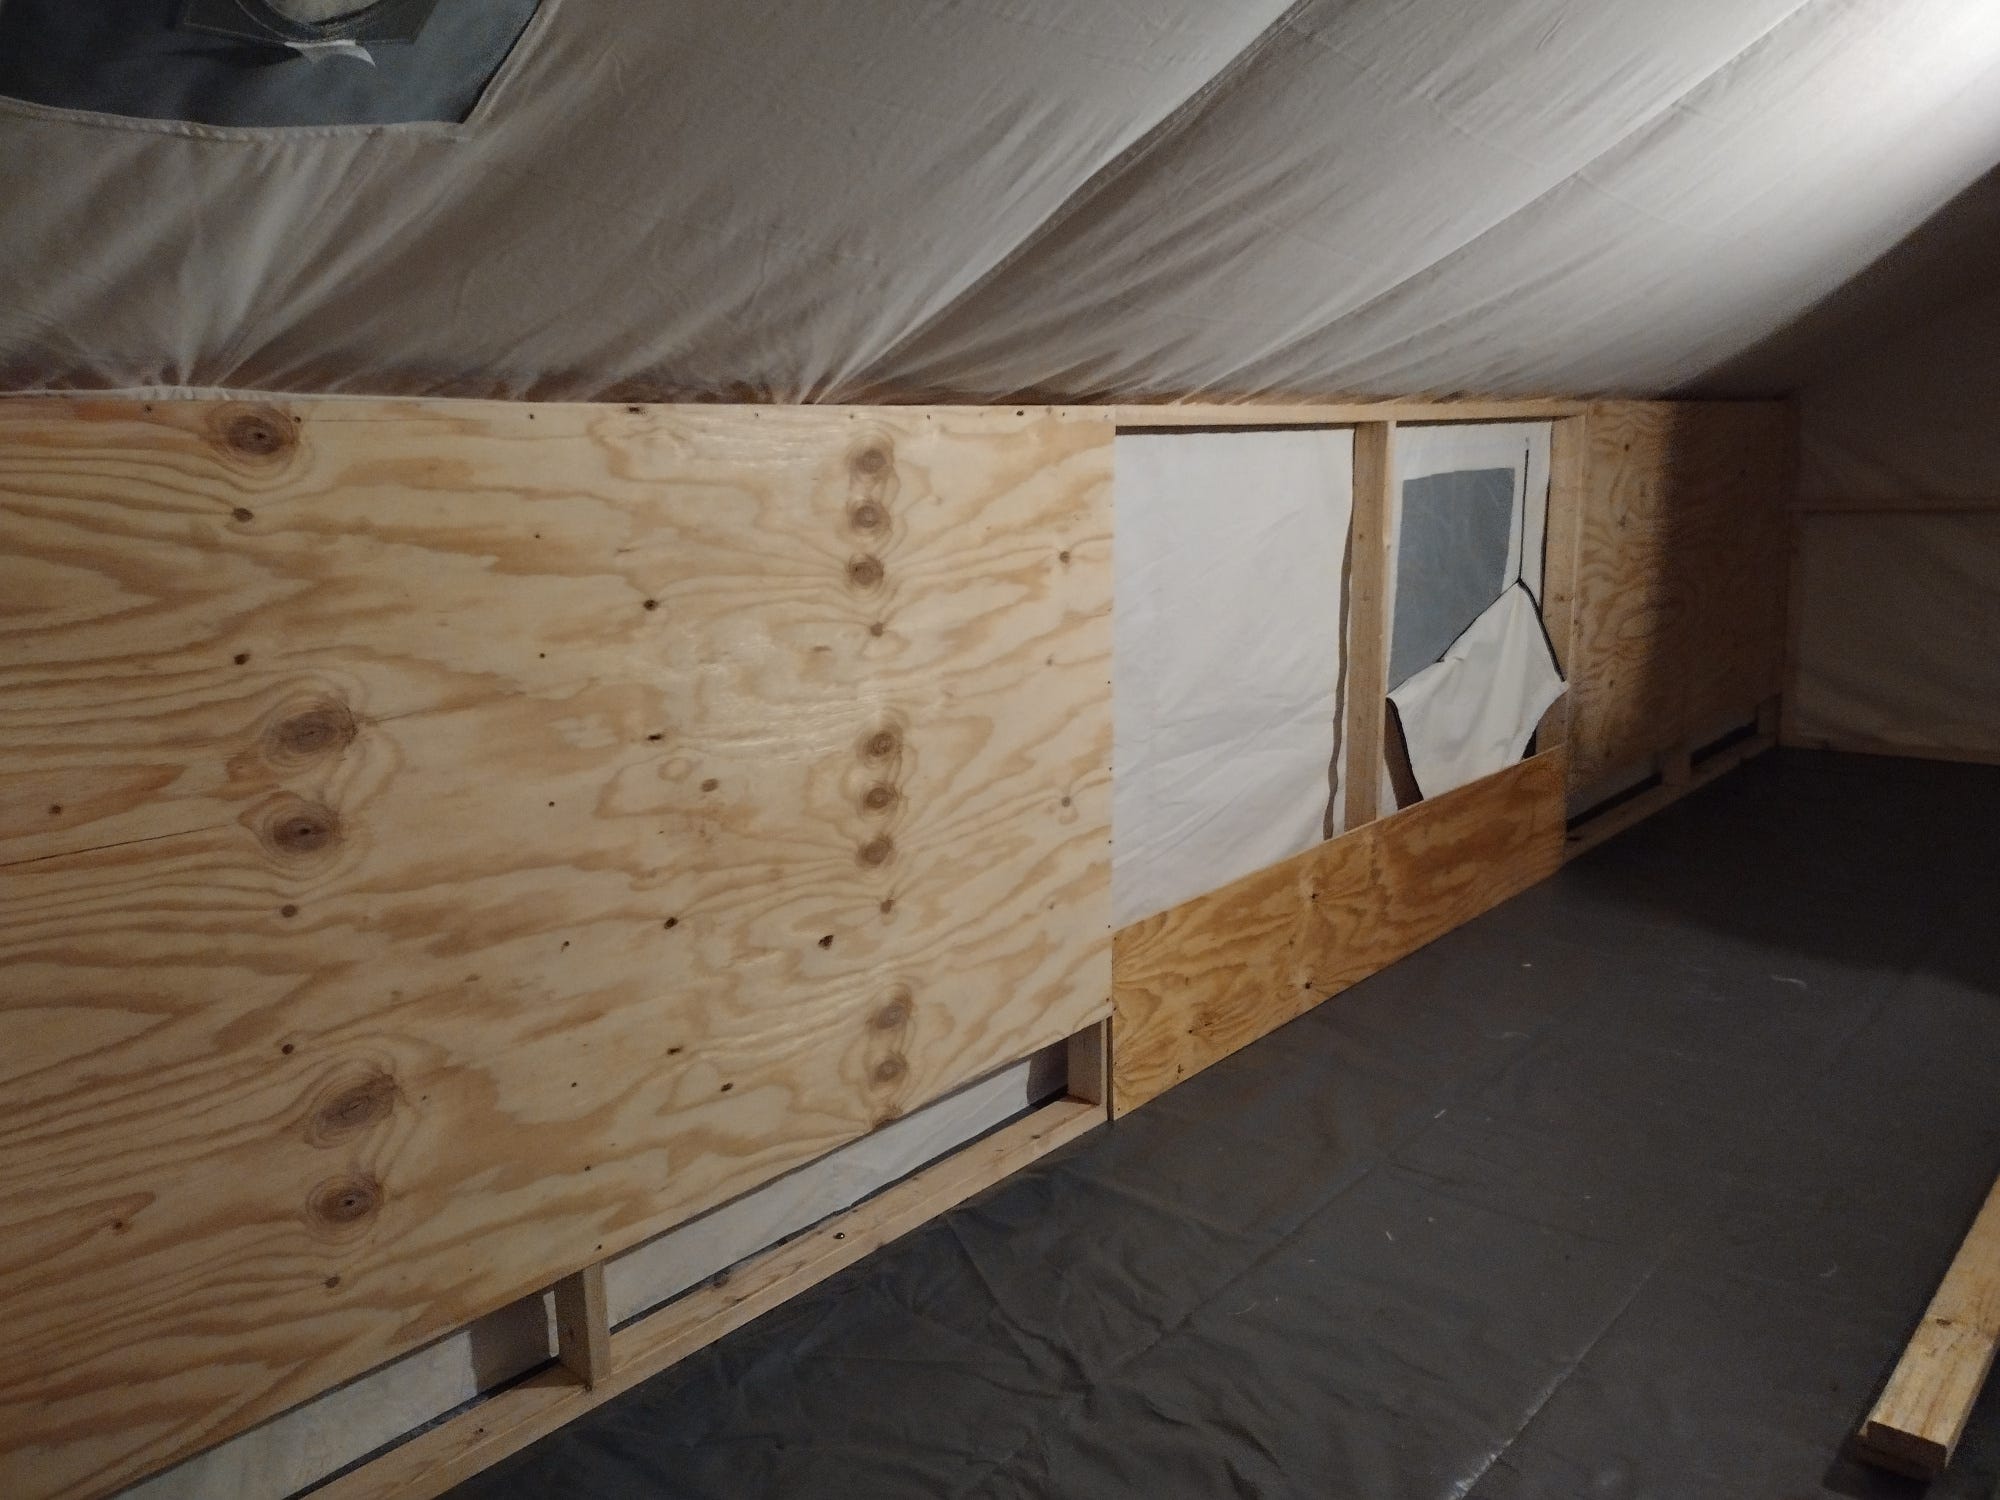
We ended up changing our minds about where we wanted the plywood to be on the walls, as you can see in later pictures. We also added a bit of plywood to the back wall frame to act as bracing. We may put full sheets of plywood there later.
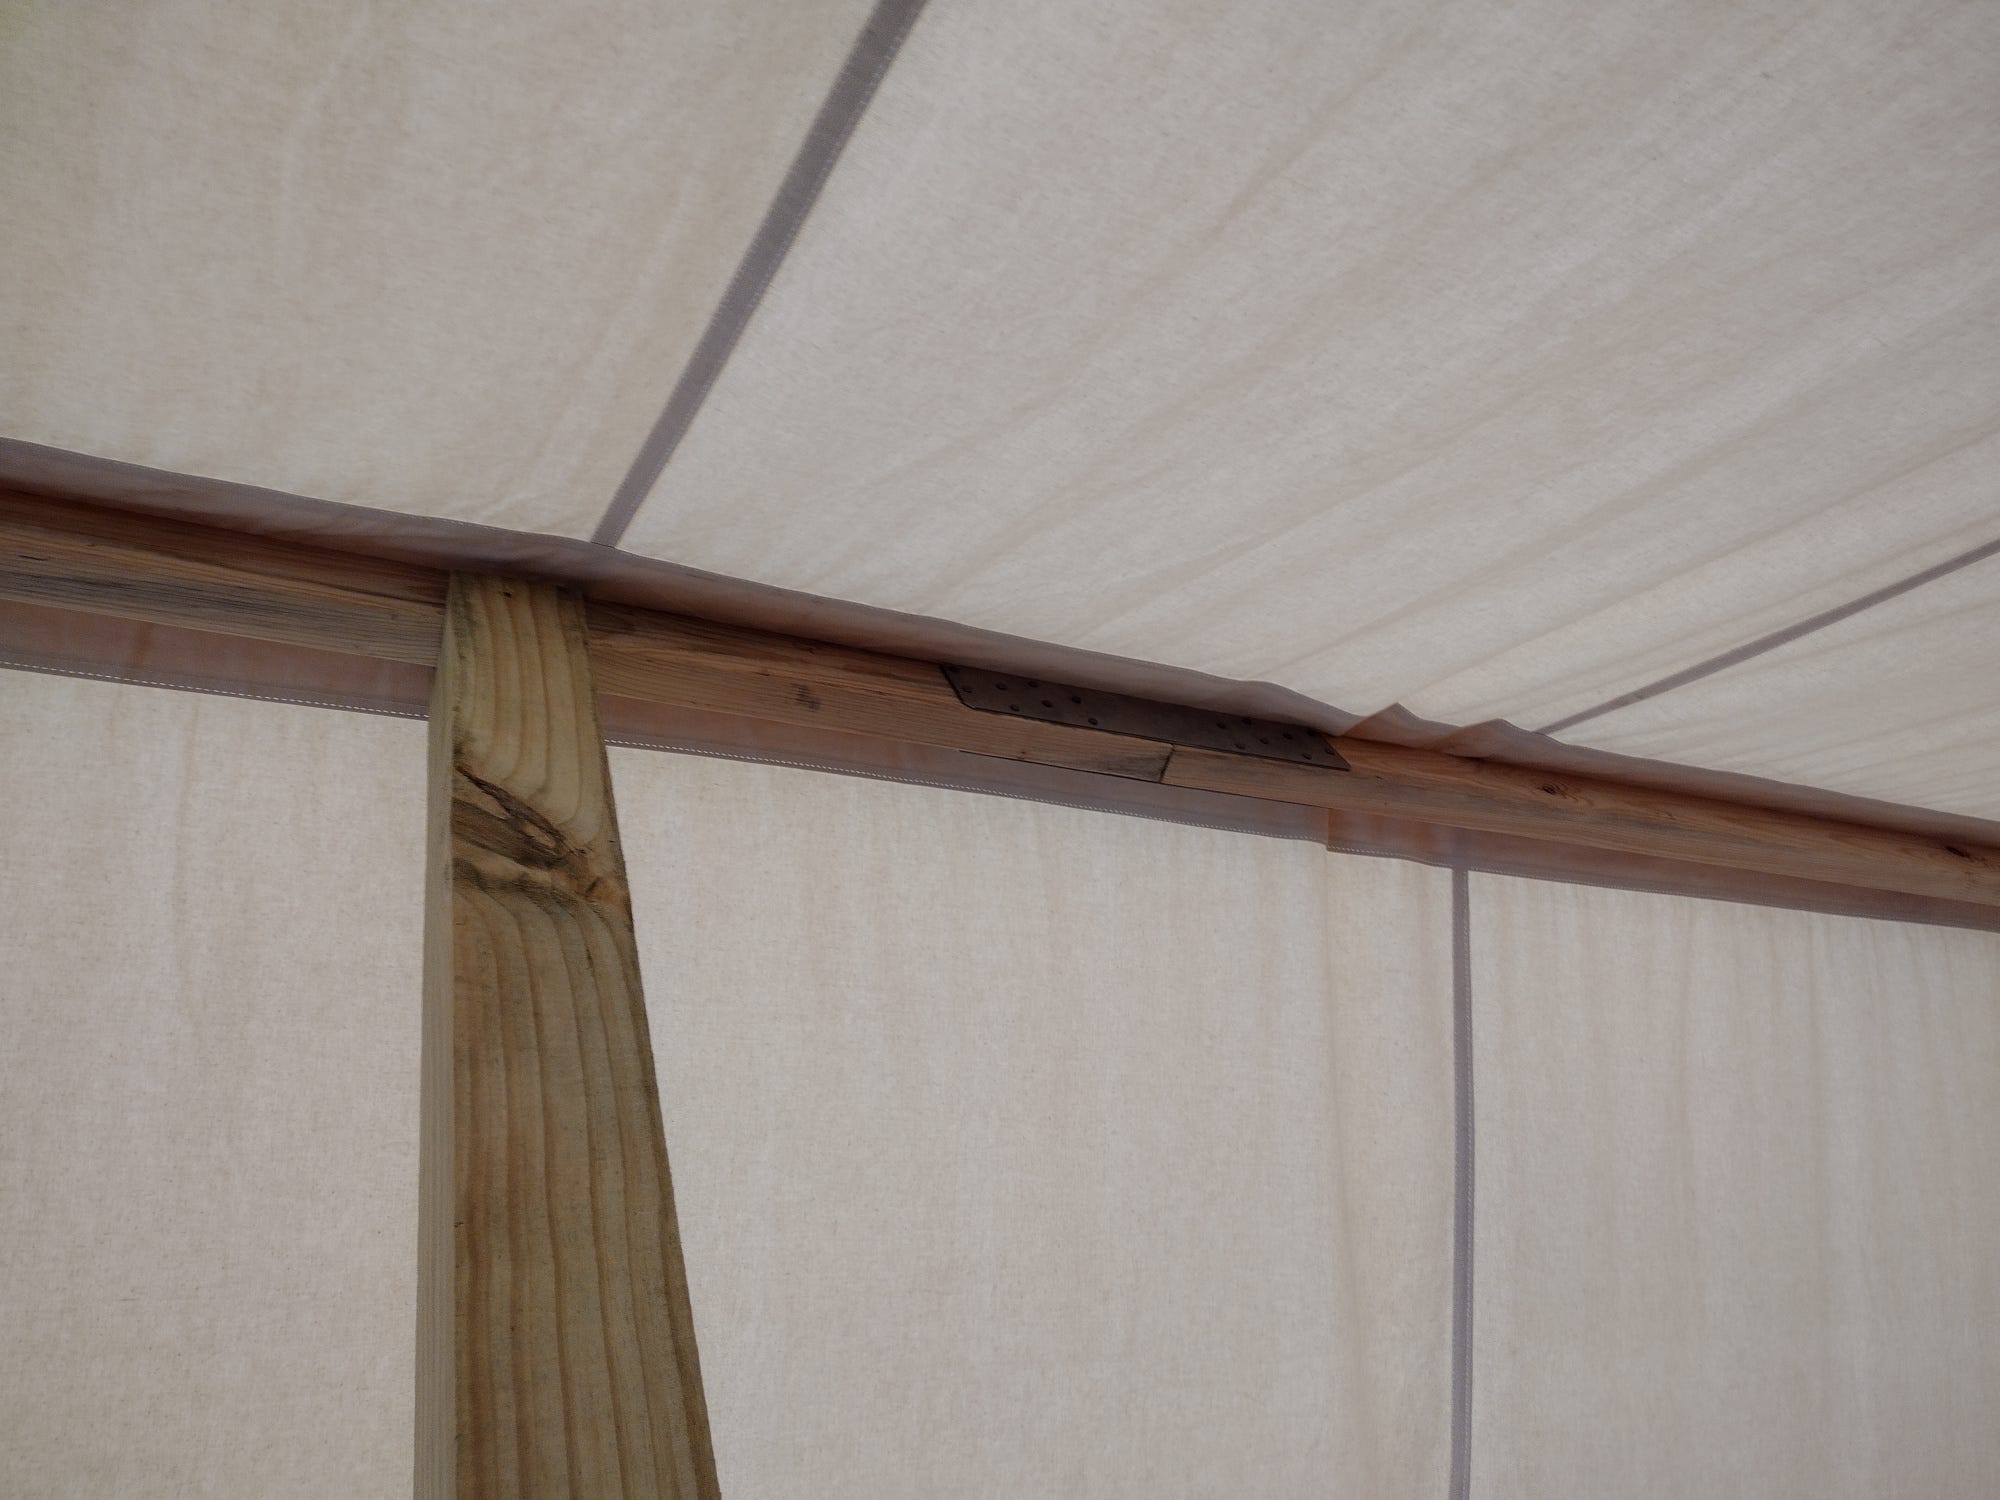
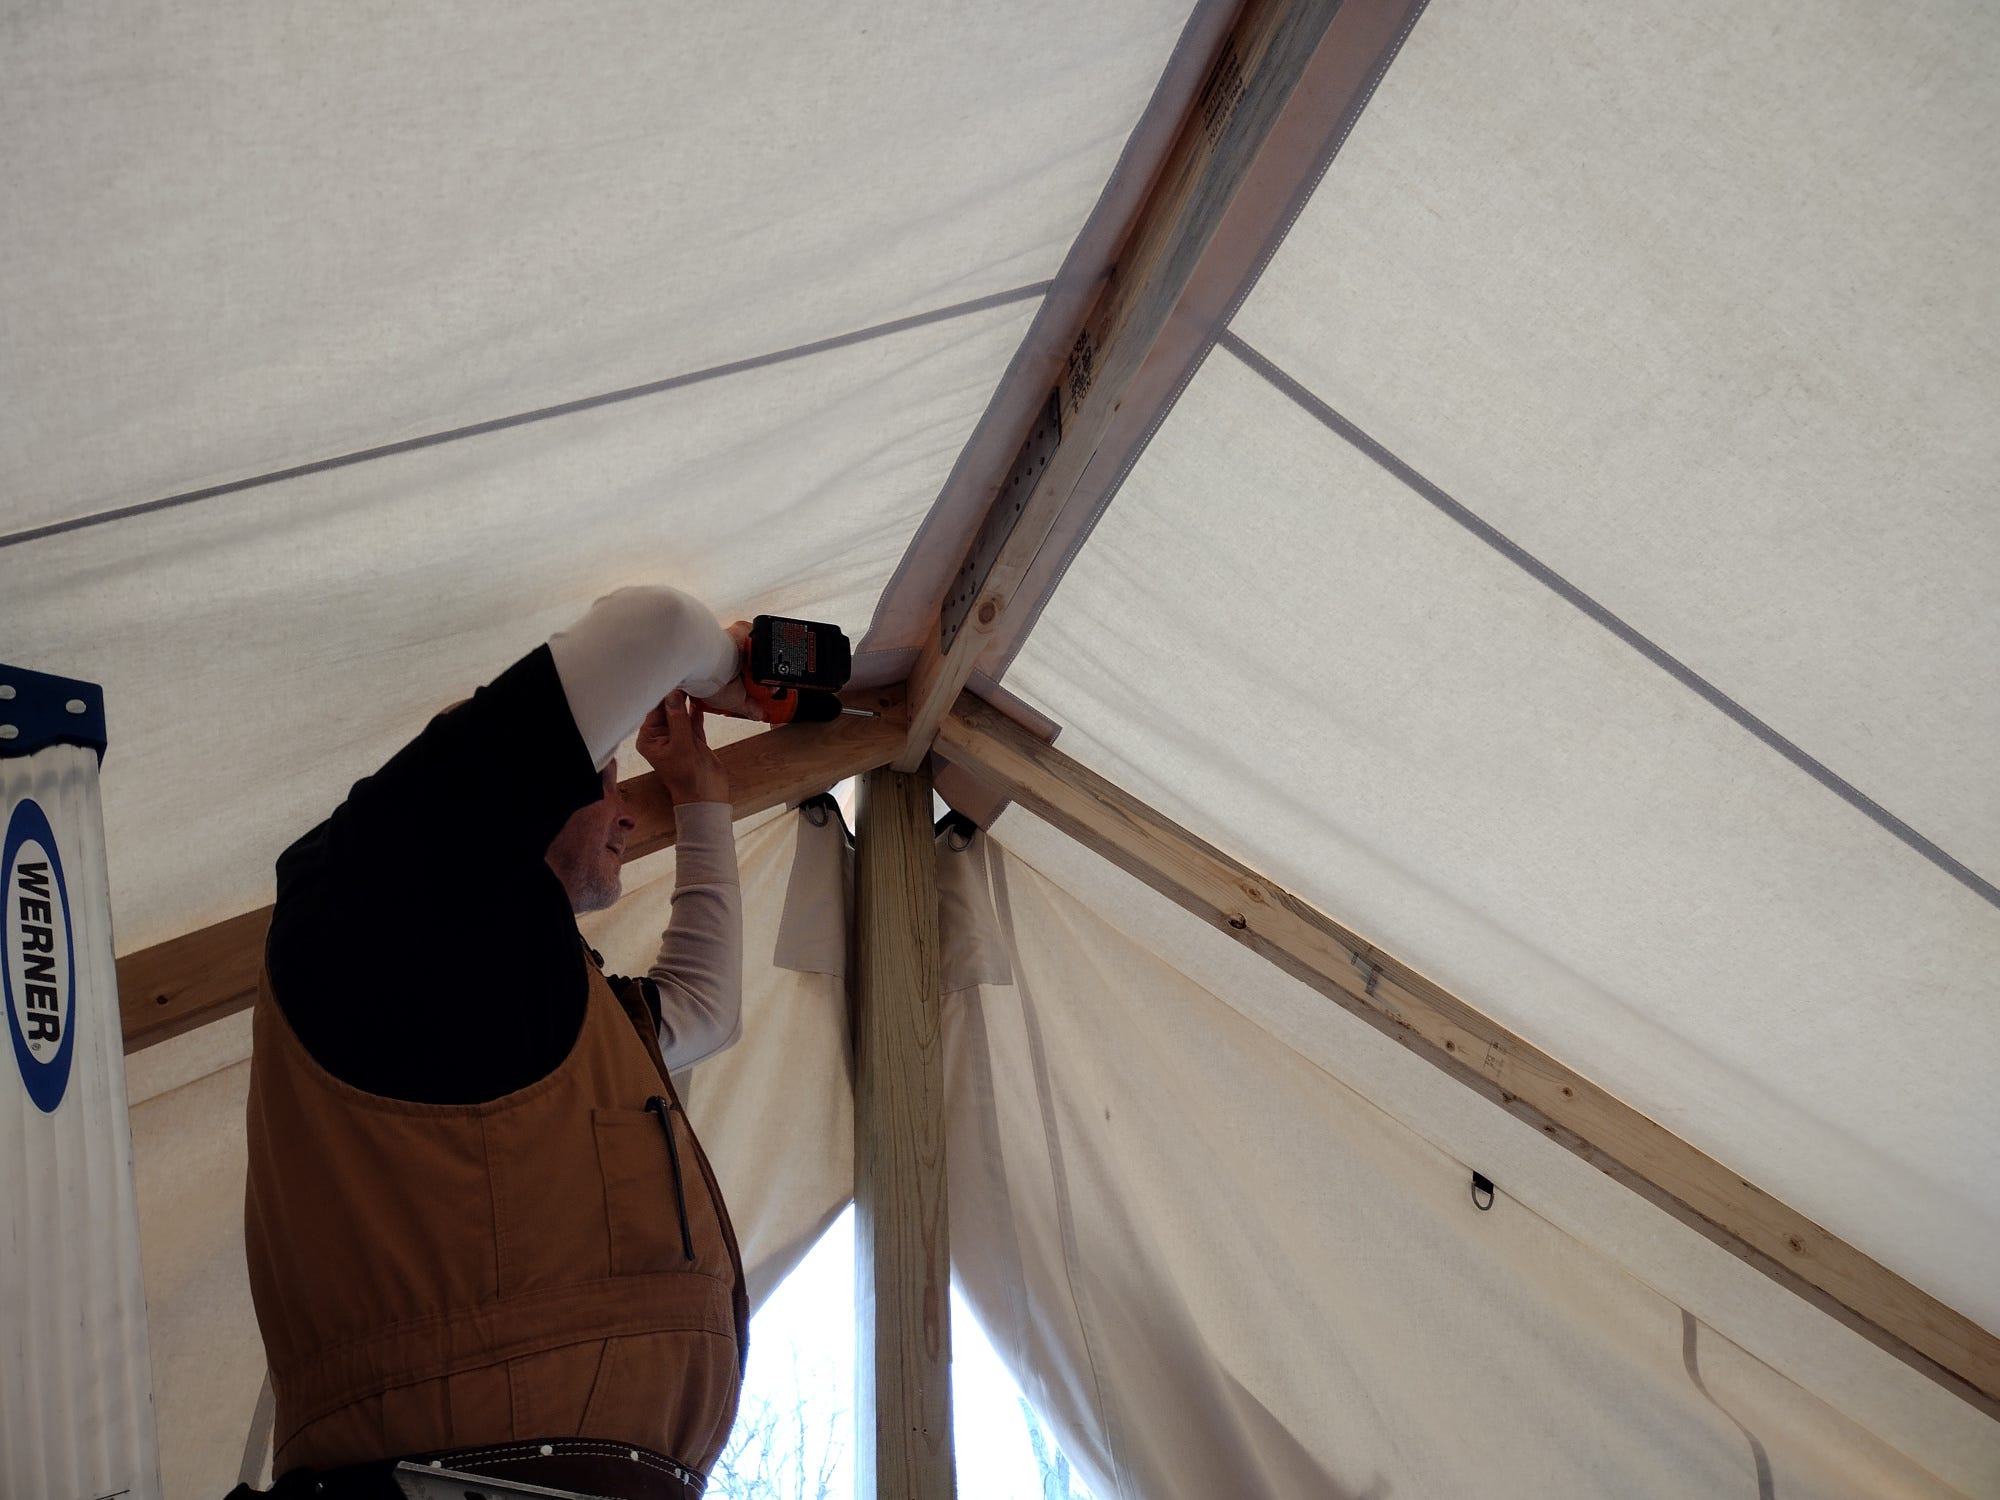
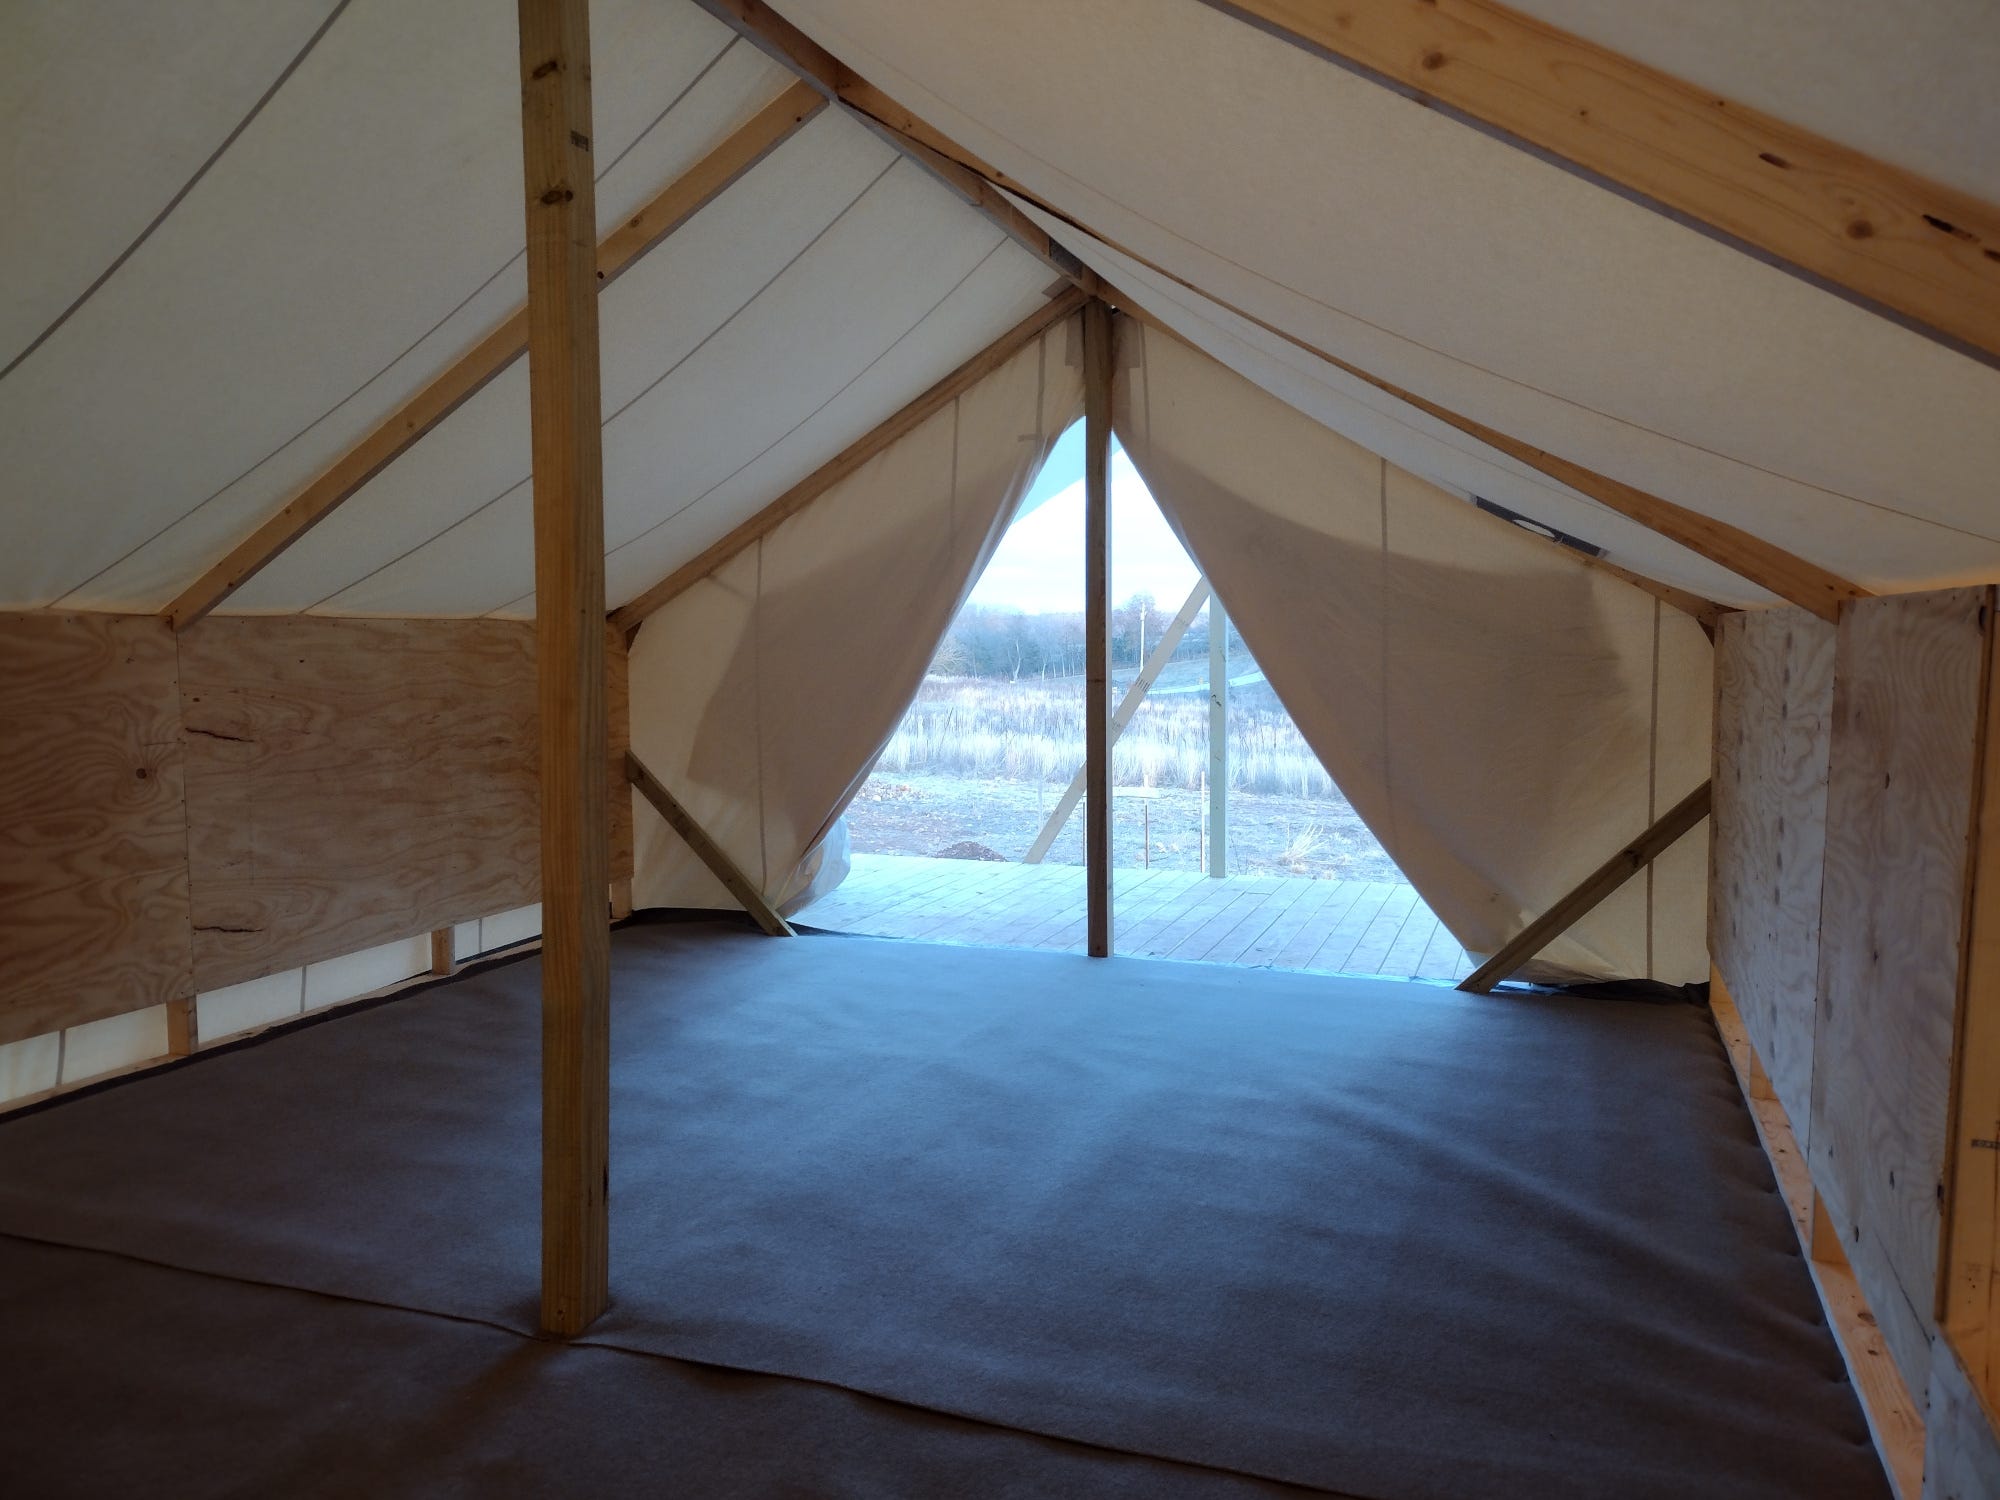
Next, we added some rafters to support the ridge pole and side walls. Figuring out how to cut the rafters was tricky. I used Sketchup to draw a simple rafter plan using the dimensions of our tent. This helped us figure out the angles for our cuts.
I helped my dad, Sam, and brother Levi put up the rafters. They did a lot of the reaching and installation. I assisted them in any way I could -- holding various tools as needed, making coffee, and checking our results against the plans. I also did most of the measuring -- marking where the rafters were supposed to go.
We put up two rafters at first. We made these a bit large on purpose, then took off just enough wood to get the perfect fit. There was a lot of putting them up and taking them back down to get it right.

When the fit was perfect, we used one of these first rafters as a pattern for all the rest. The project went quickly at that point. My dad cut the rafters while Levi and I installed them.
Once the rafters were up, the interior part of our frame was done. It looks great, and it feels very sturdy.
Next we installed indoor/outdoor carpet with some padding underneath to act as some insulation for the floor. We purchased both the carpet and pad at Menards.
Grace and I rolled out the padding.
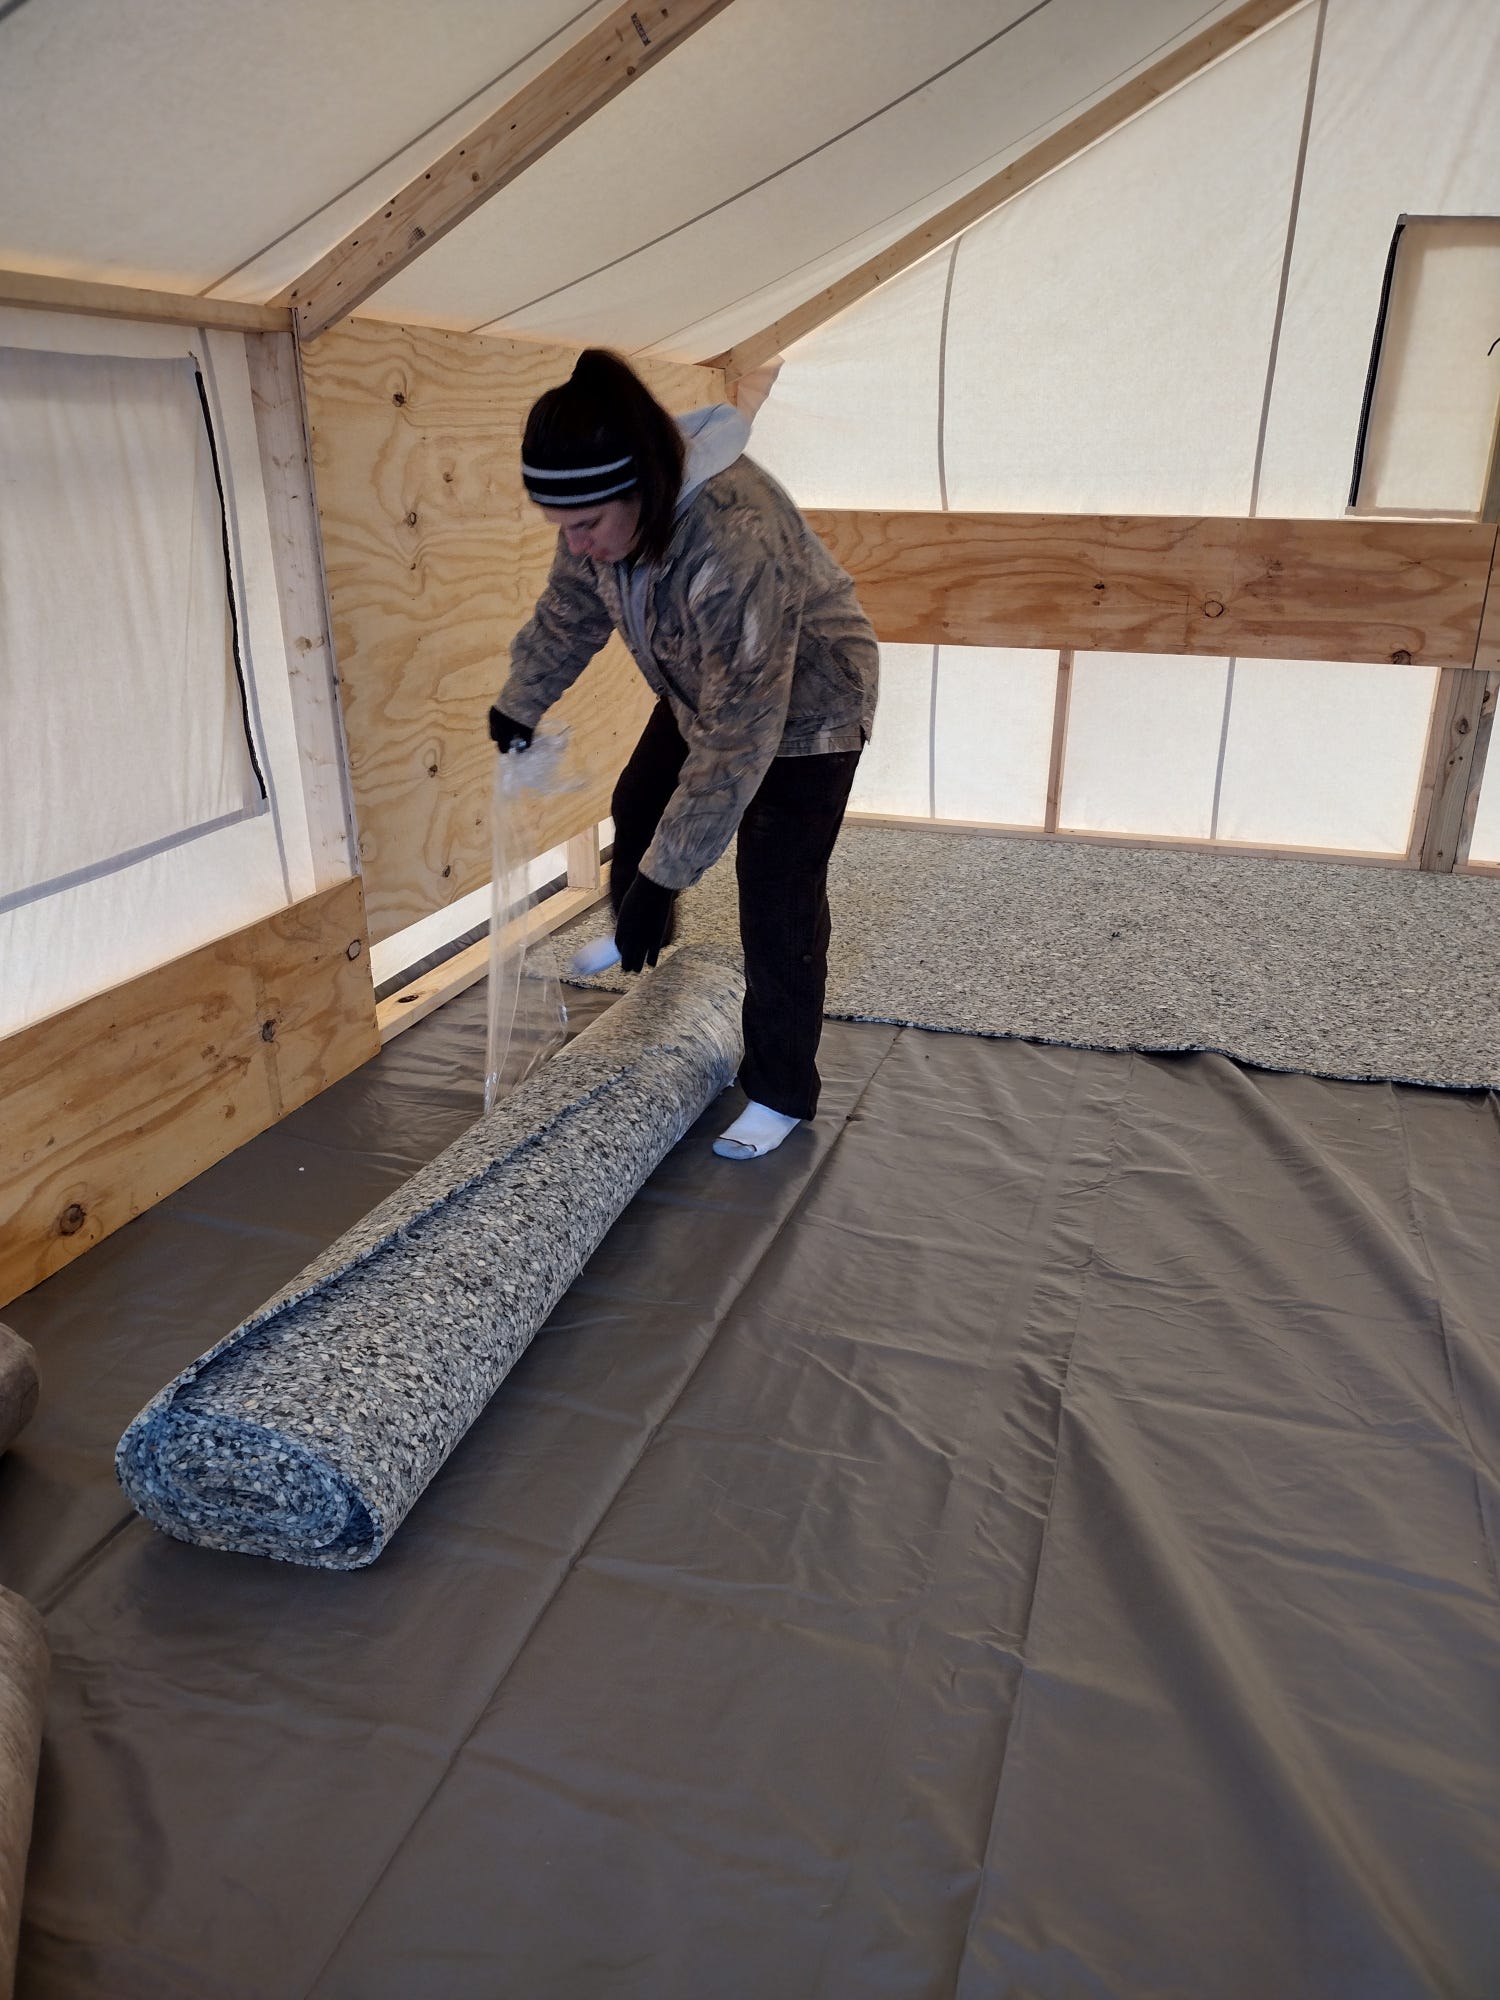
We tried to have everything cut the right size for our project, but we still had to trim one piece of the padding so that it didn't overlap. We also cut a hole for the center post.
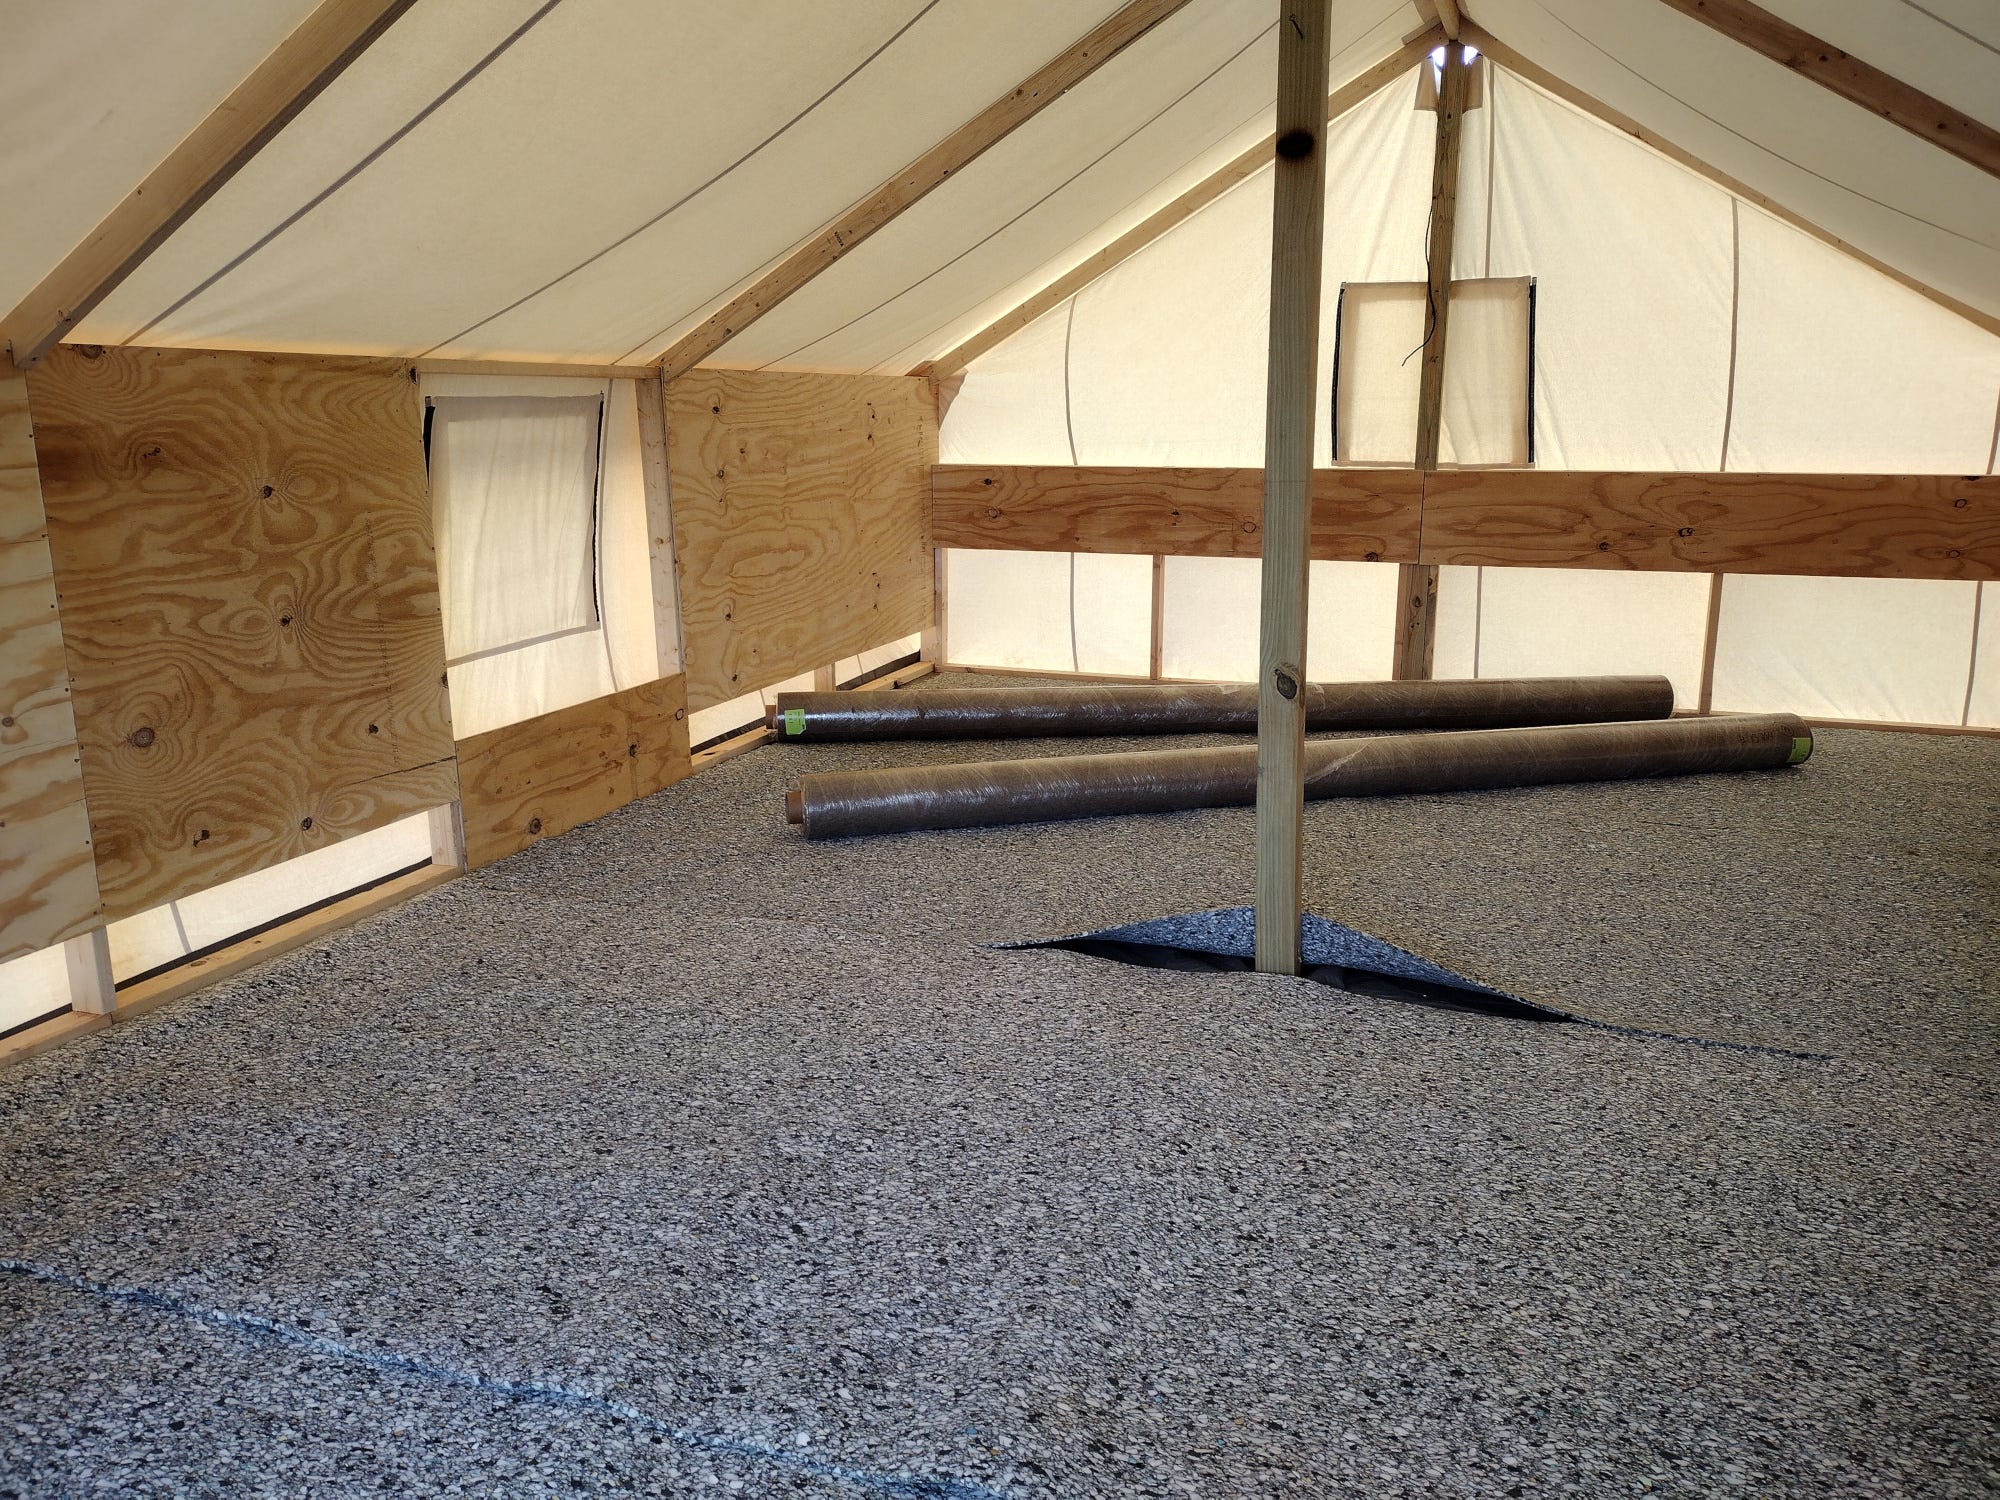
Then we laid out the carpet. Since it's pretty thin, we decided to let it overlap a few inches in the middle of the tent. We only ended up needing to trim one side.
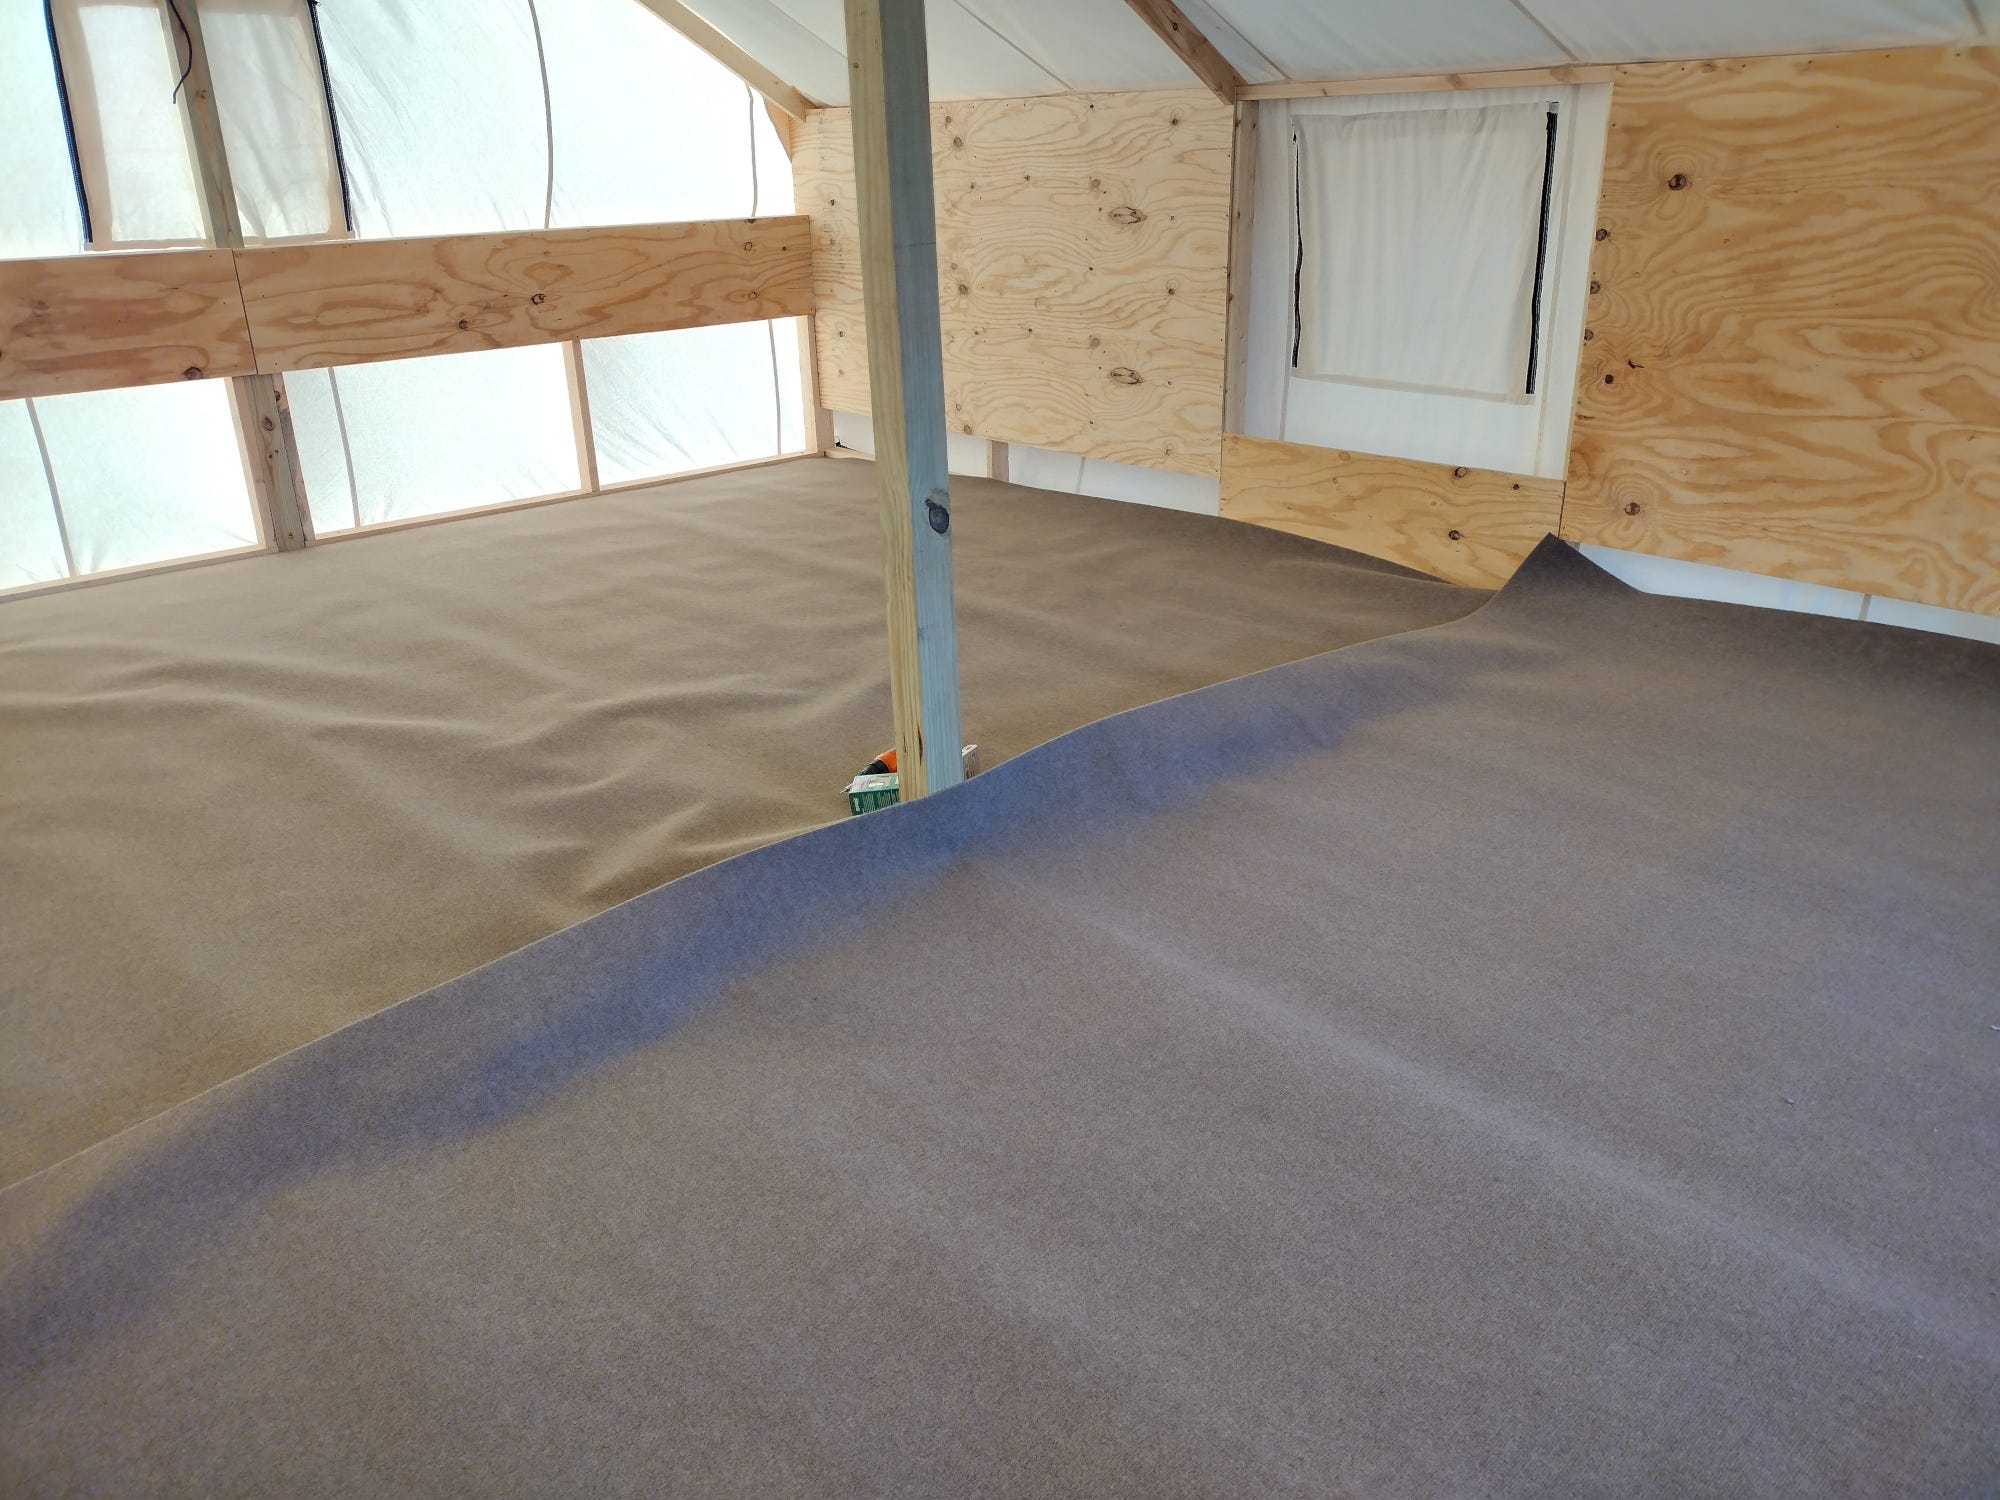
Our dad secured the carpet with some carpet tacks. It turned out great. It's not perfect, but its the best tent floor we've ever had -- and that's what we were going for. In hindsight, one thing we should have done differently is make sure our vinyl underlayment was perfectly flat. We didn't realize the wrinkles would show through the carpet, but they do!
The inside of our tent itself is officially complete. In a perfect world, I would have painted the frame before putting it up. We may work on some of those things on days we can't work on our bunk house. We also plan to add shelving as needed for storage. But first, we have to get the woodstove installed. That is the next project on our agenda.