
Refinishing Cast Iron Pans
Throughout the holiday season, I took on a "town" project to keep me busy on days we couldn't make it out onto the land. I decided to refinish our old cast iron cookware. We have been using it while camping, but it needed some love -- especially the big, 14-inch skillet. I was inspired by Carolyn Thomas of the Homesteading Family's blog post, Stripping and Seasoning a Cast Iron Pan. I think I came across the post one day through Instagram, one click leading to another.
The project should have taken a day or two, but I stretched it out over weeks, working on it during free moments. Aesthetically, the results were stunning -- but it was more of an adventure than I expected!
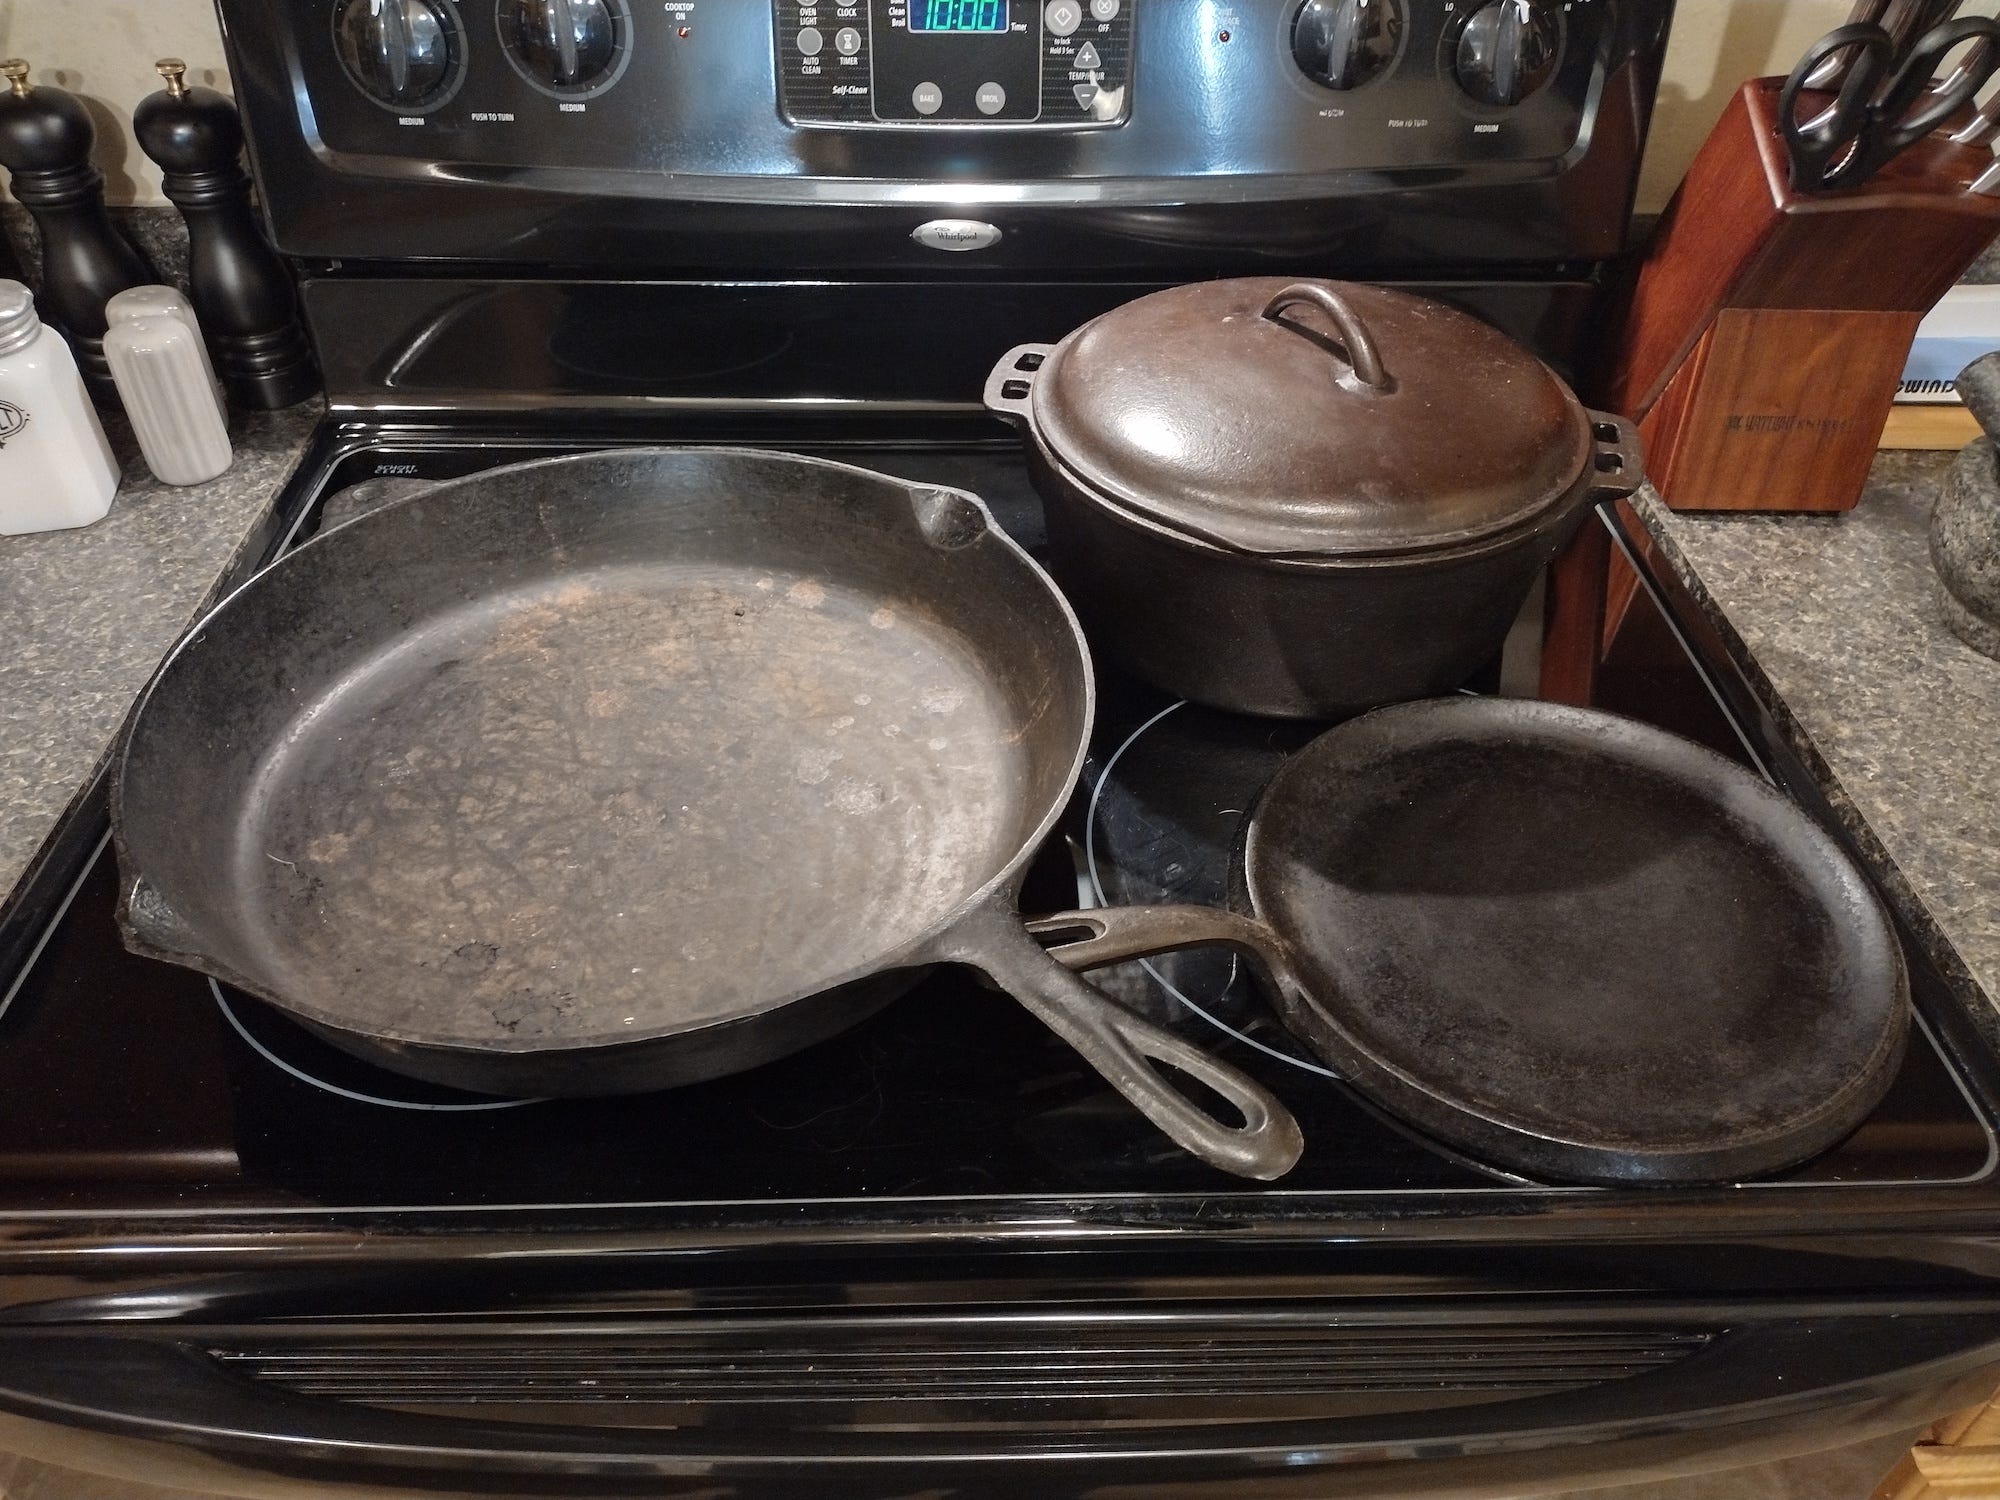
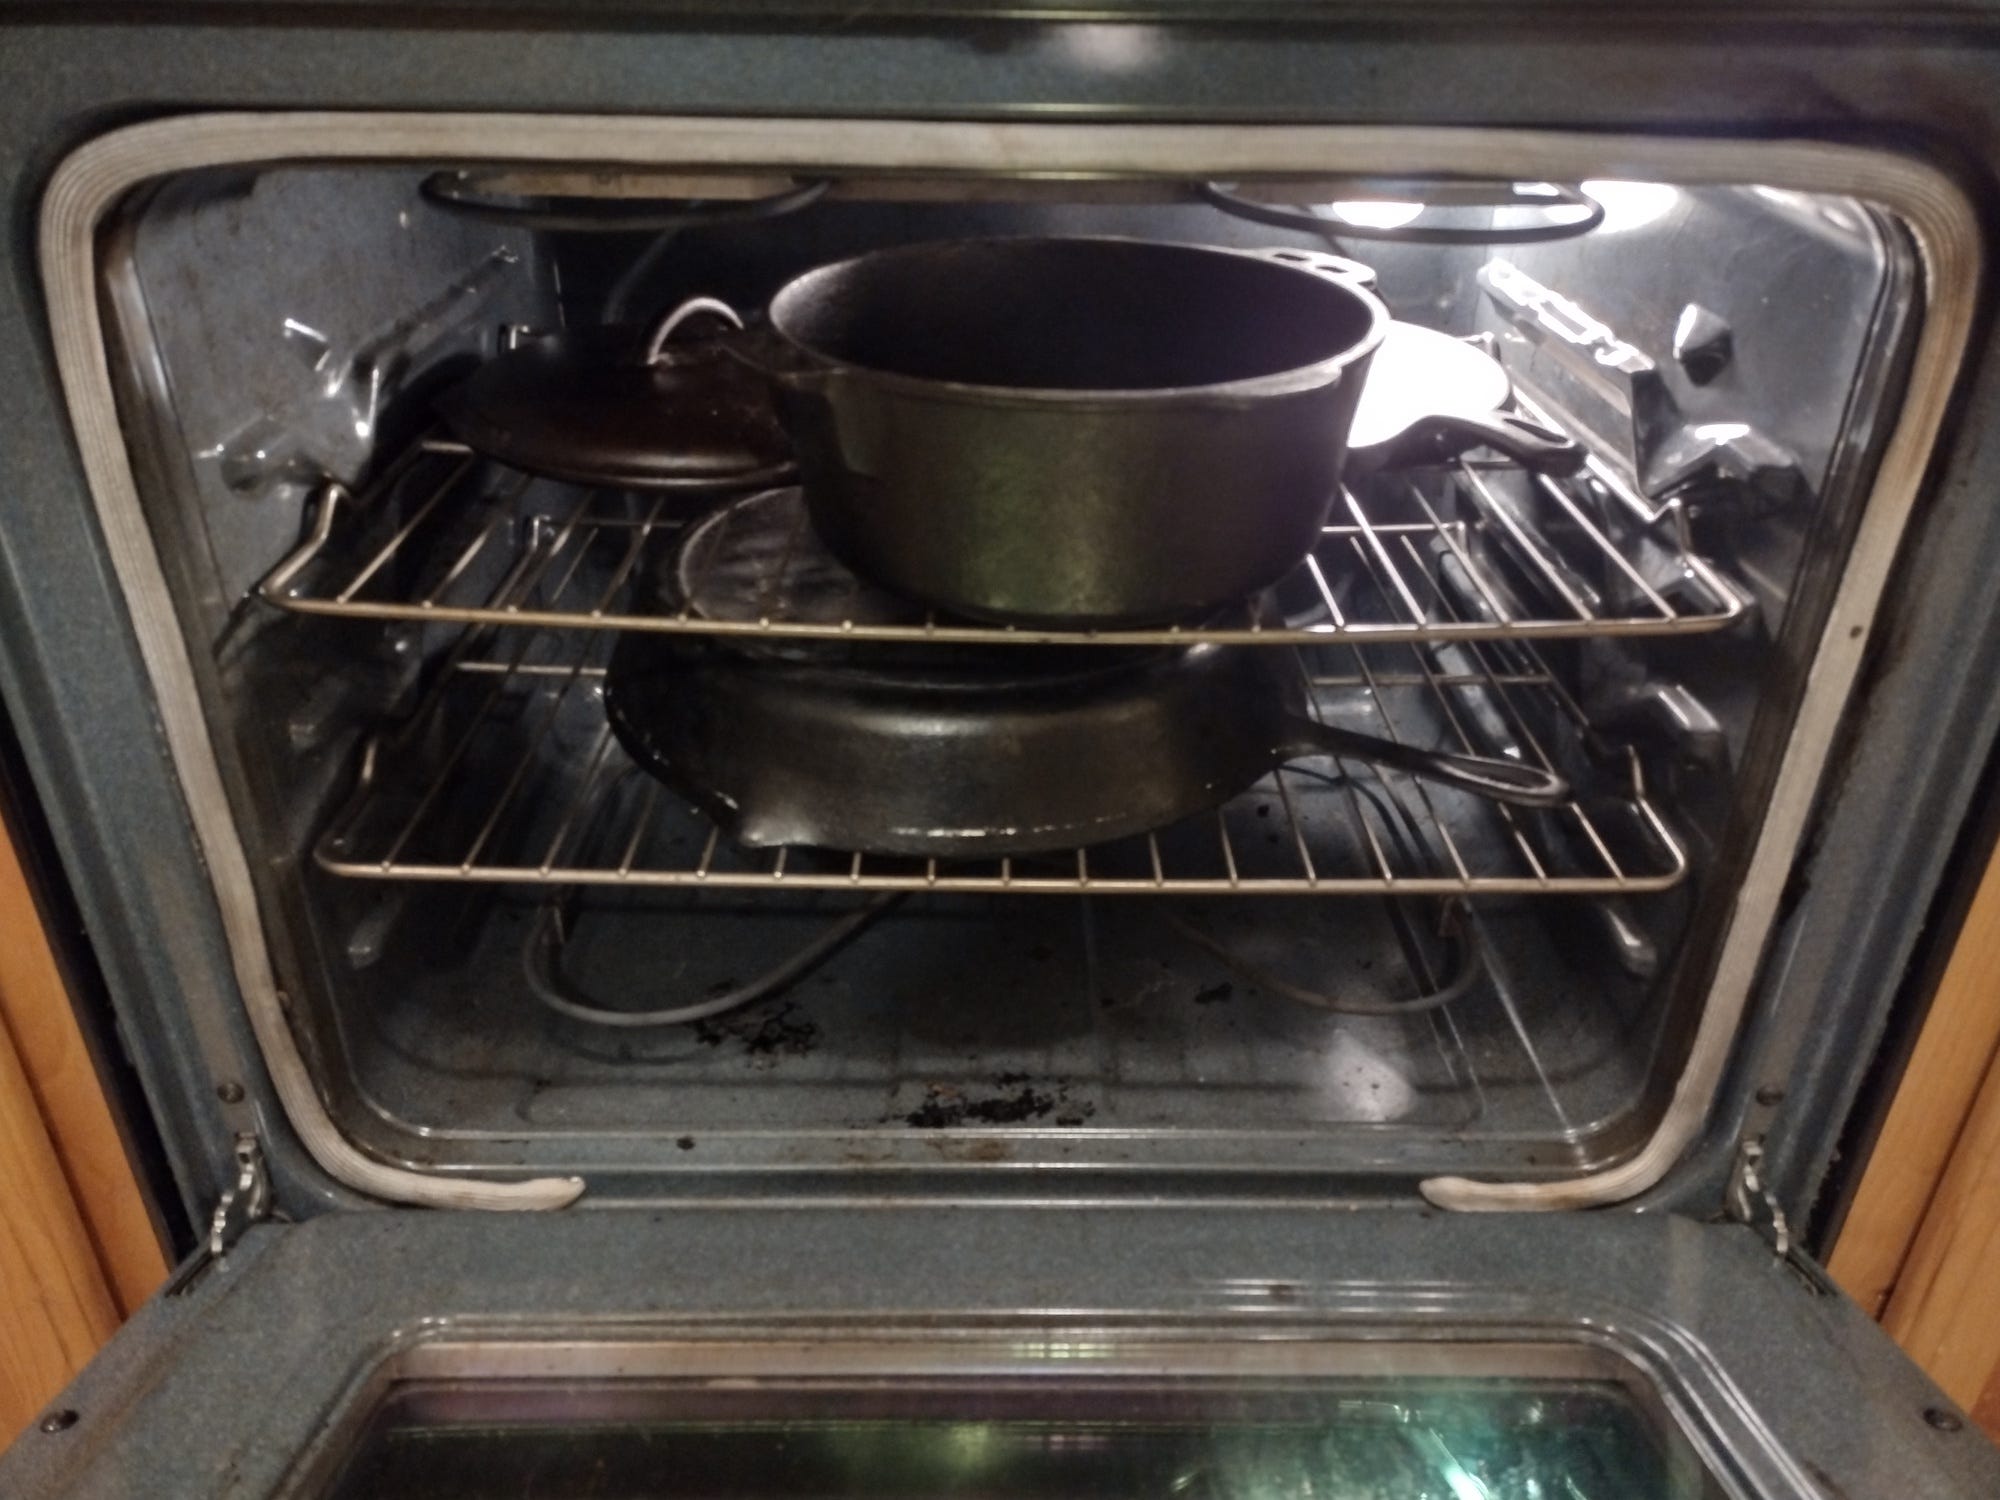
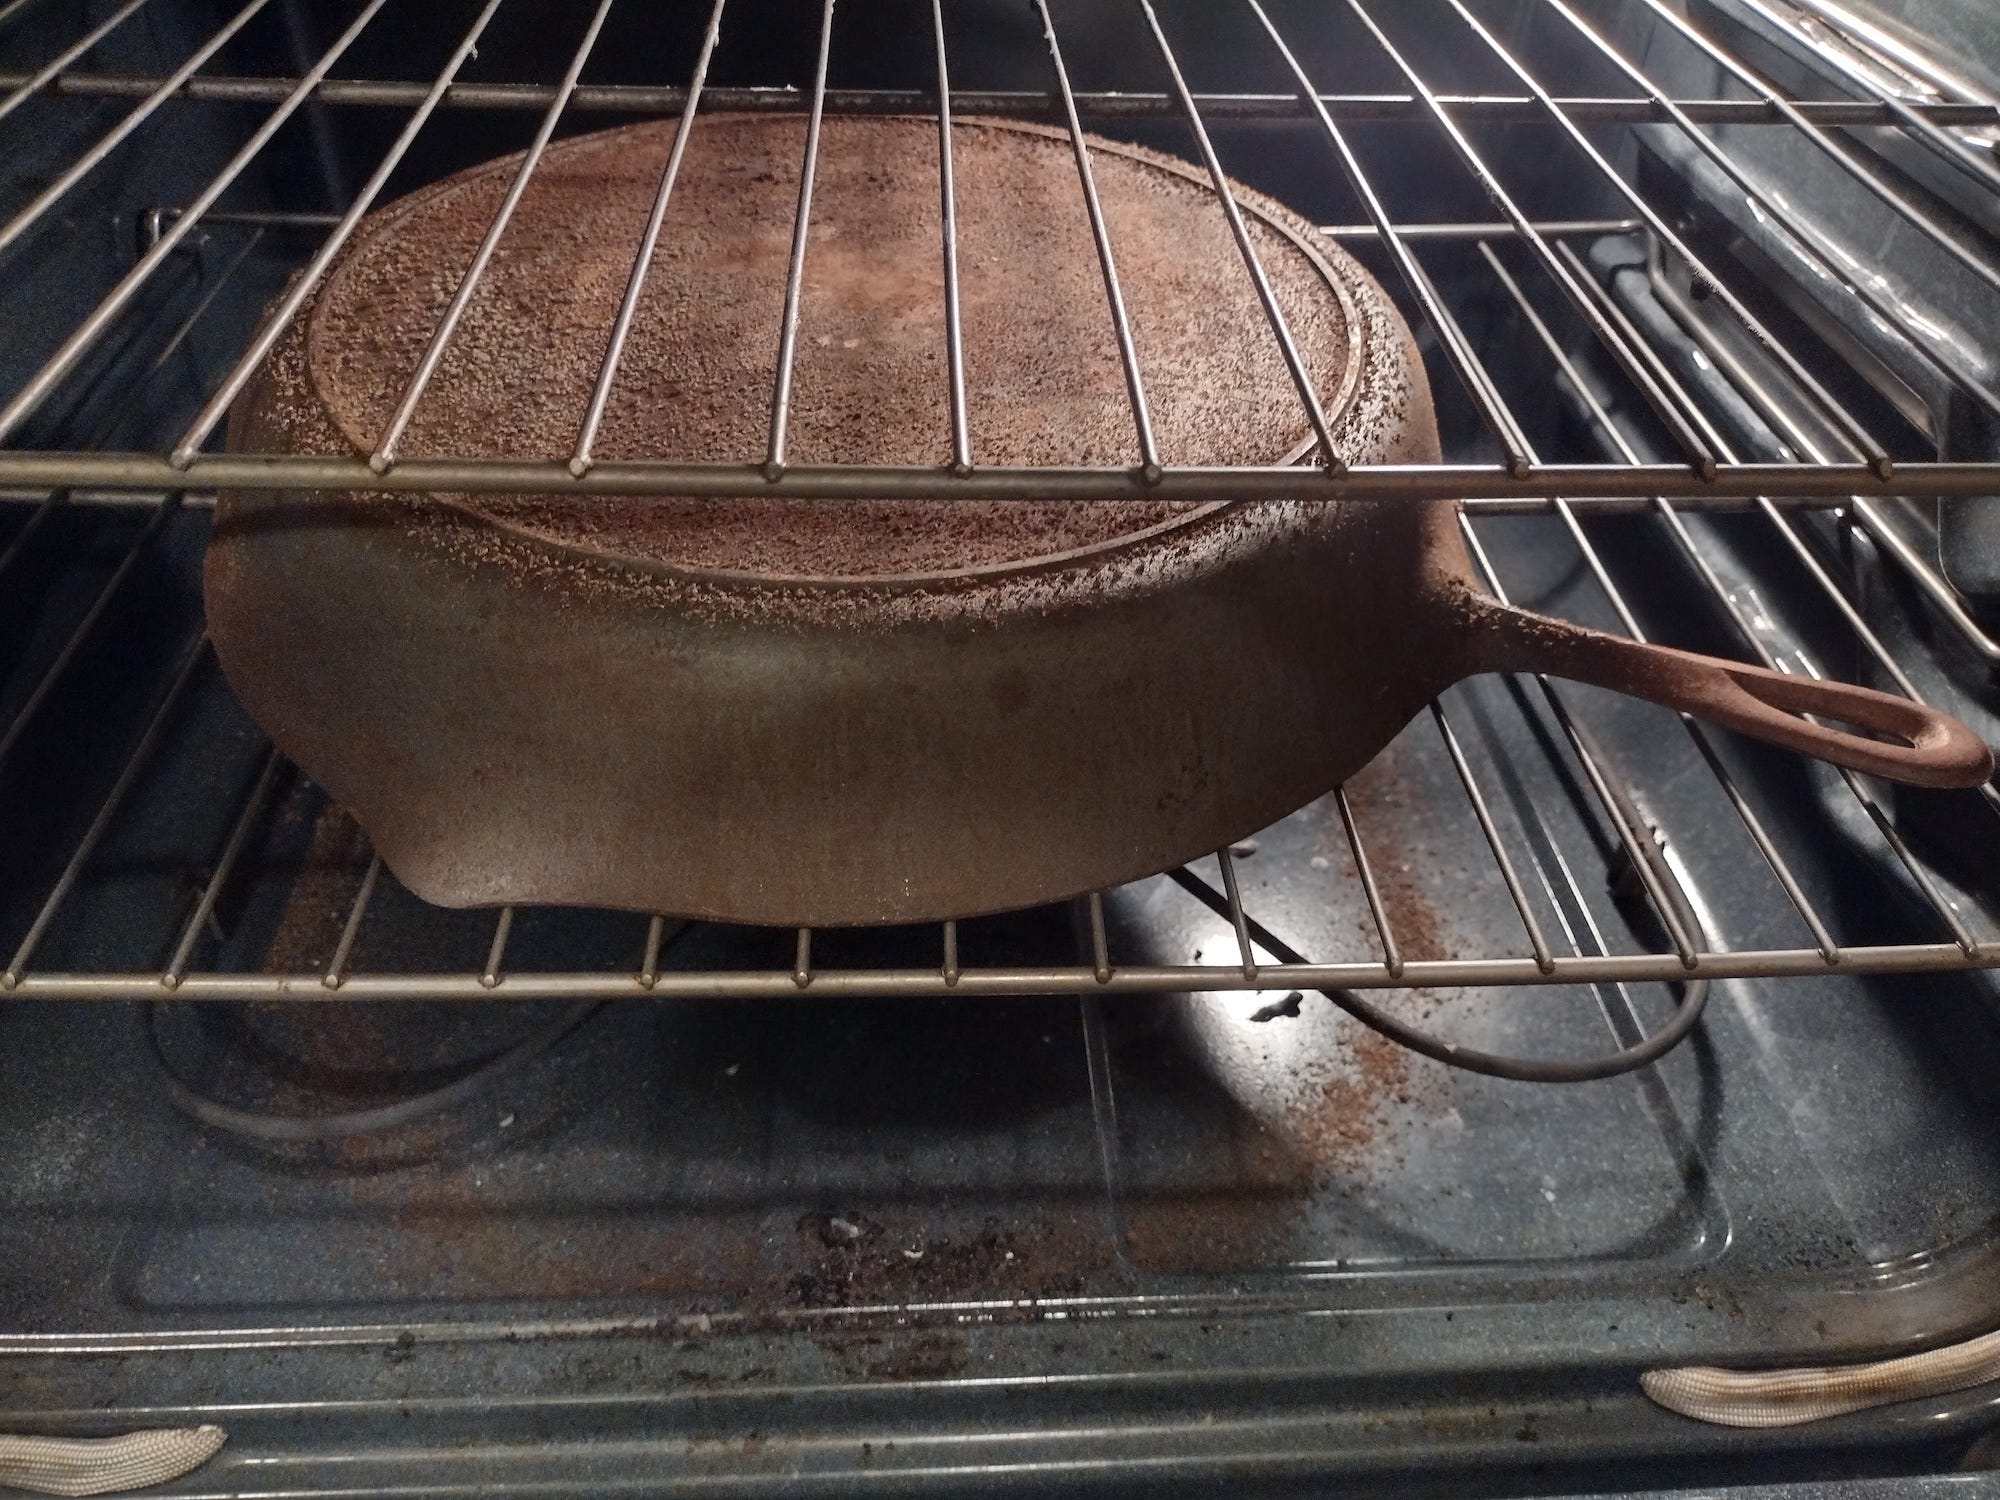
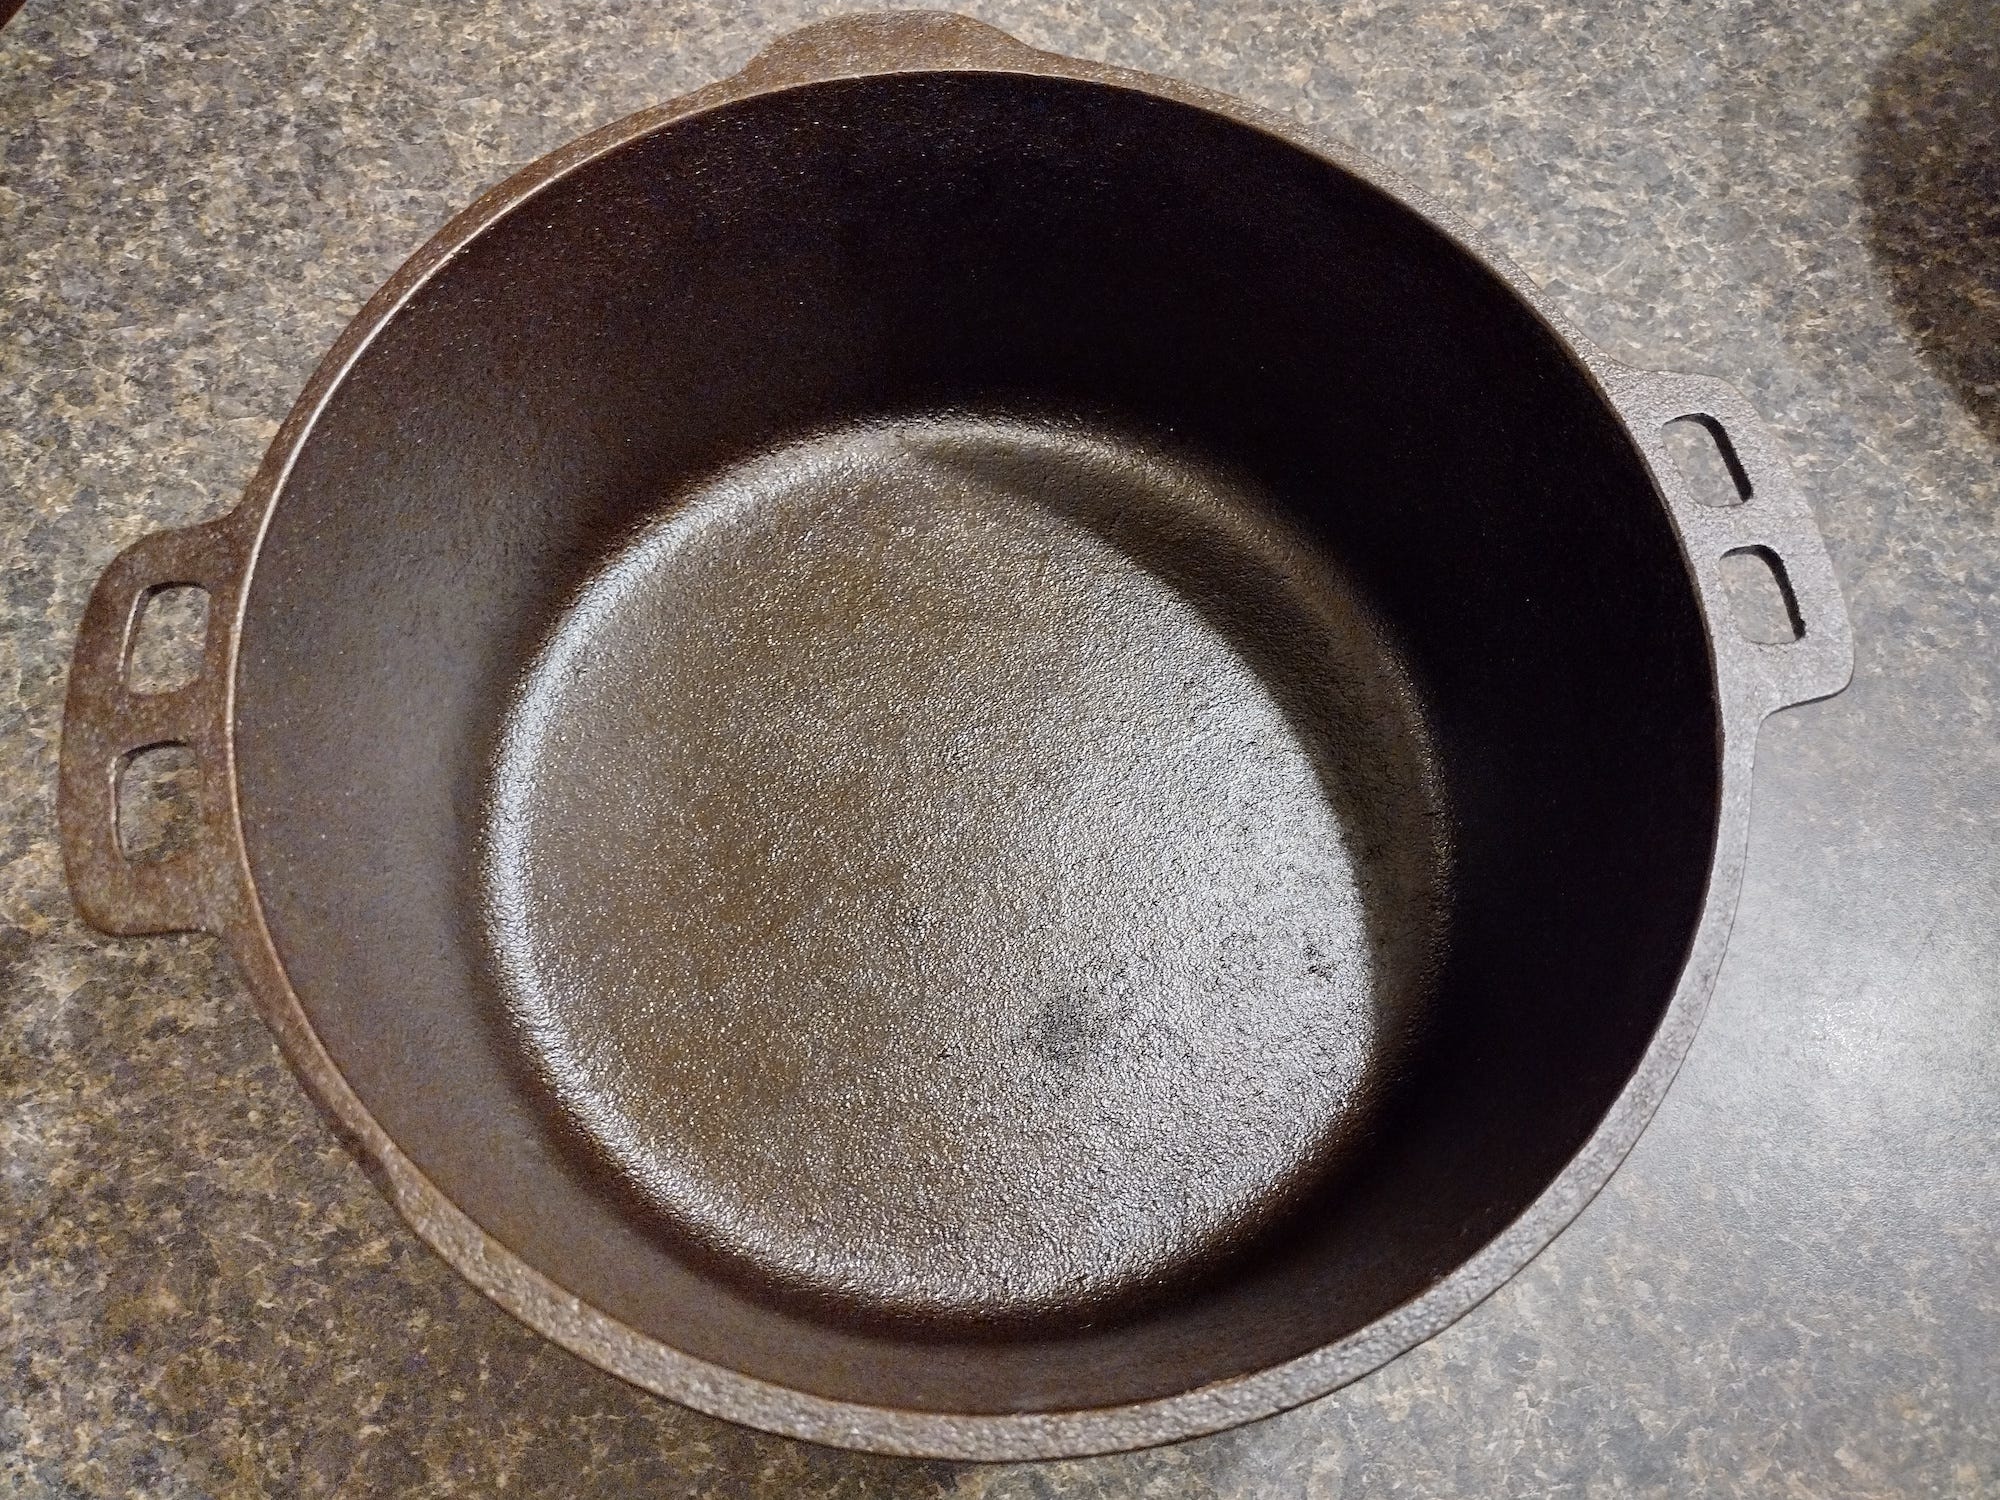
Starting out, the pans were blotchy, with little seasoning in some places and thick, flaking seasoning in others. I was intrigued by the idea of stripping the old seasoning off in a self-cleaning oven, as suggested by Thomas. One day, before heading out to the land, I loaded up the oven and pressed the "clean" button.
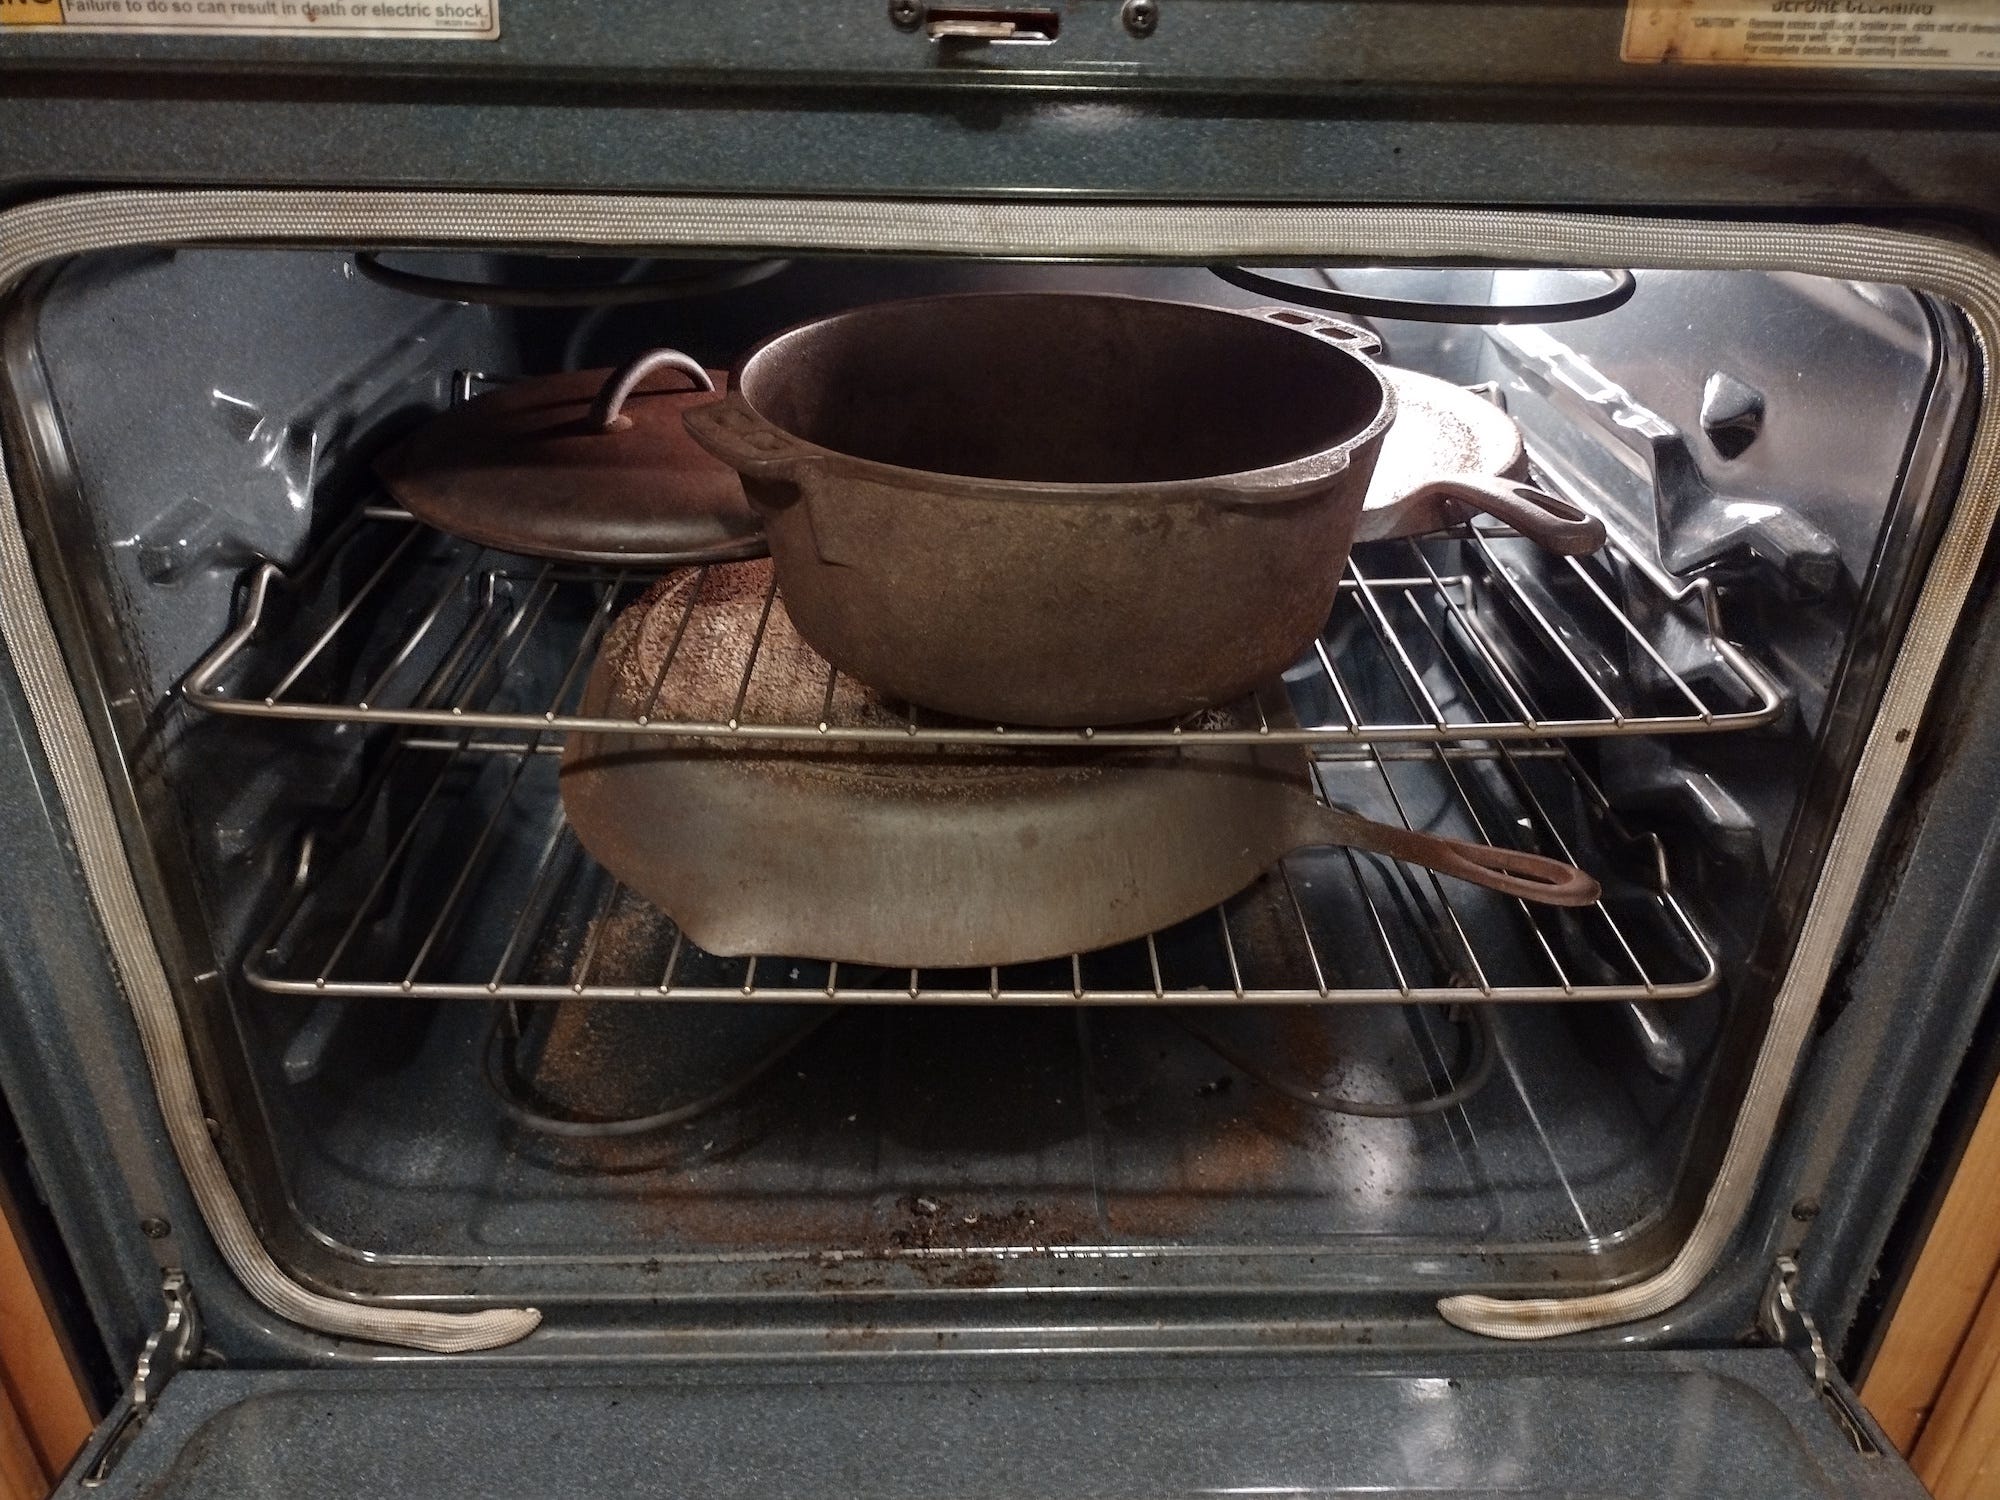
When I got home, the pans had gone from mottled black to a gray brown, with flakes of old seasoning covering them and the inside of the oven. It was rather satisfying.
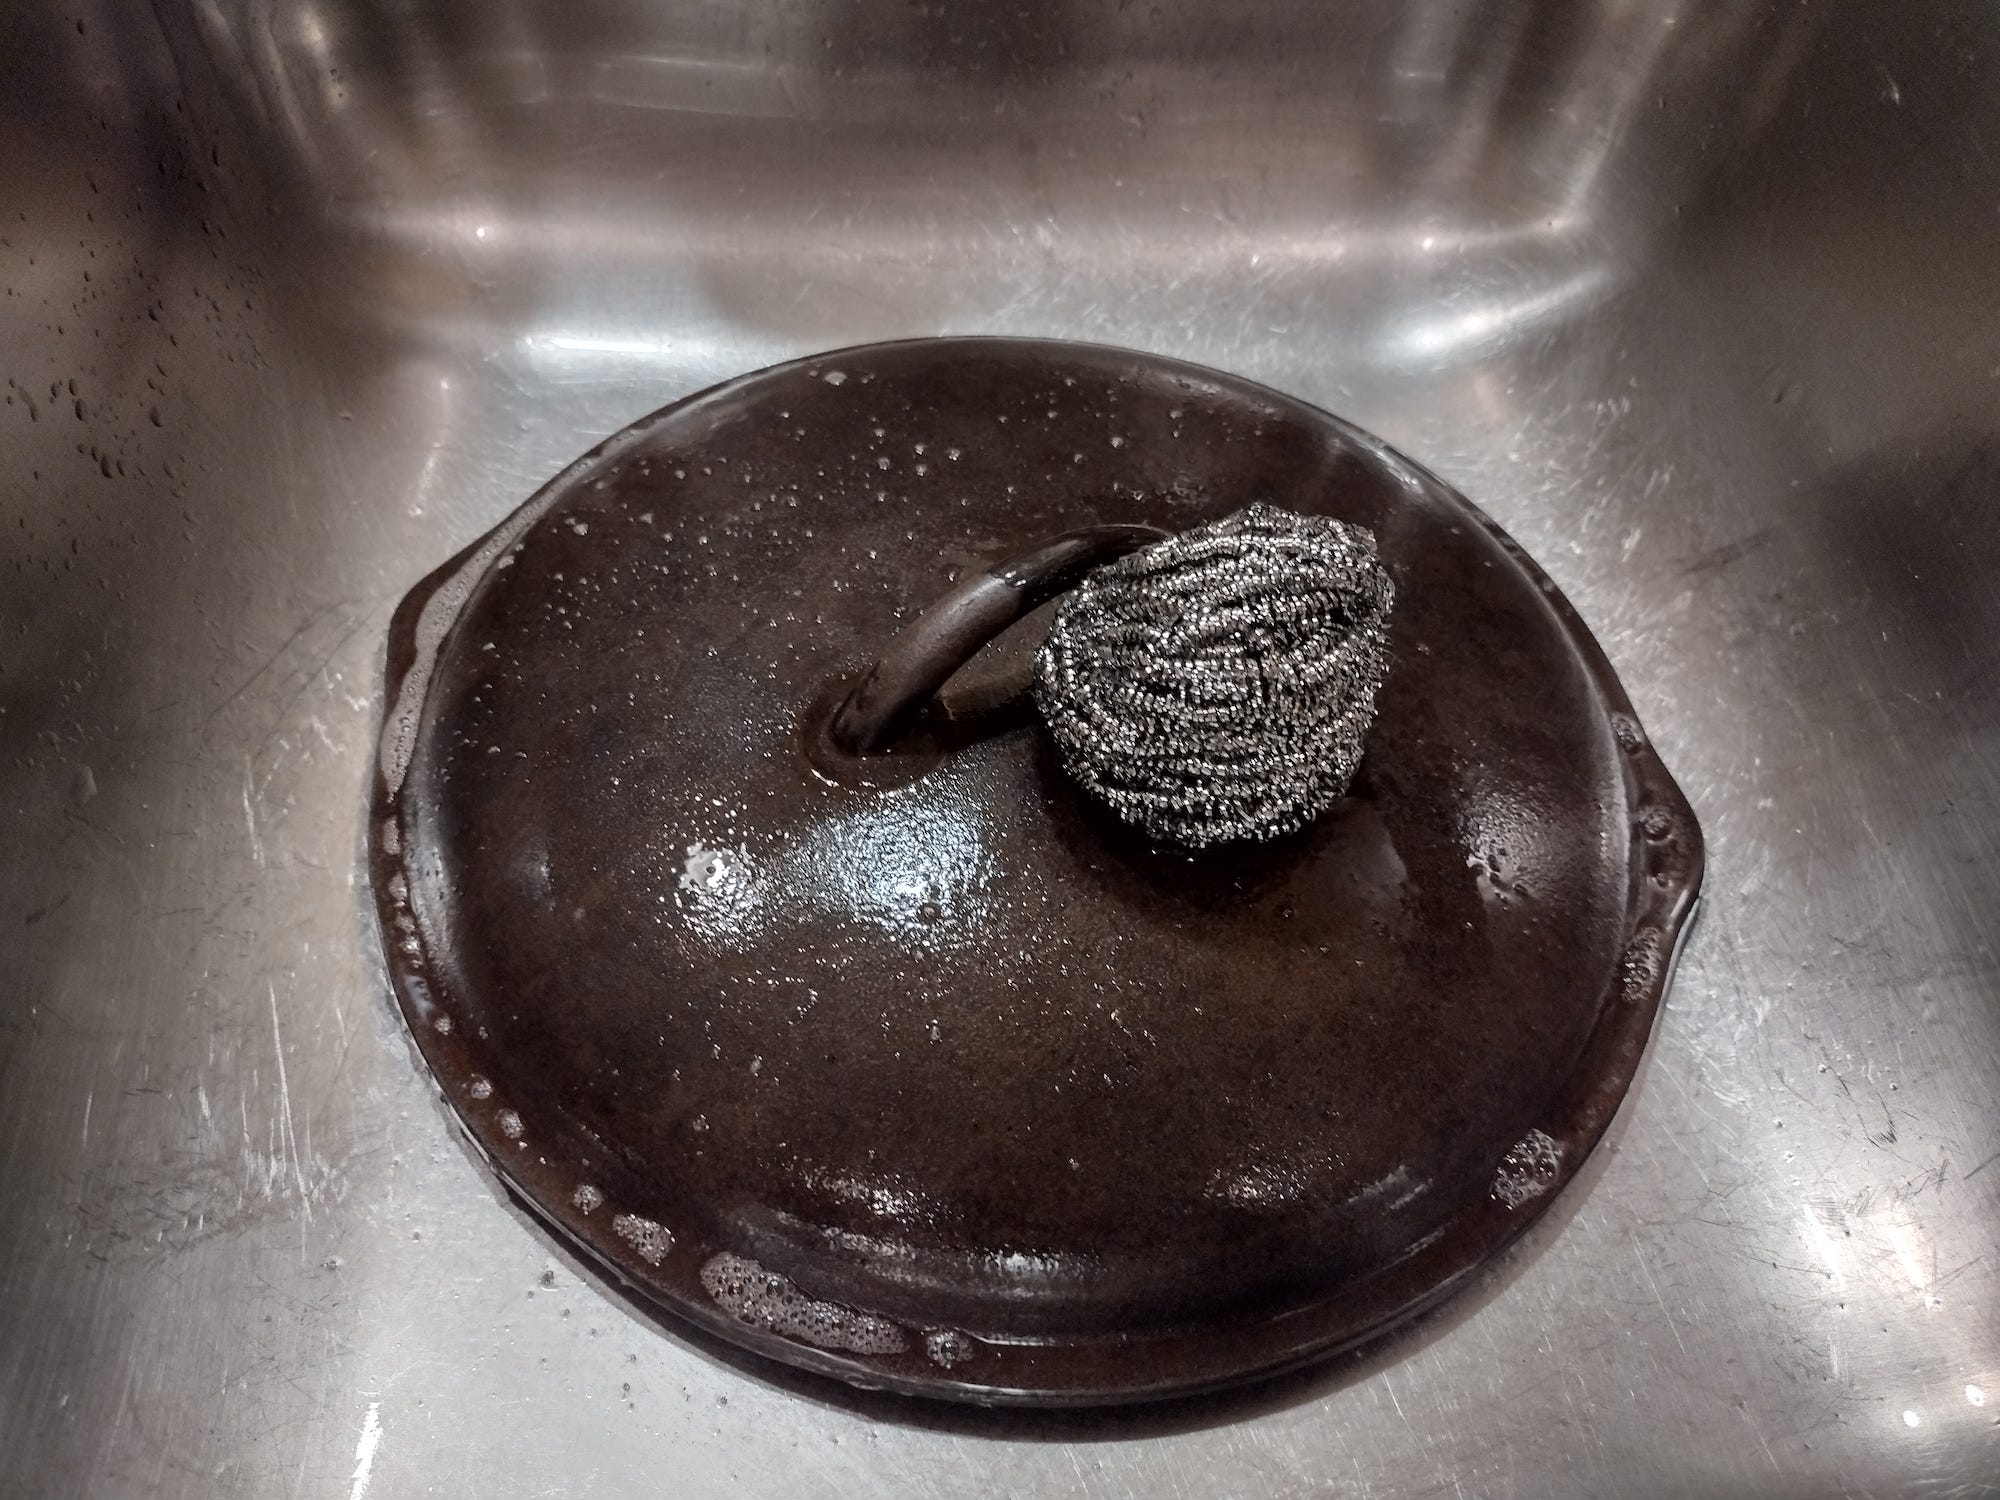
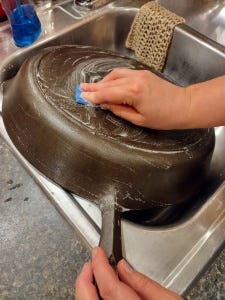
Bonnie-Jean and I scrubbed the plans with a steel scrubber, which was really easy as the oven had done most of the work for us.
That evening, I popped the pans back in the oven to dry thoroughly before beginning the seasoning process the following day.
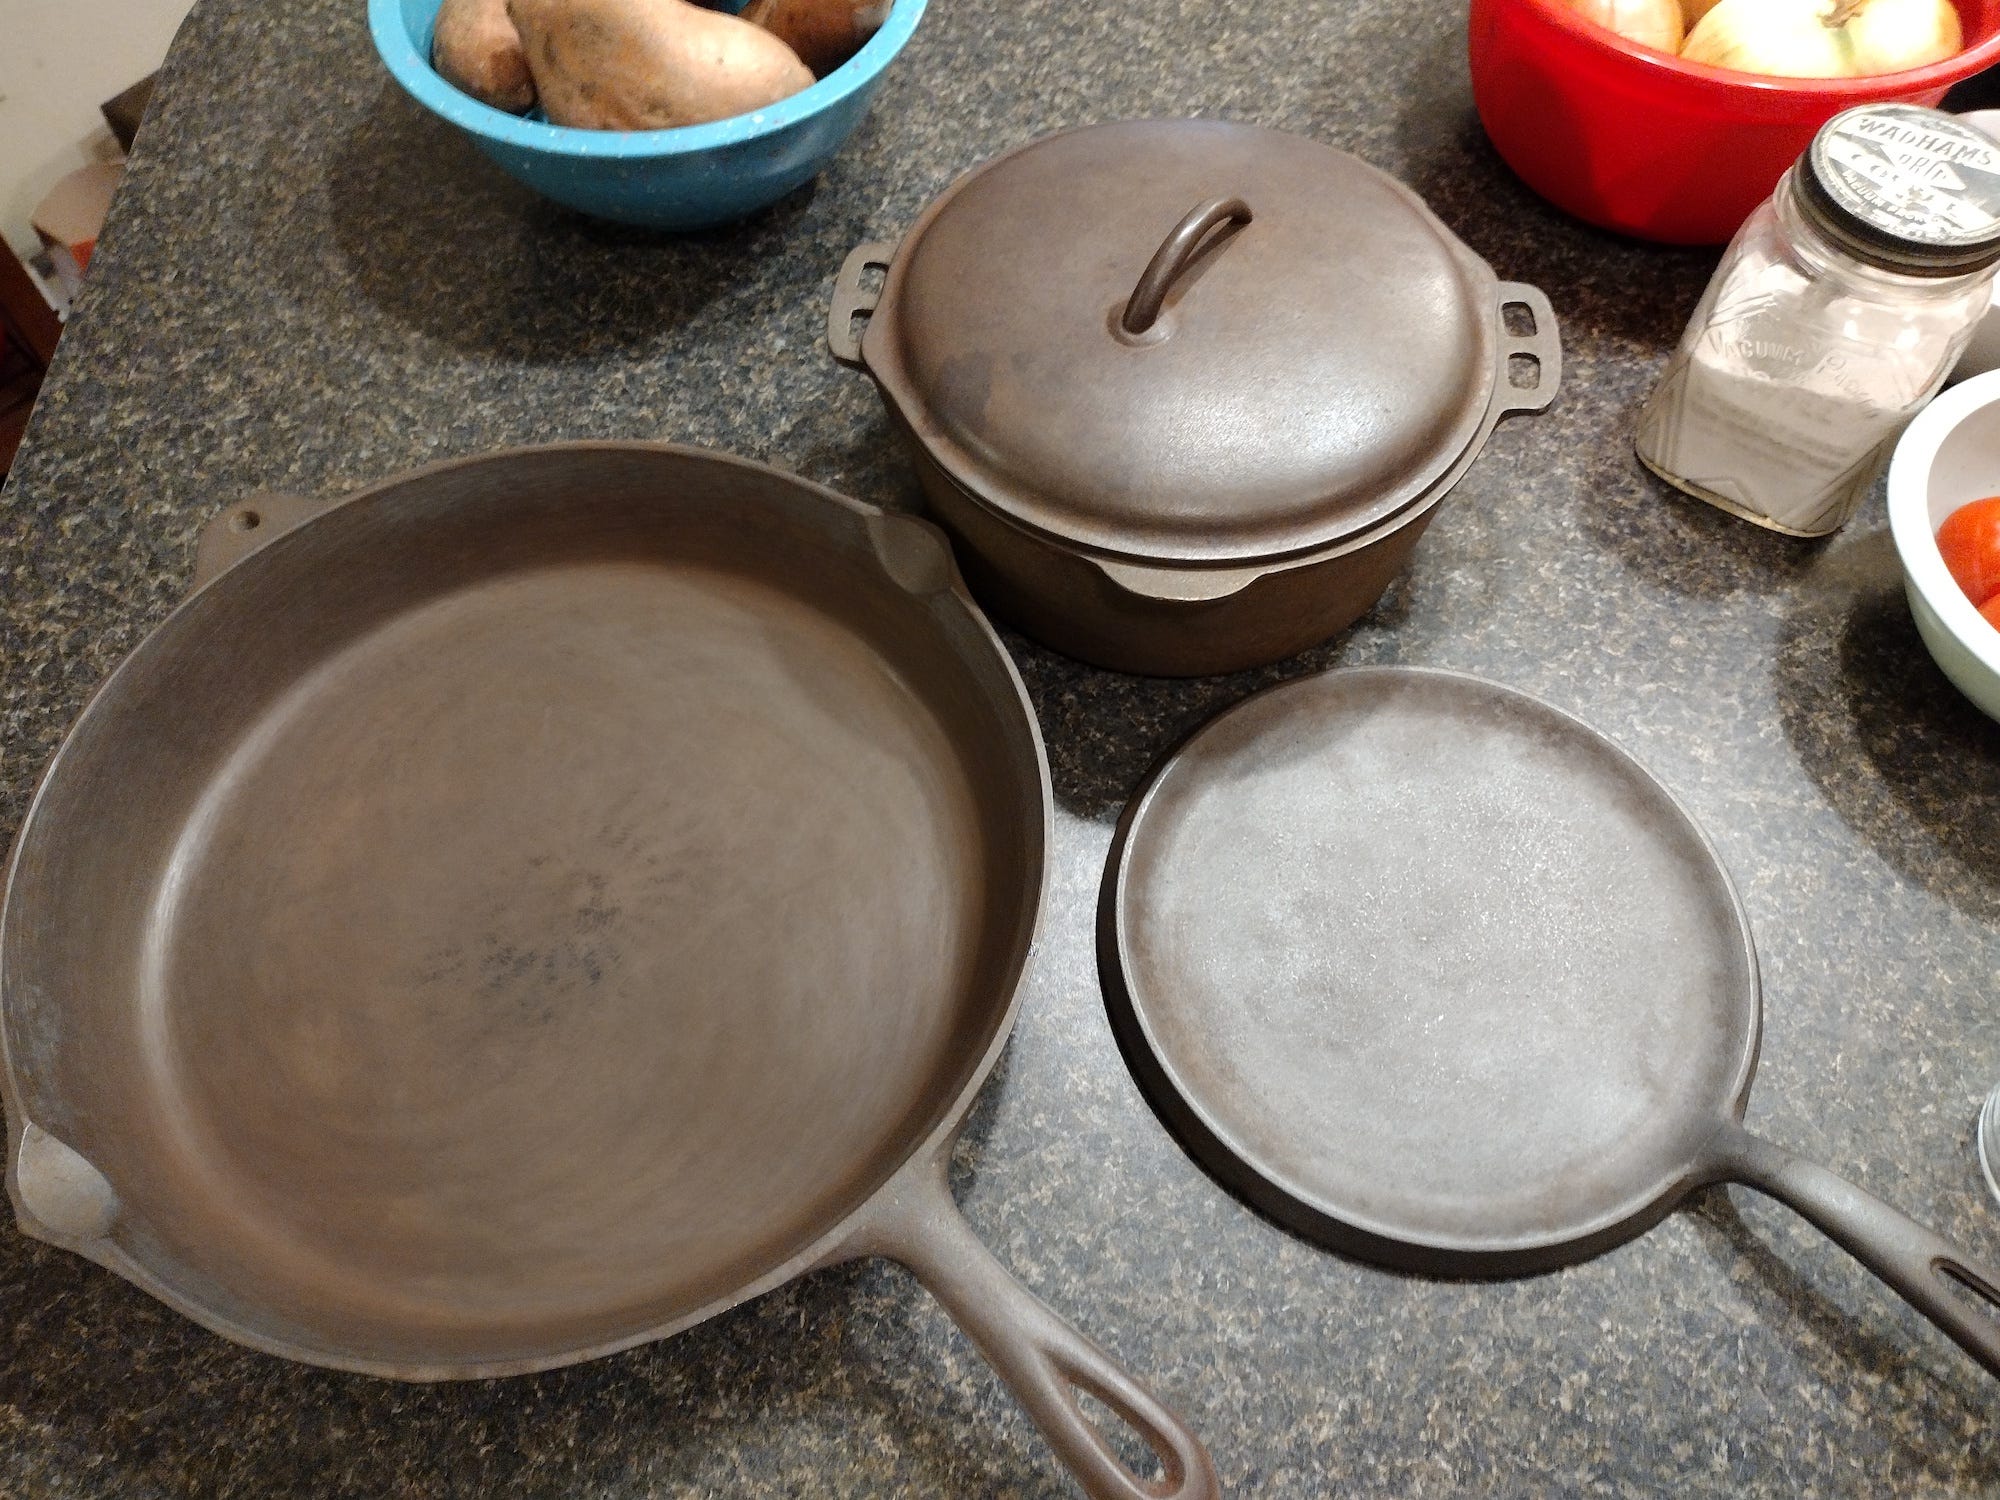
Before this project, I had not realized that cast iron is not black. The characteristic blackish color comes from the seasoning applied to the pans. For those who are newbies to the whole discussion, seasoning is oil that his been heated to it's smoking point. The oil goes through a chemical reaction called polymerization, as it bonds with the metal to coat the pan and turns the blackish color we are so familiar with.
I started my process using coconut oil, following the Thomas how-to blog post. I experimented with using melted and solid oil, but I felt I got a better, thinner coat melting the oil first. I used paper towels to wipe the excess oil from the pans.
I was excited with how things were going at first. The seasoning looked good and the smell of the process was almost pleasant -- more toasted coconut than burning oil. But after the second and then third coats, I noticed my pans were sticky. I had gotten my coats very, very thin -- wiping them thoroughly with paper towels. And the stickiness was all over, not just in corners or places where clumping might happen. I tried scrubbing my pans between coats, but it didn't help.
Discouraged, I jumped online and did more research. It turns out that there is a major debate about cast iron seasoning and what the best/correct oil is. There are proponents of lard and bacon grease, which is perhaps the most traditional oil (it's what the pioneers had access to). There are those who swear by coconut oil (which is great for so many things, and more natural than seed oils). And then there are those who go for the modern oils.
In my research, I stumbled on an article from the Man Cave Chef titled Ultimate Guide to Cast Iron (Seasoning, Cleaning, Tips, & Myths). The author breaks down a lot of the science behind polymerization and why some fats/oils work better than others. It turns out that oils high in saturated fats, like coconut oil, tend to leave a sticky residue because it doesn't bond as efficiently to the metal. (Now, I know there are religious users of coconut oil for their cast iron pans, and I will be the first to say that my novice skills may just not be up to the task.) The article goes on to explain that oils very low in saturated fats give a better result. The article doesn't recommend vegetable oils, as these include about 12 percent of impurities, which also get in the way of good polymerization.
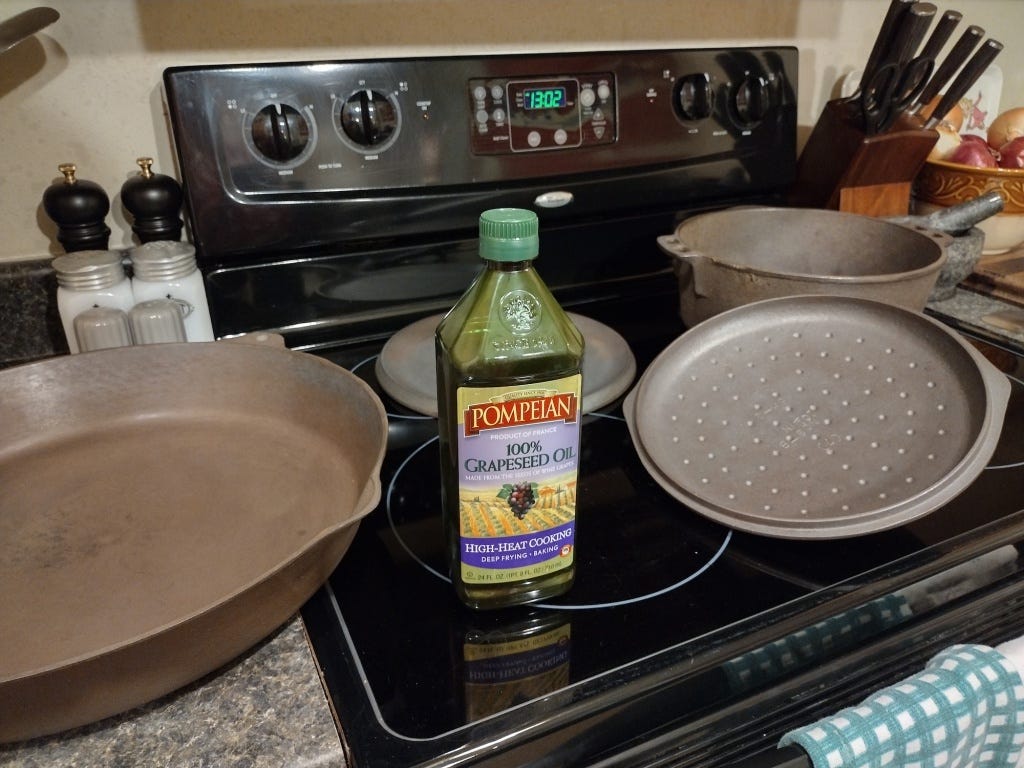
After reading the Man Cave Chef article, I decided to strip my pans again and start over using a different oil. While I am skeptical of modern oils and have recently tried to eliminate them from my diet as much as possible, I decided to make an exception for seasoning the pans. I chose to use grapeseed oil, which I found in the cupboard. This is among the top oils listed in the Man Cave Chef article, second only to flaxseed oil.
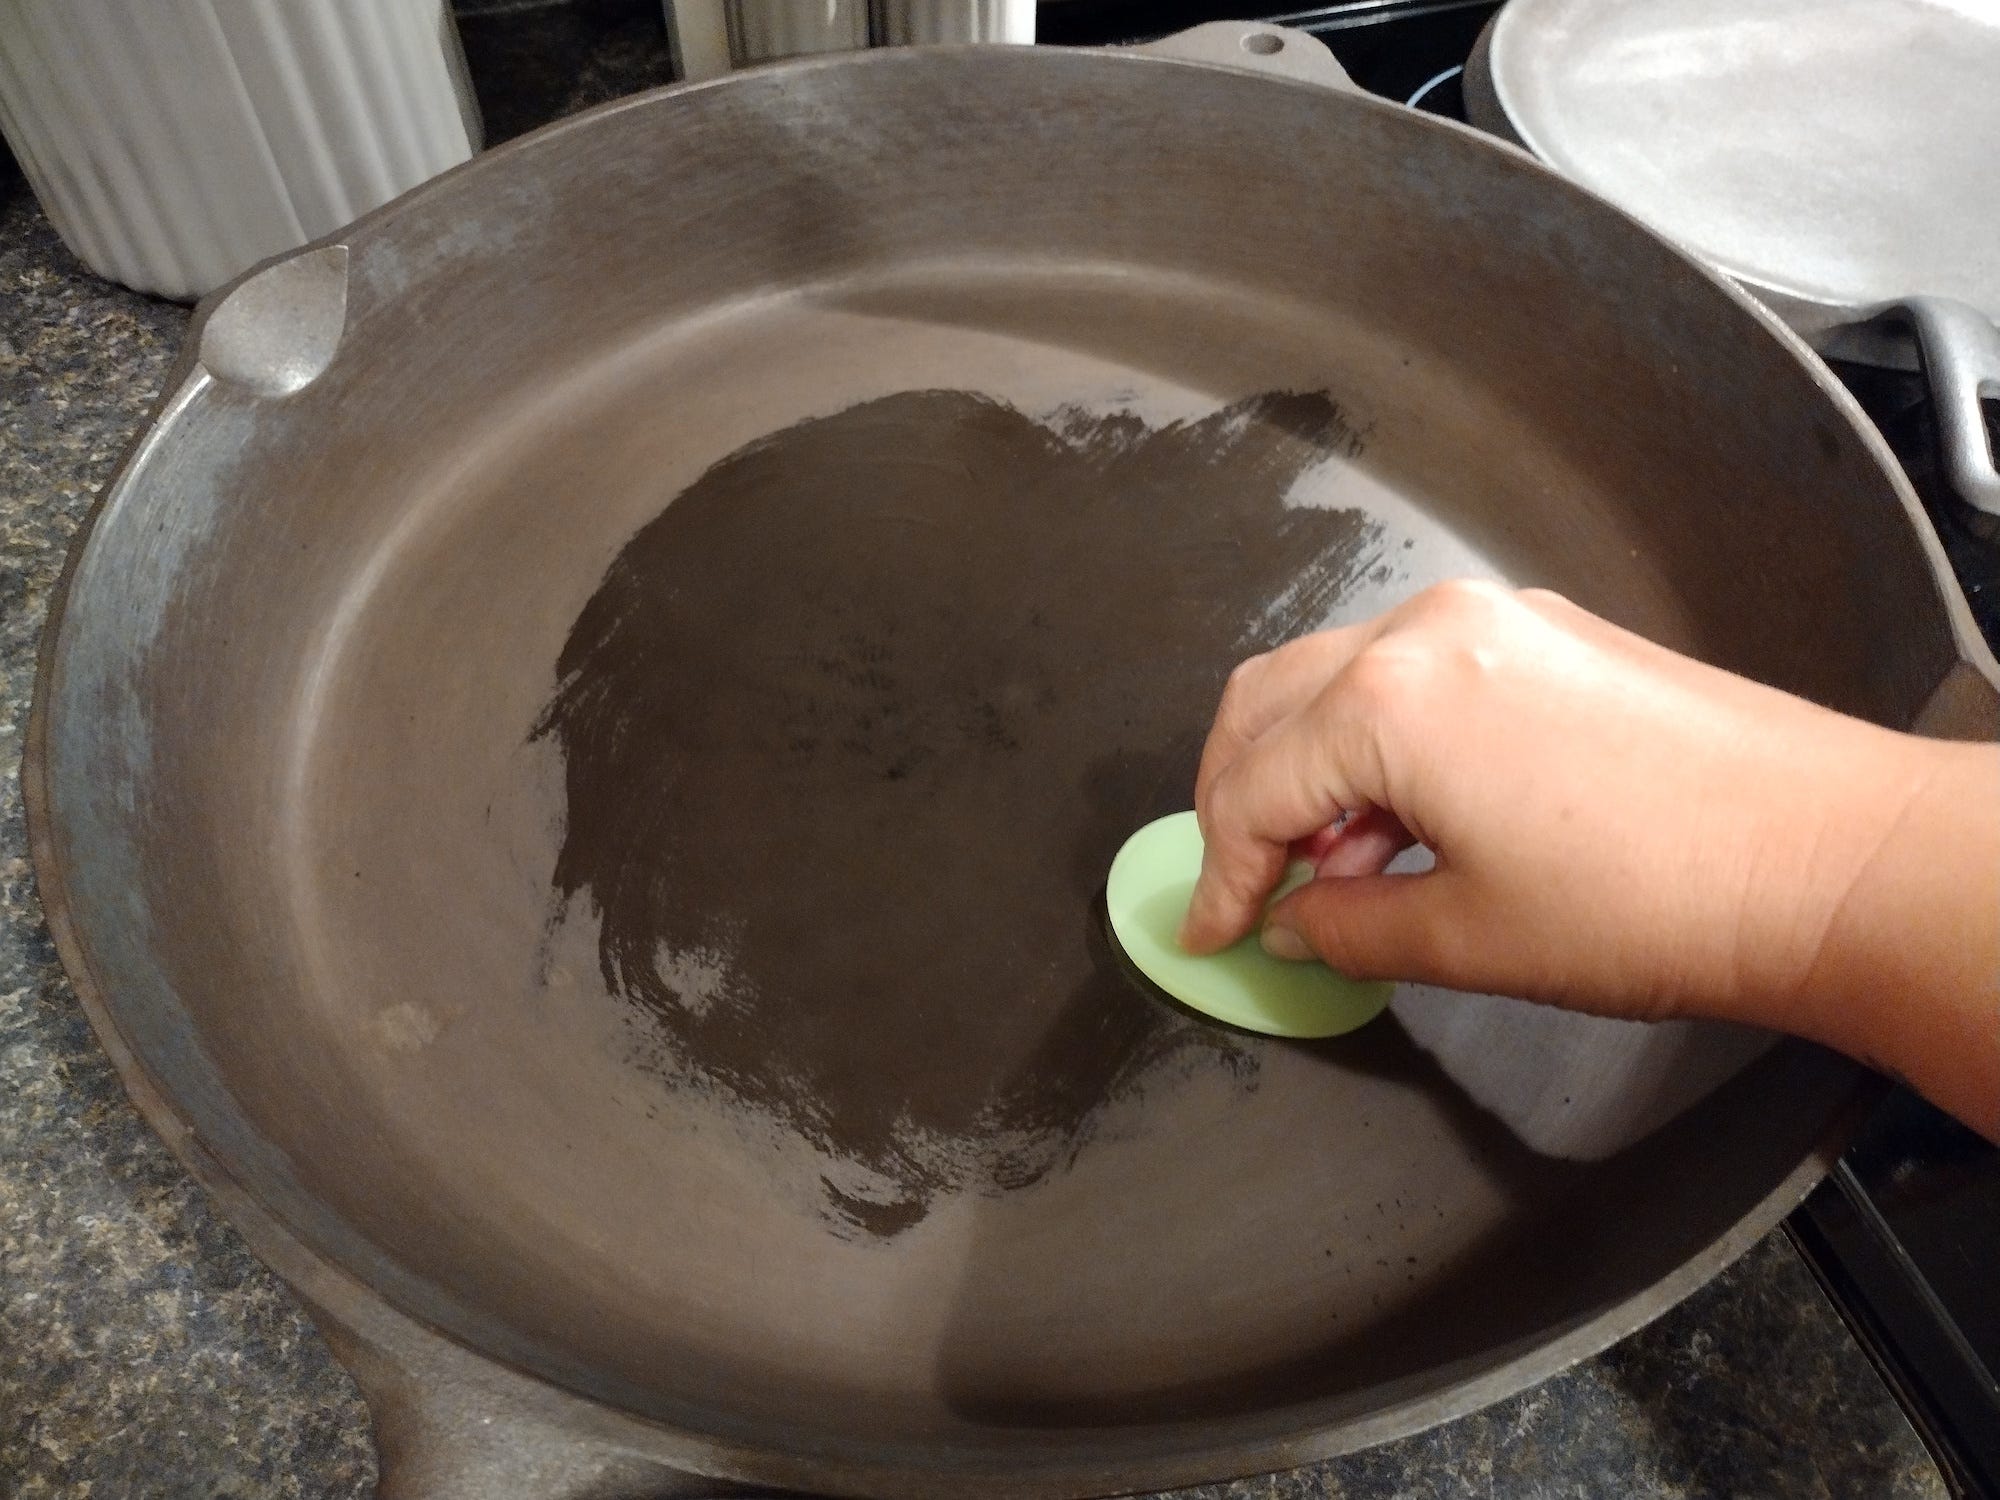
This time, I avoided using paper towels as much as I could, opting for a rubber scrubby or my hands. I read that the lint can build up in the oil, which is something I had observed in my first seasoning attempt. I applied very thin coats, as the oil is runny and I wanted to avoid drips.
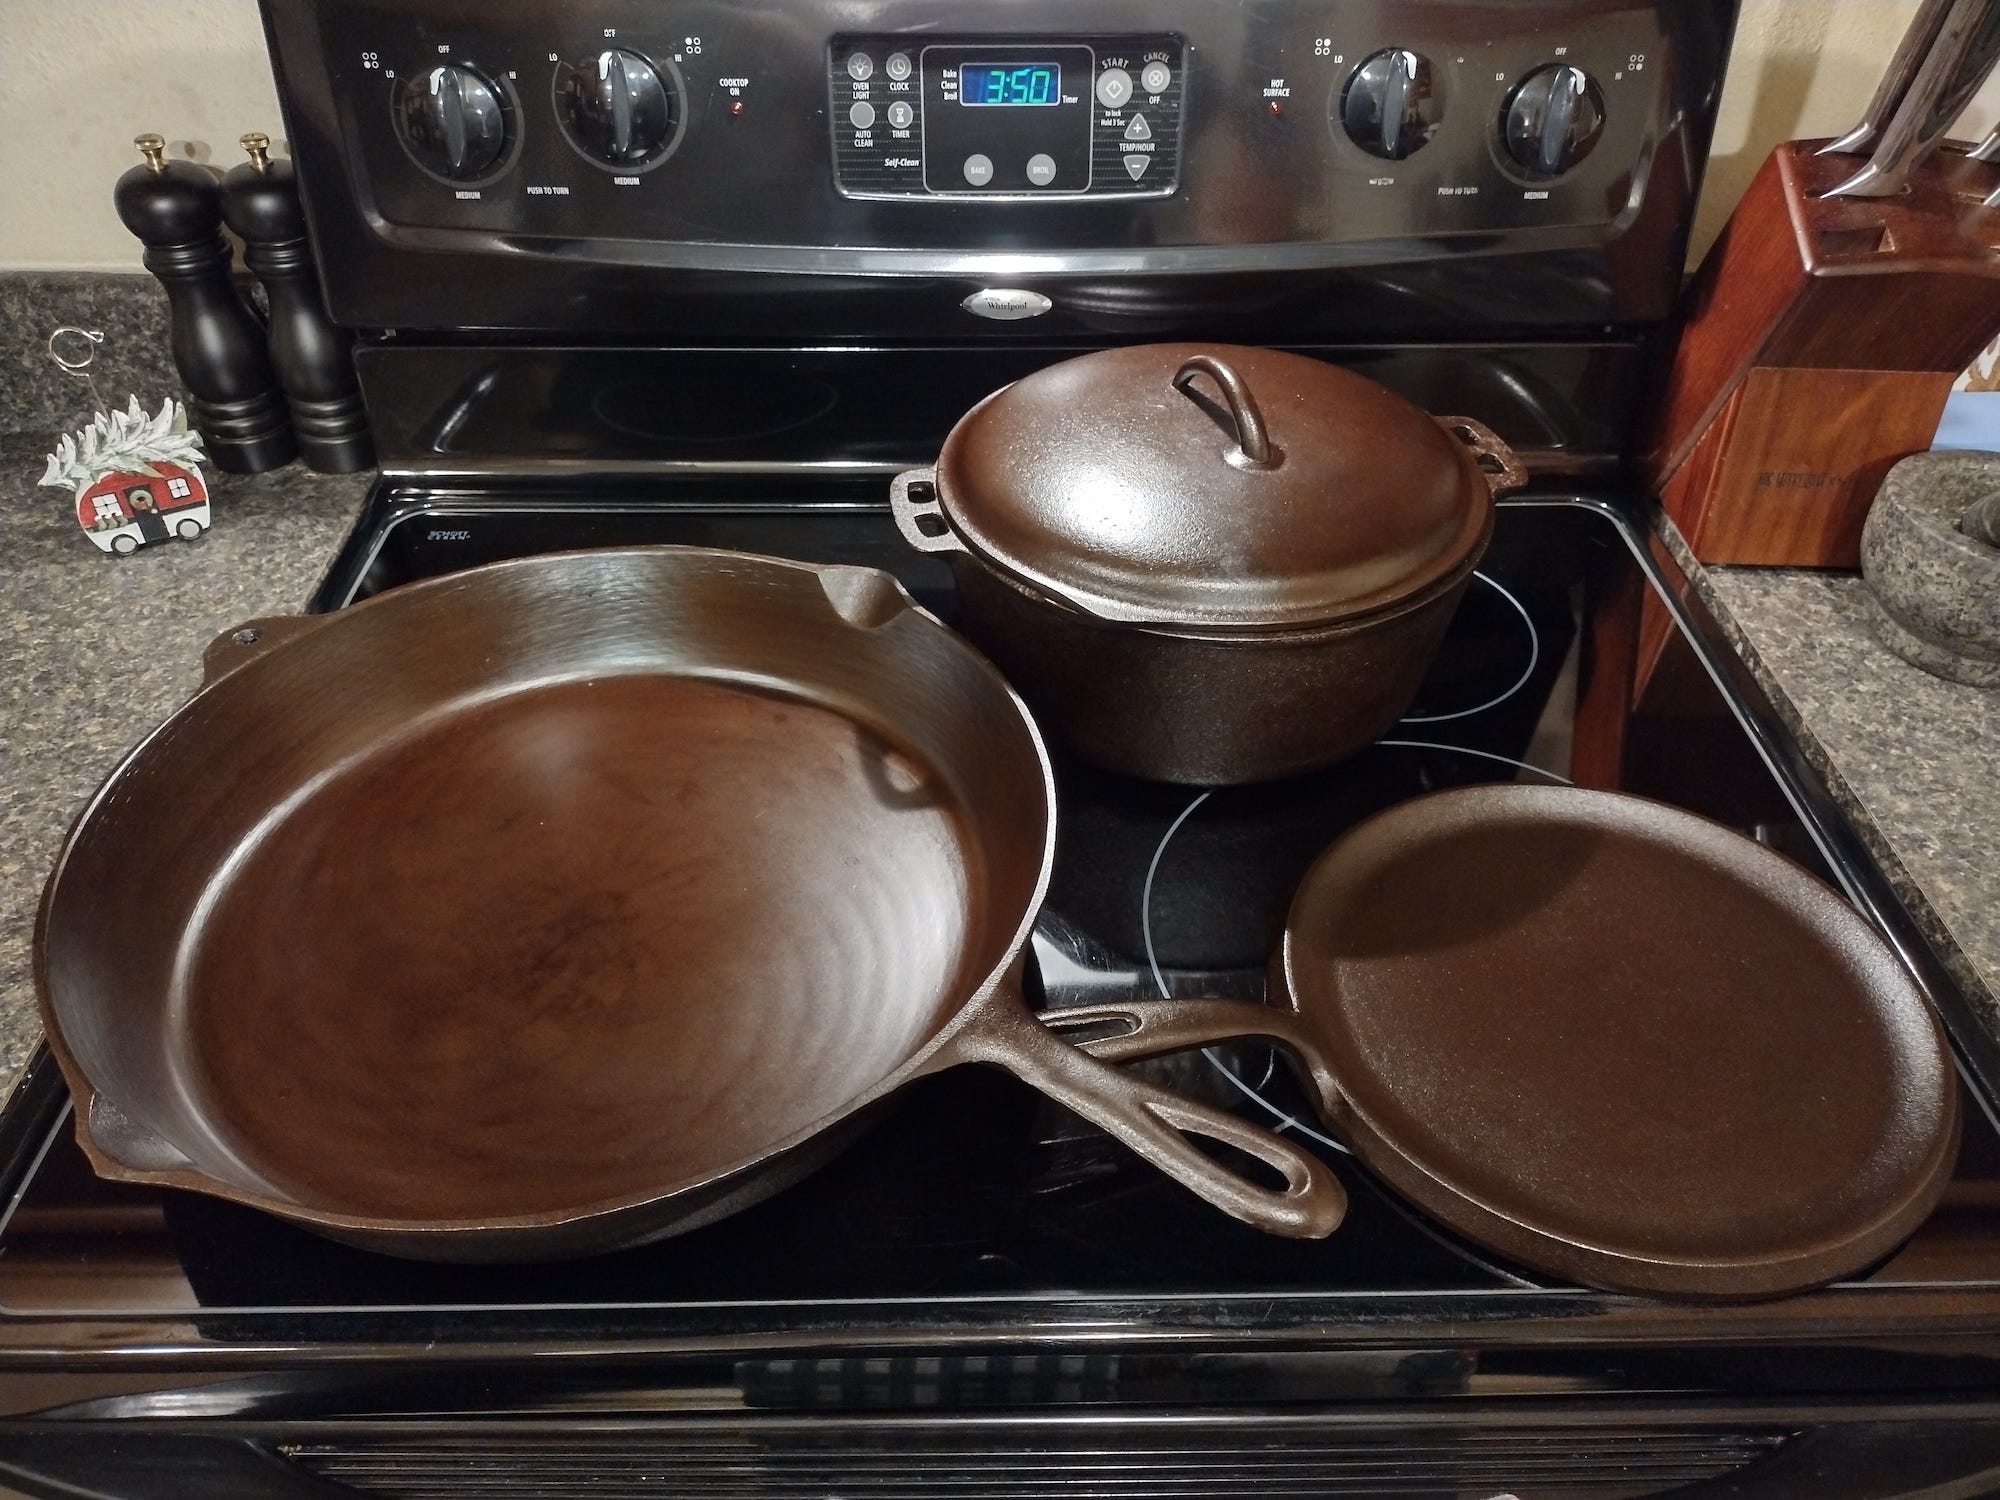
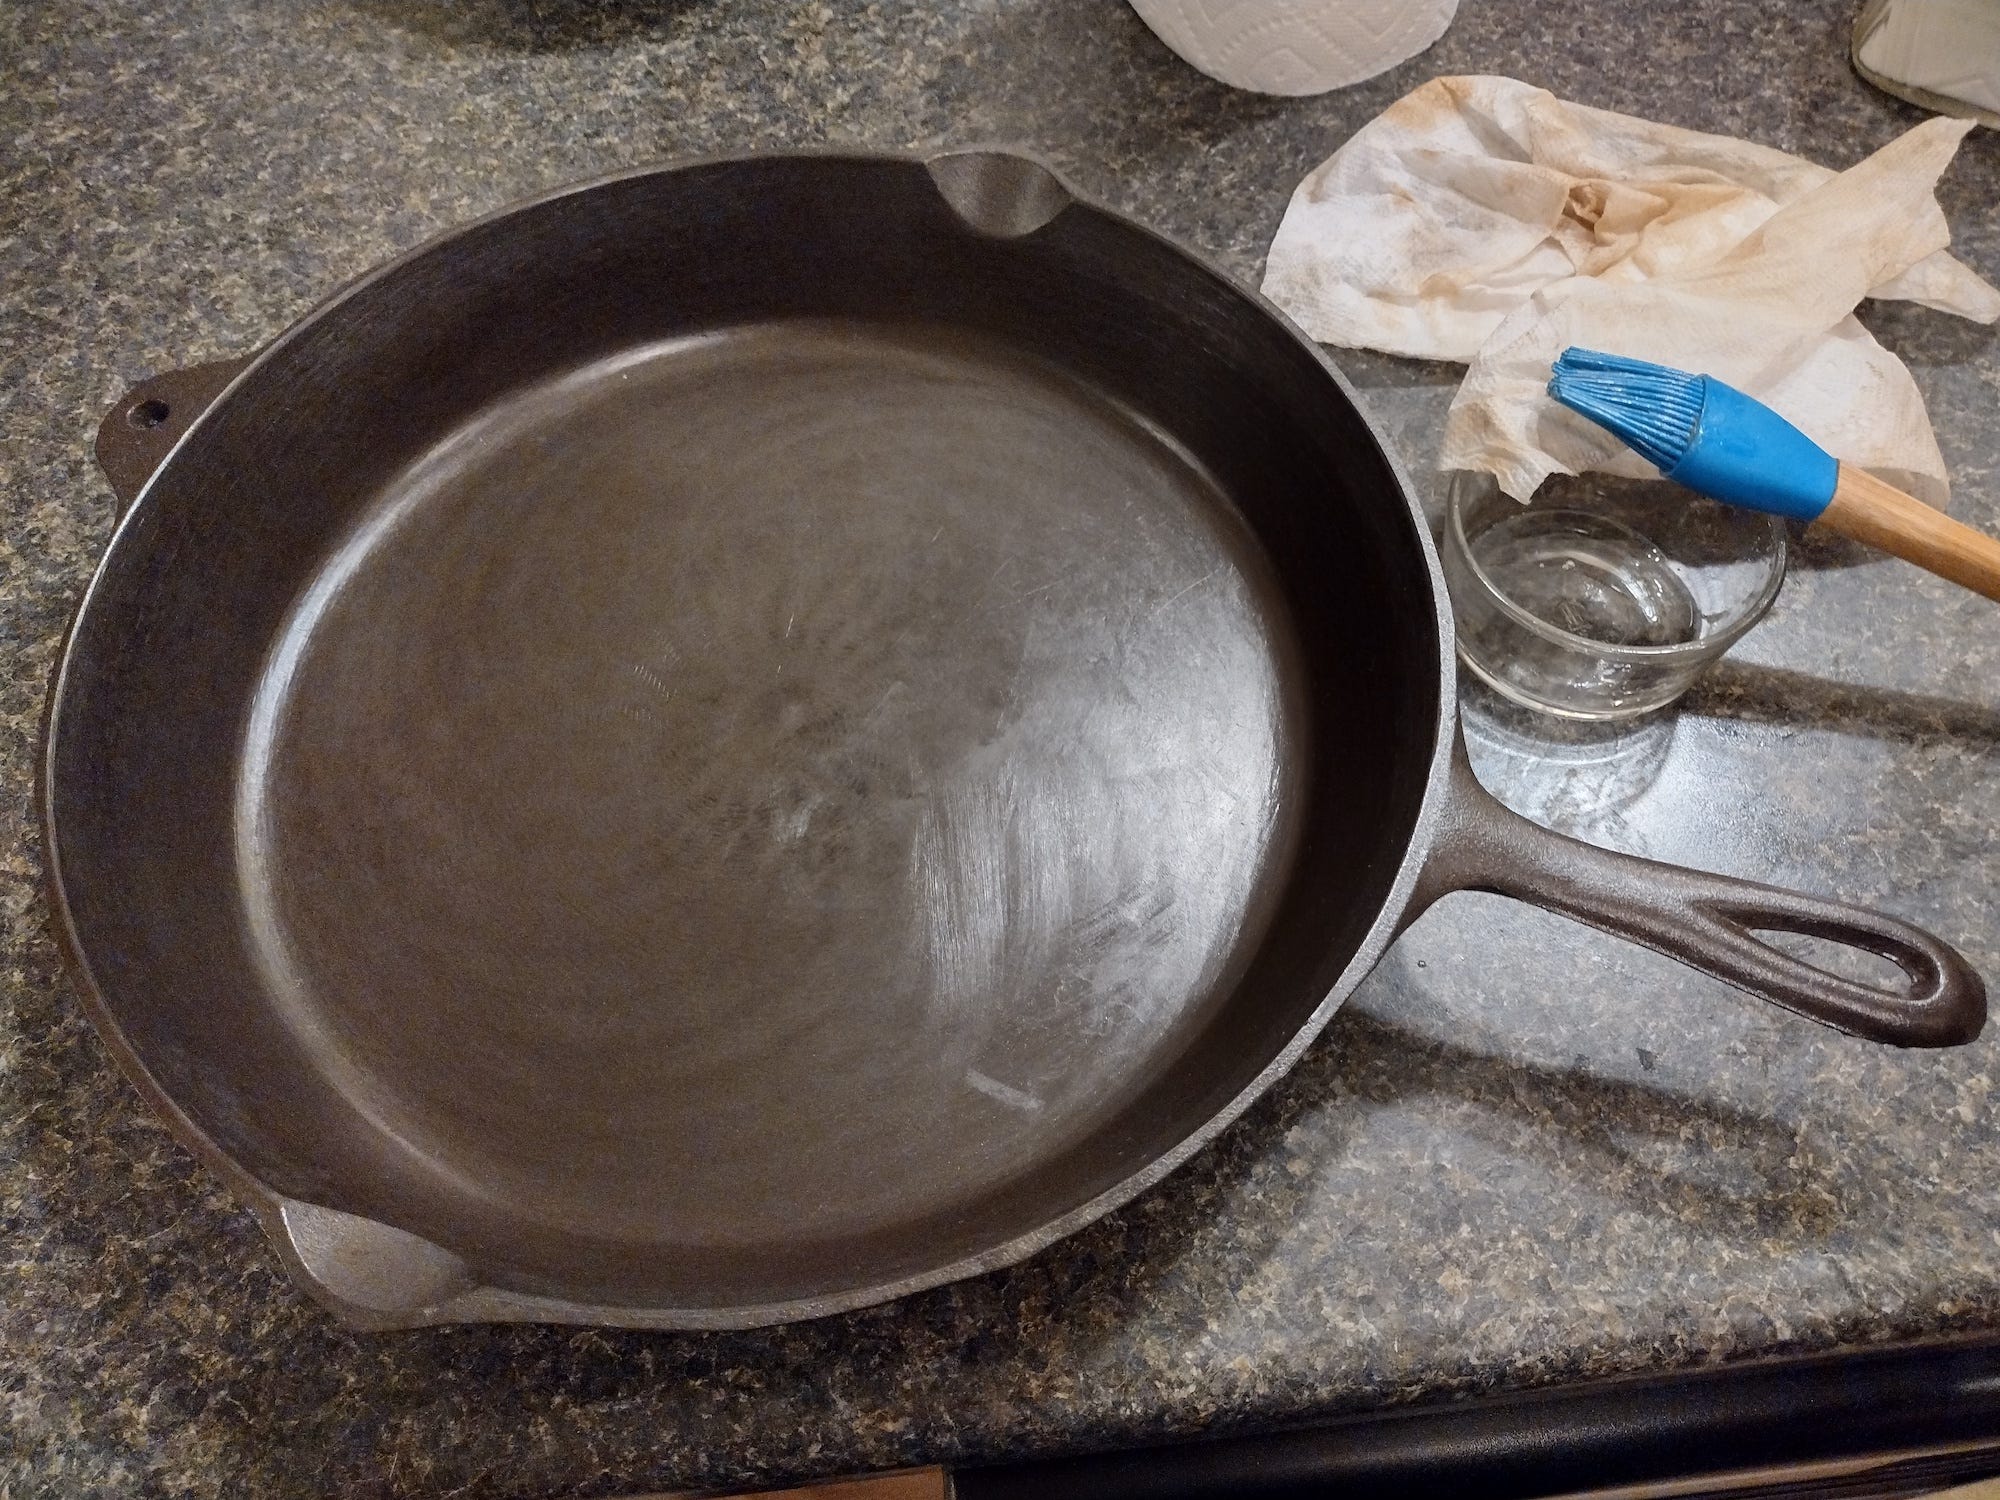
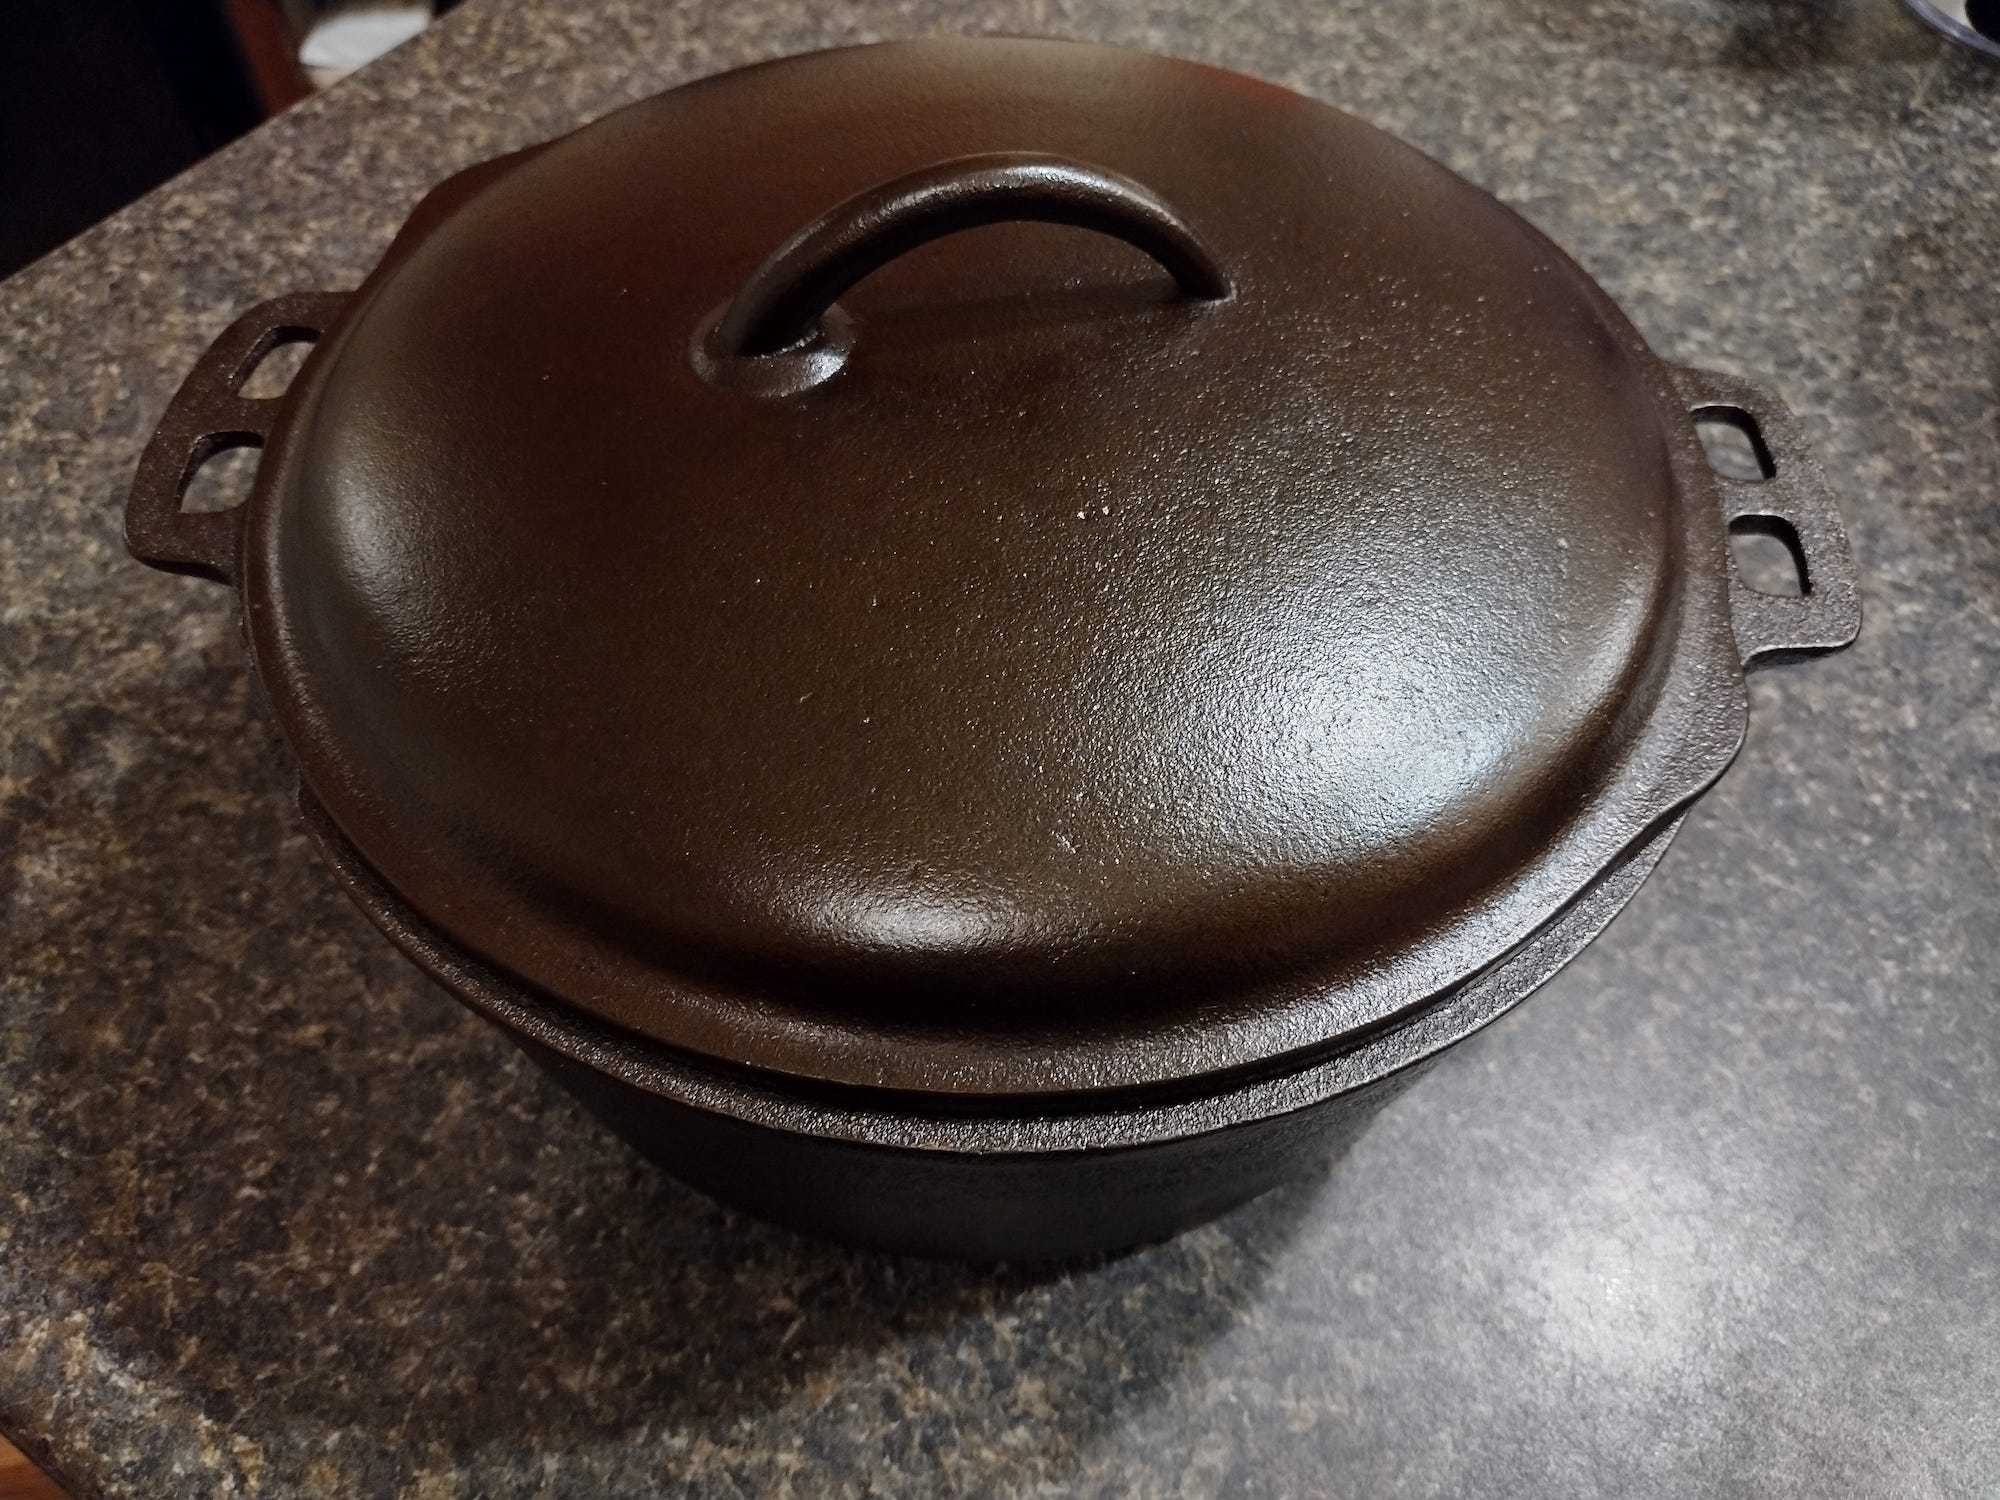
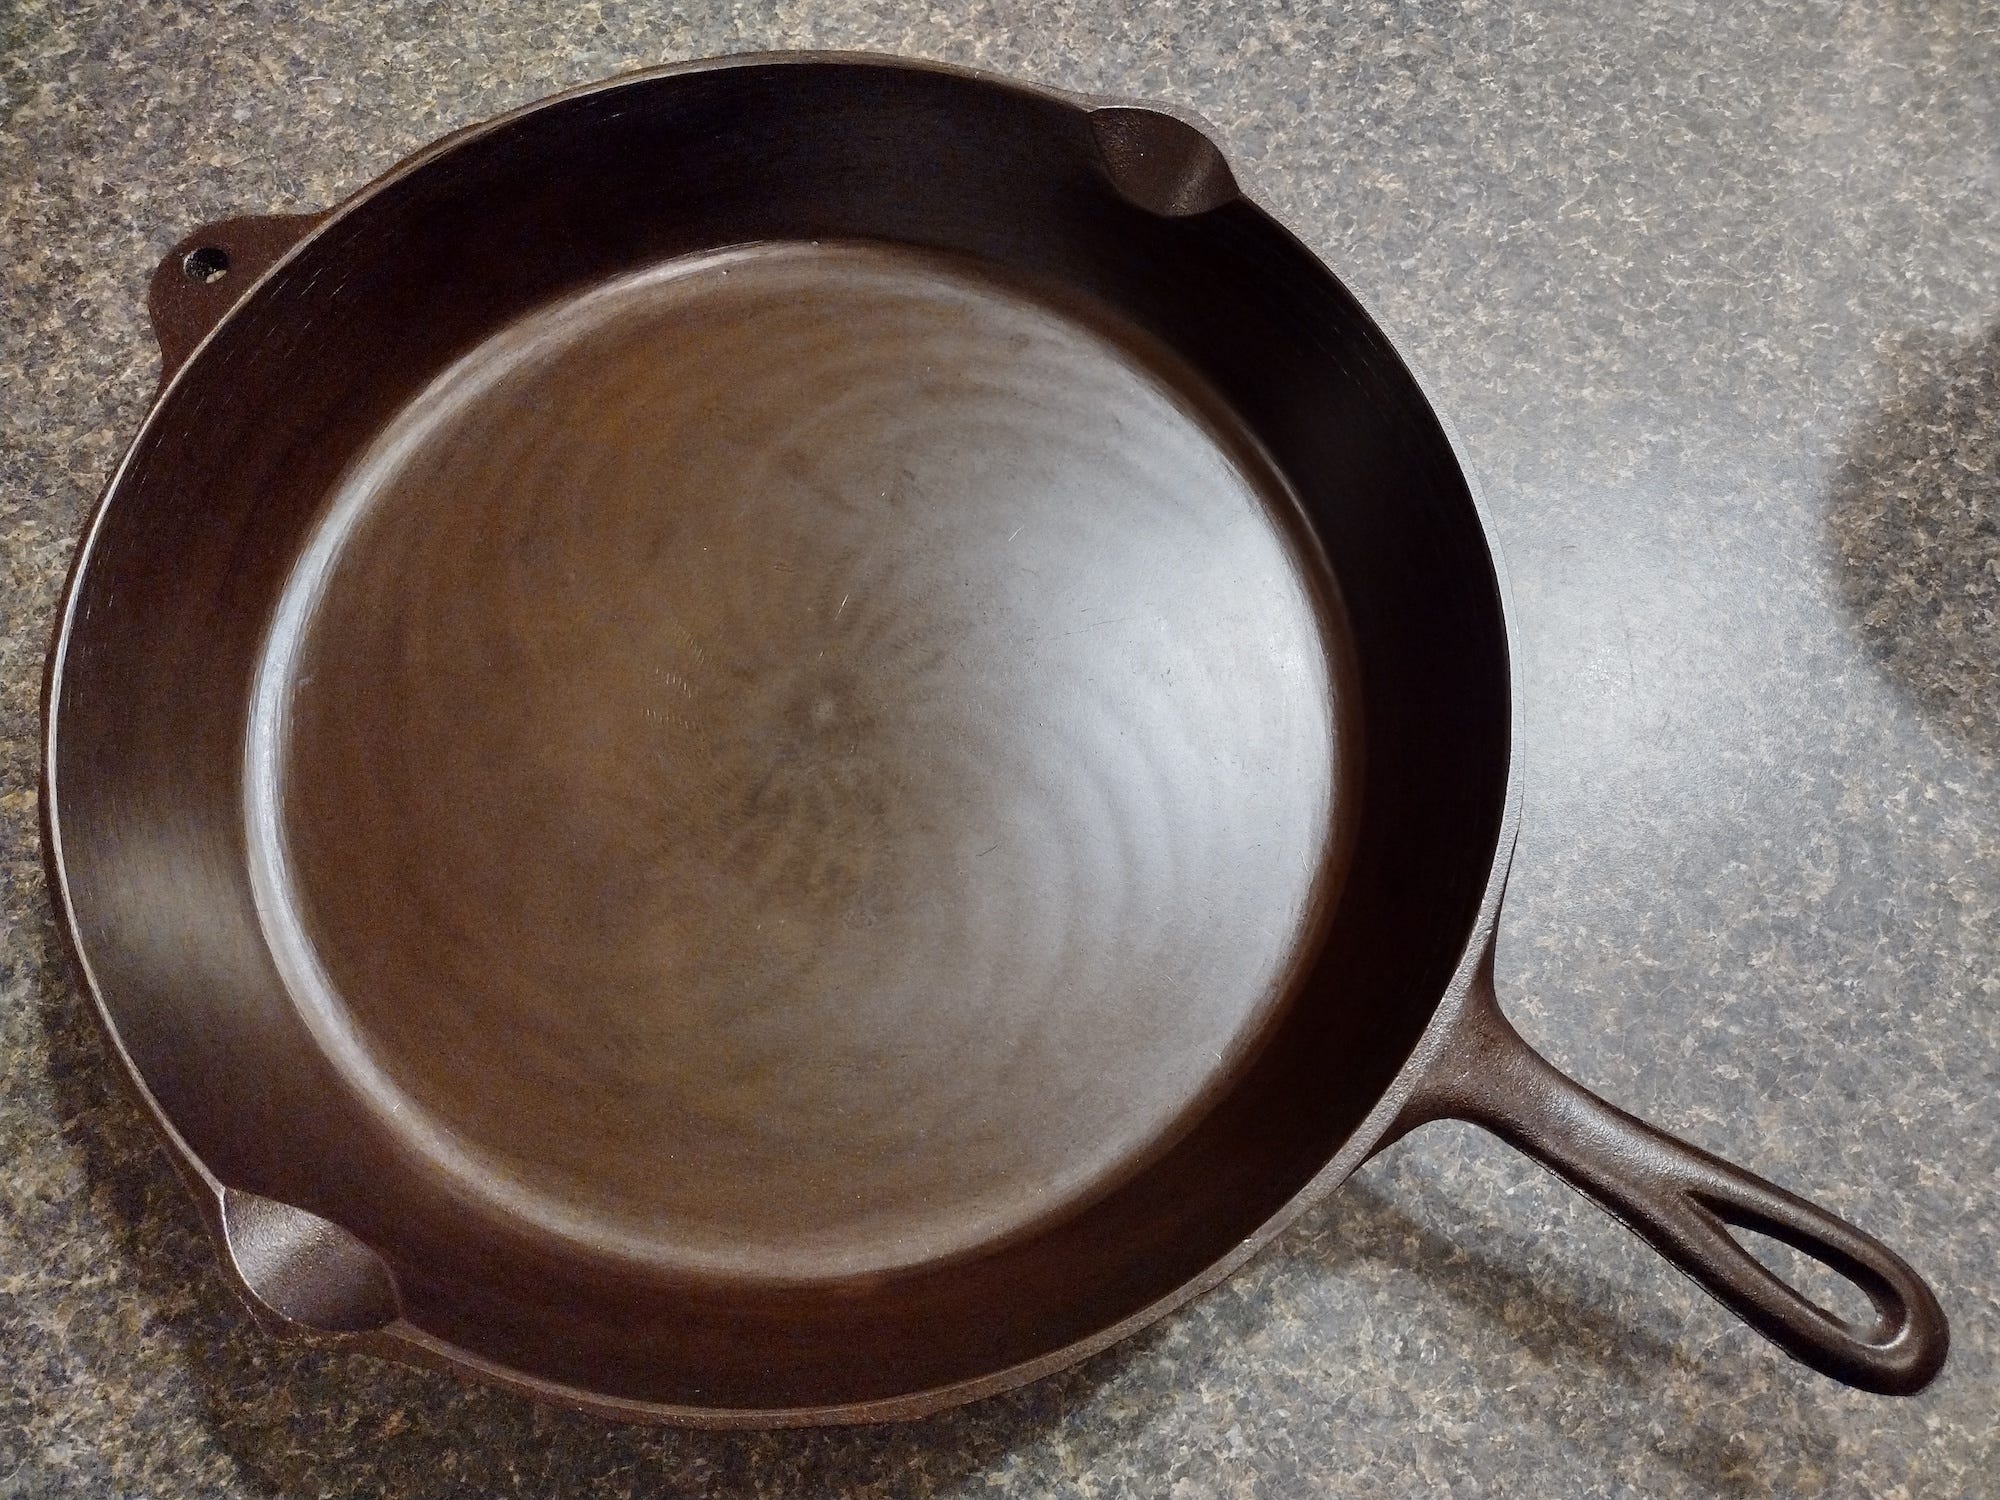
I baked the pans at 450 for 40 minutes, as grapeseed oil has a higher smoke point than coconut. After just one coat, I was impressed. The surface of my pans was darkening and not sticky at all. After six coats, I was very pleased. The pans were a very dark, glossy black/brown.
I was so jazzed after finishing our pans that at the first opportunity, I used the big skillet to make beef stir-fry.
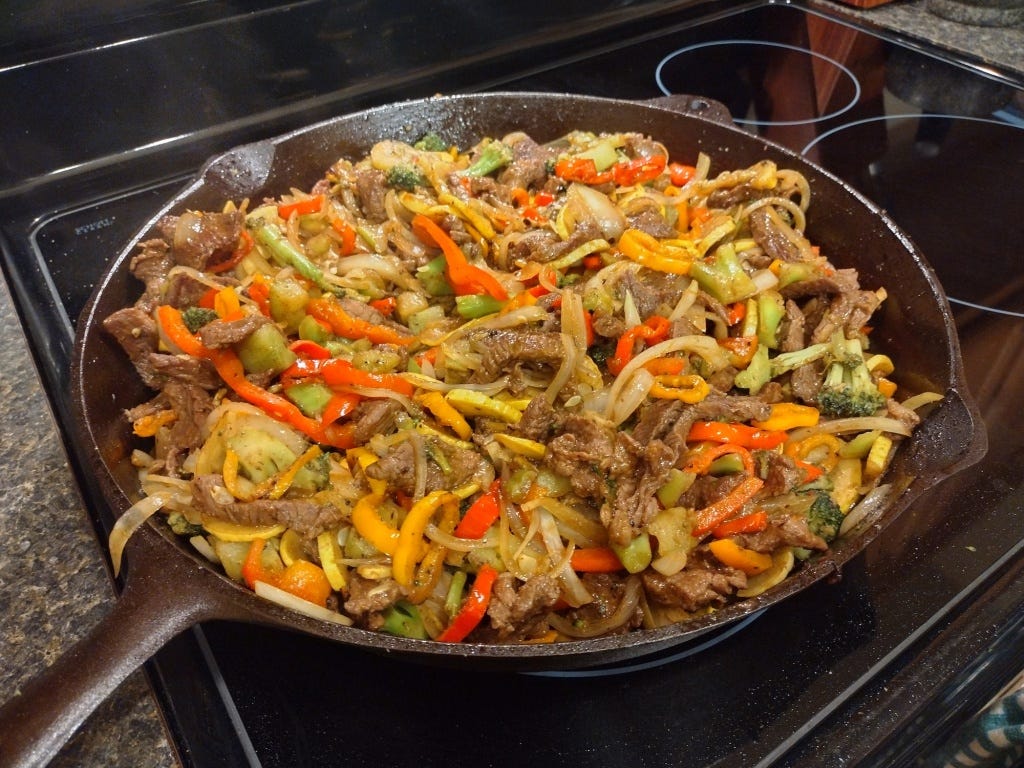
The results were promising at first. The pan worked like a non-stick pan, with the meat browning beautifully. Then I added the sauce. I could almost see when it started happening. It stuck -- really stuck. In hindsight, I blame the stove -- it heats very irregularly and sometimes gets very hot even when its set quite low. I tried putting hot water in the pan and scraping gently, but eventually I had to scrub -- and the seasoning came off the whole middle of the pan.
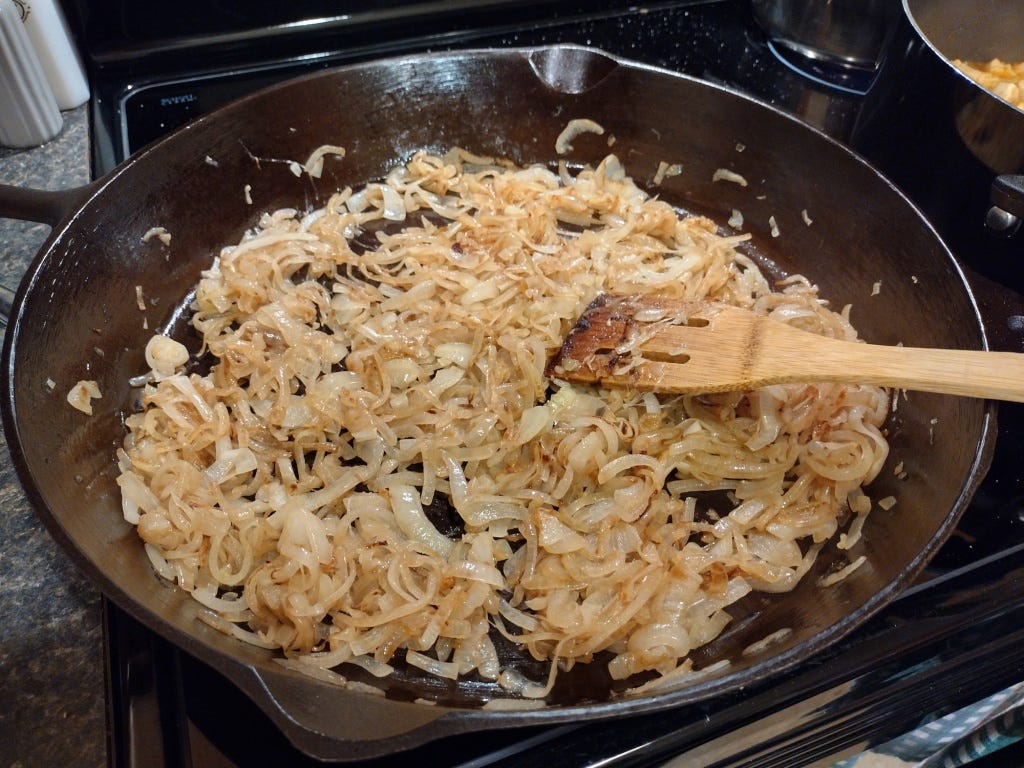
Frustrated, I started over with the 14-inch pan again, stripping and seasoning with grapeseed oil. This time I baked the pan for a whole hour each time, in case our oven wasn't getting things quite as hot as it should. When I tested out my work, I kept the stove on very low -- caramelizing onions. This time, the seasoning held up perfectly.
The pan seasoning adventure was definitely more challenging than I expected it to be. The experts make it look so easy! But I'm thankful to be developing this skill. Cooking on cast iron is different than cooking on modern non-stick pans, and there is a learning curve that I'm still mastering. When I make mistakes and stick things beyond hope, I'm now competent at fixing my mistakes and starting over.
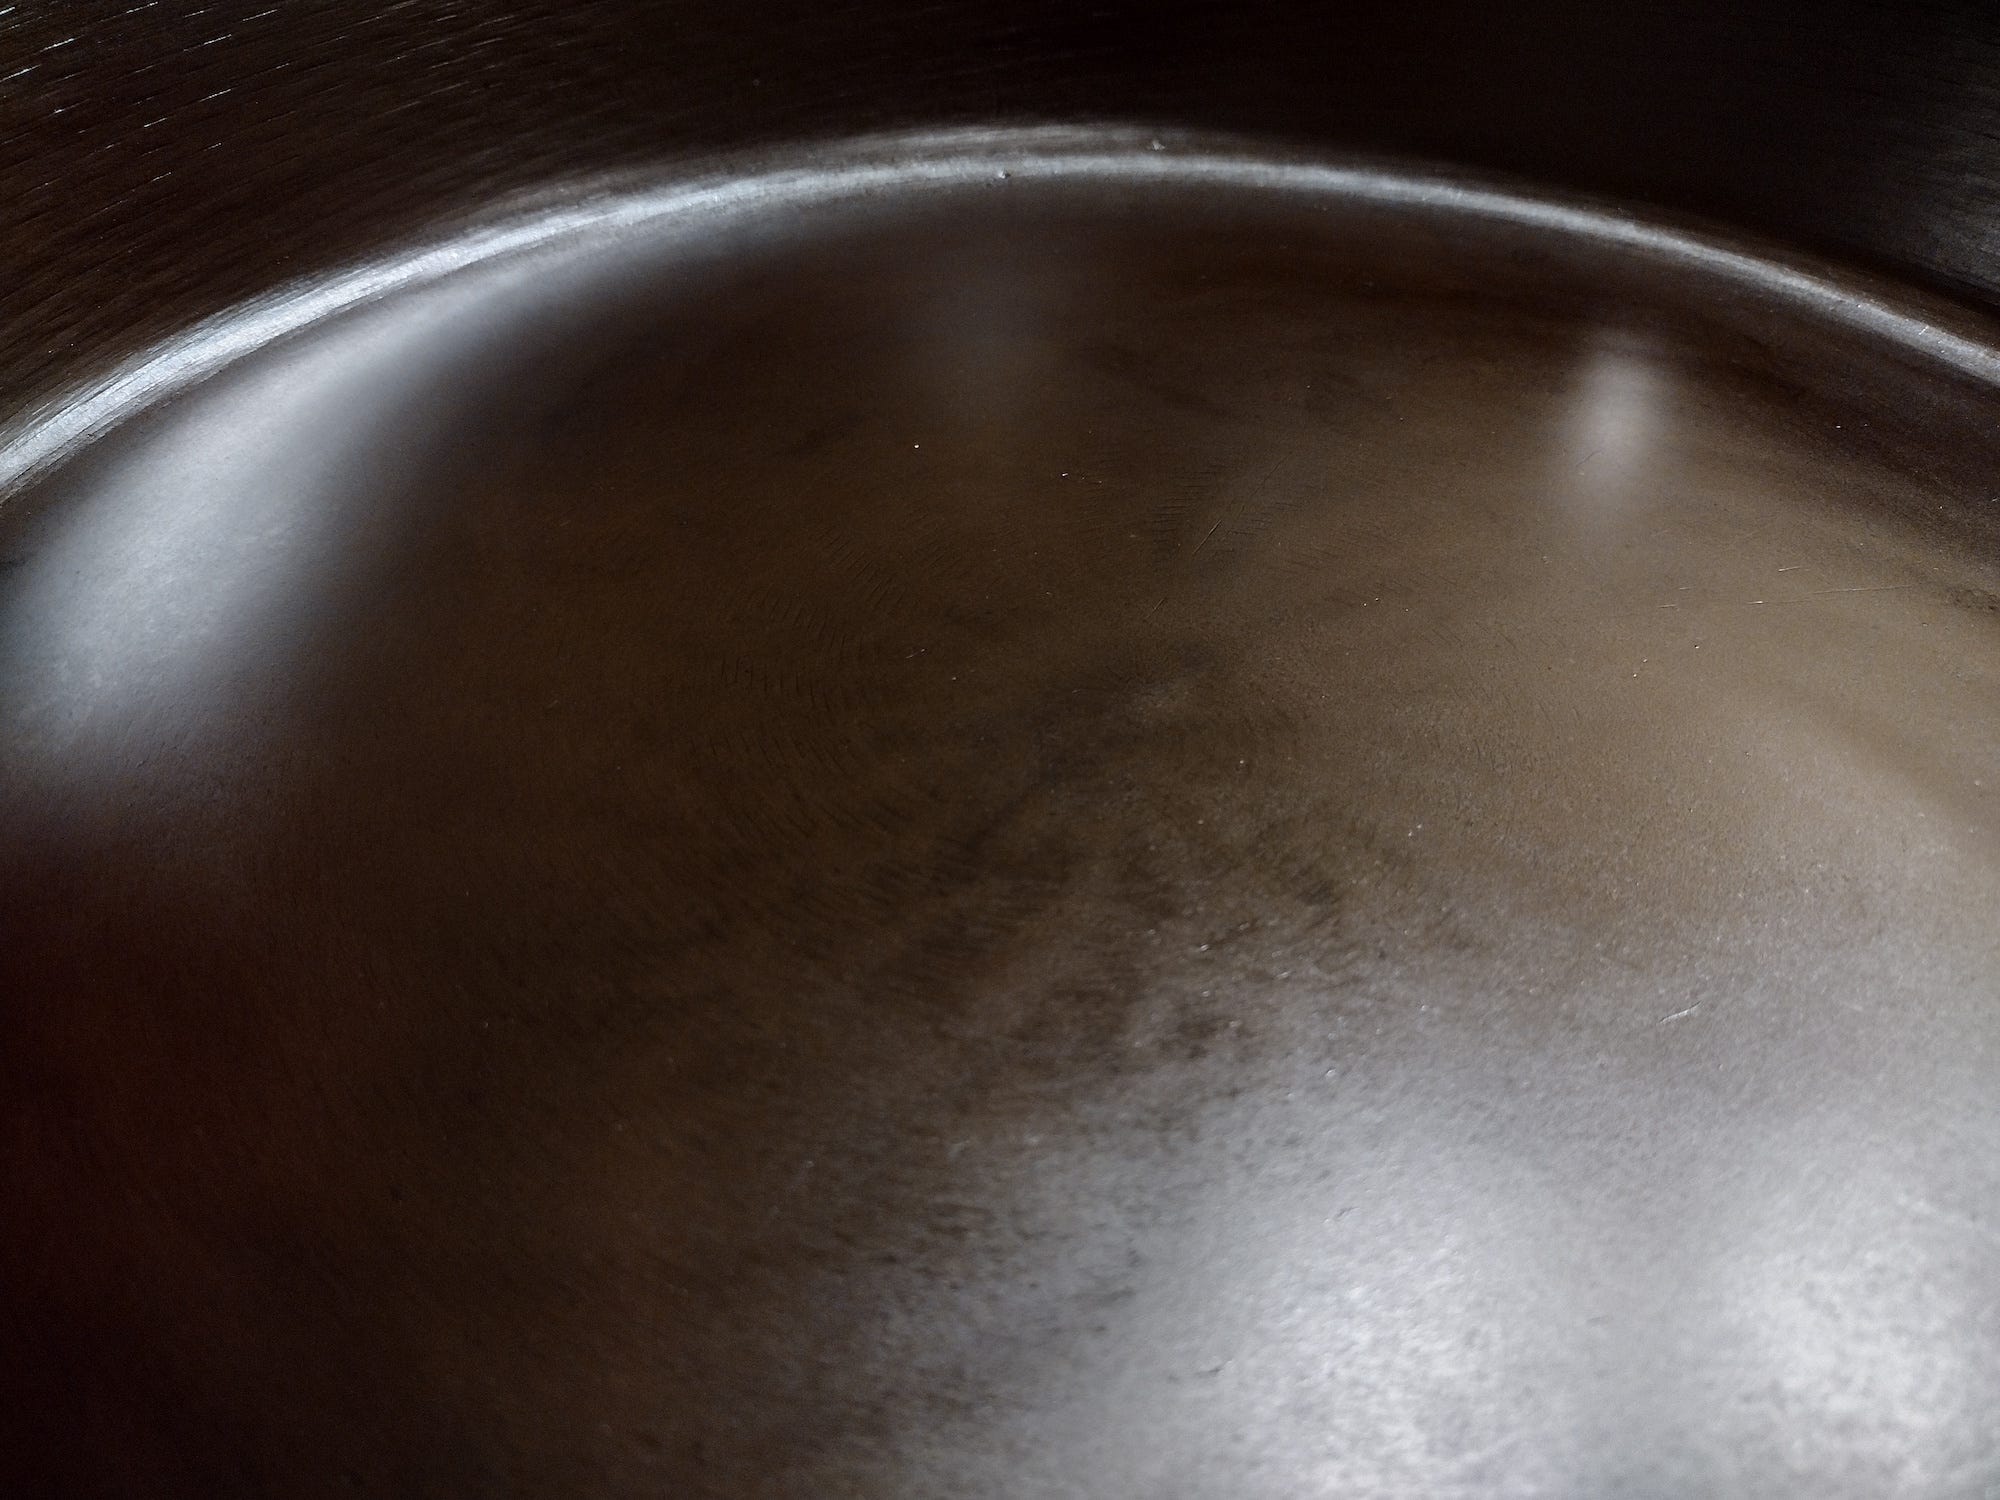
I've also had my interest in cast iron pans piqued. I'm learning the differences between the eras of vintage pans and how to recognize them. Our pans are from a variety of brands and time periods (I'm still trying to identify them exactly). The smaller pans have brands, and I am guessing they are from the 70s and 80s. The big skillet is much older -- my folks think they bought it used back in the 90s, but they can't remember where. It doesn't have any brand markings -- just a stamp that says Made in the USA and the number 14 (I assume for the size of the pan). The inside is very smooth, which is characteristic of antique pans. I need to do more research, but it's a mystery I'm looking forward to unraveling!