
Wall Tent Build: The Deck, Part 2
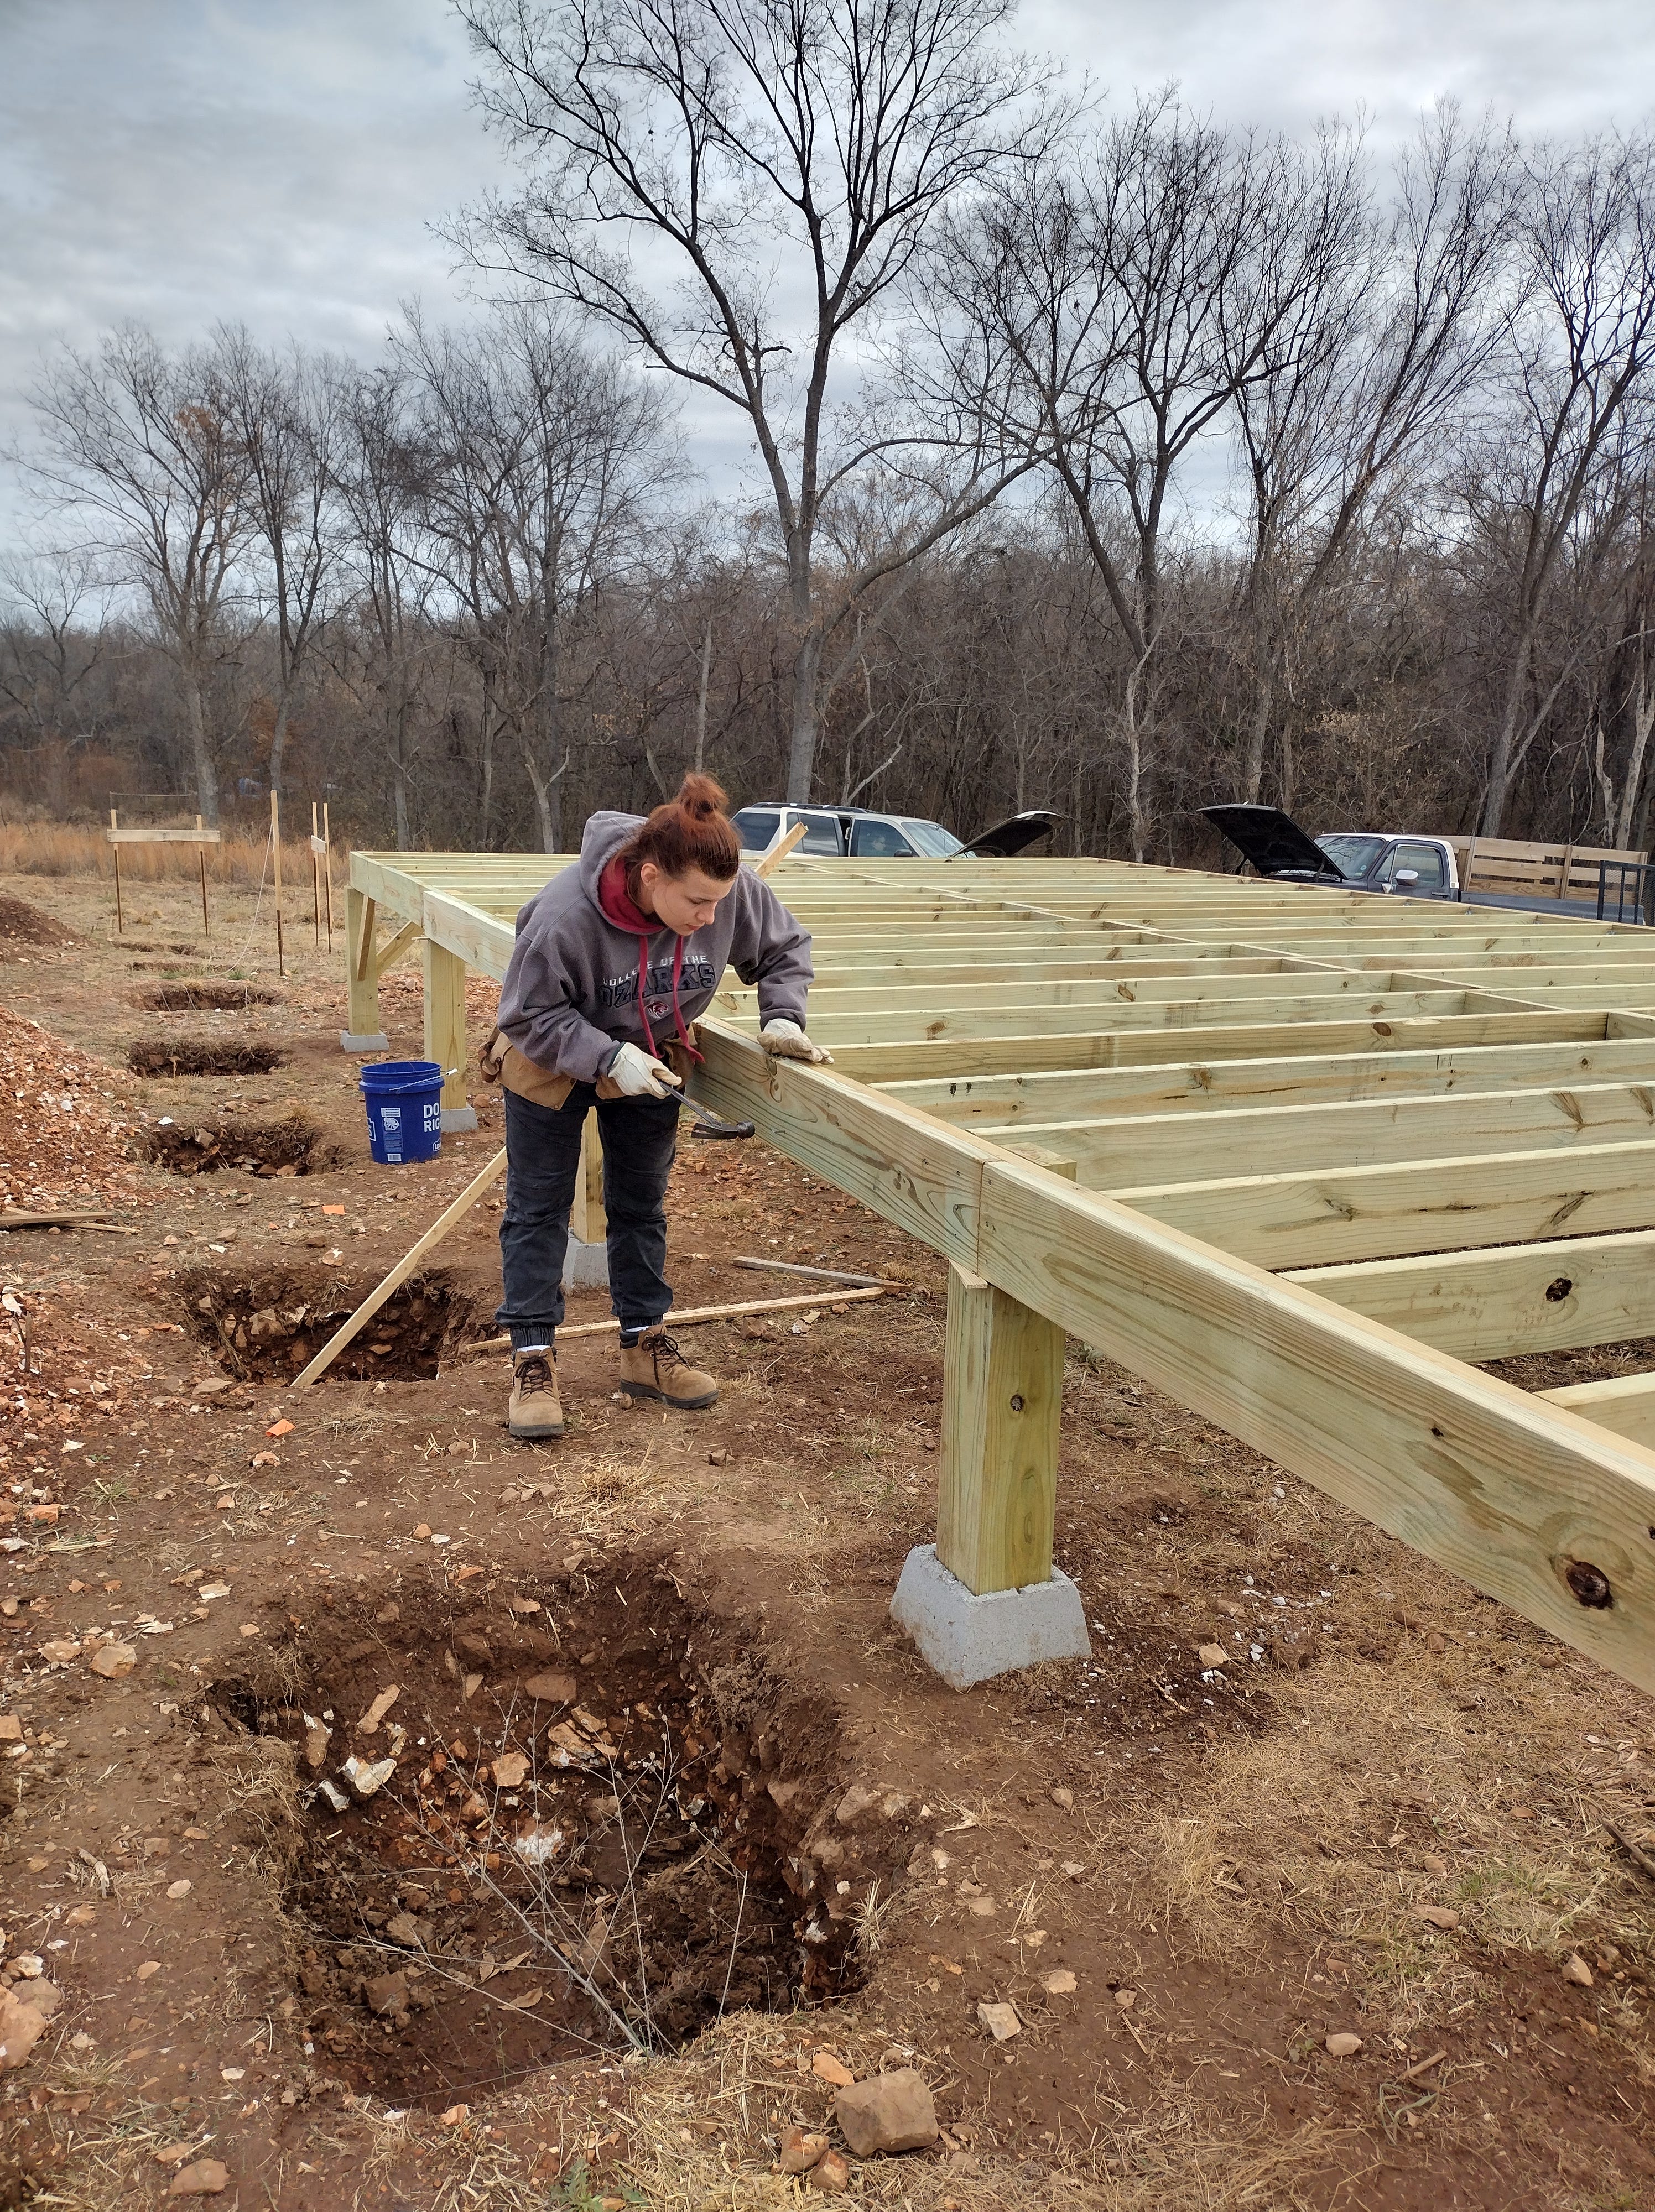
When it was finally time to hang the joists on our deck frame, we were excited. The frame had been so tricky, we were glad to be working on what we thought would be more straight-forward parts of the project.
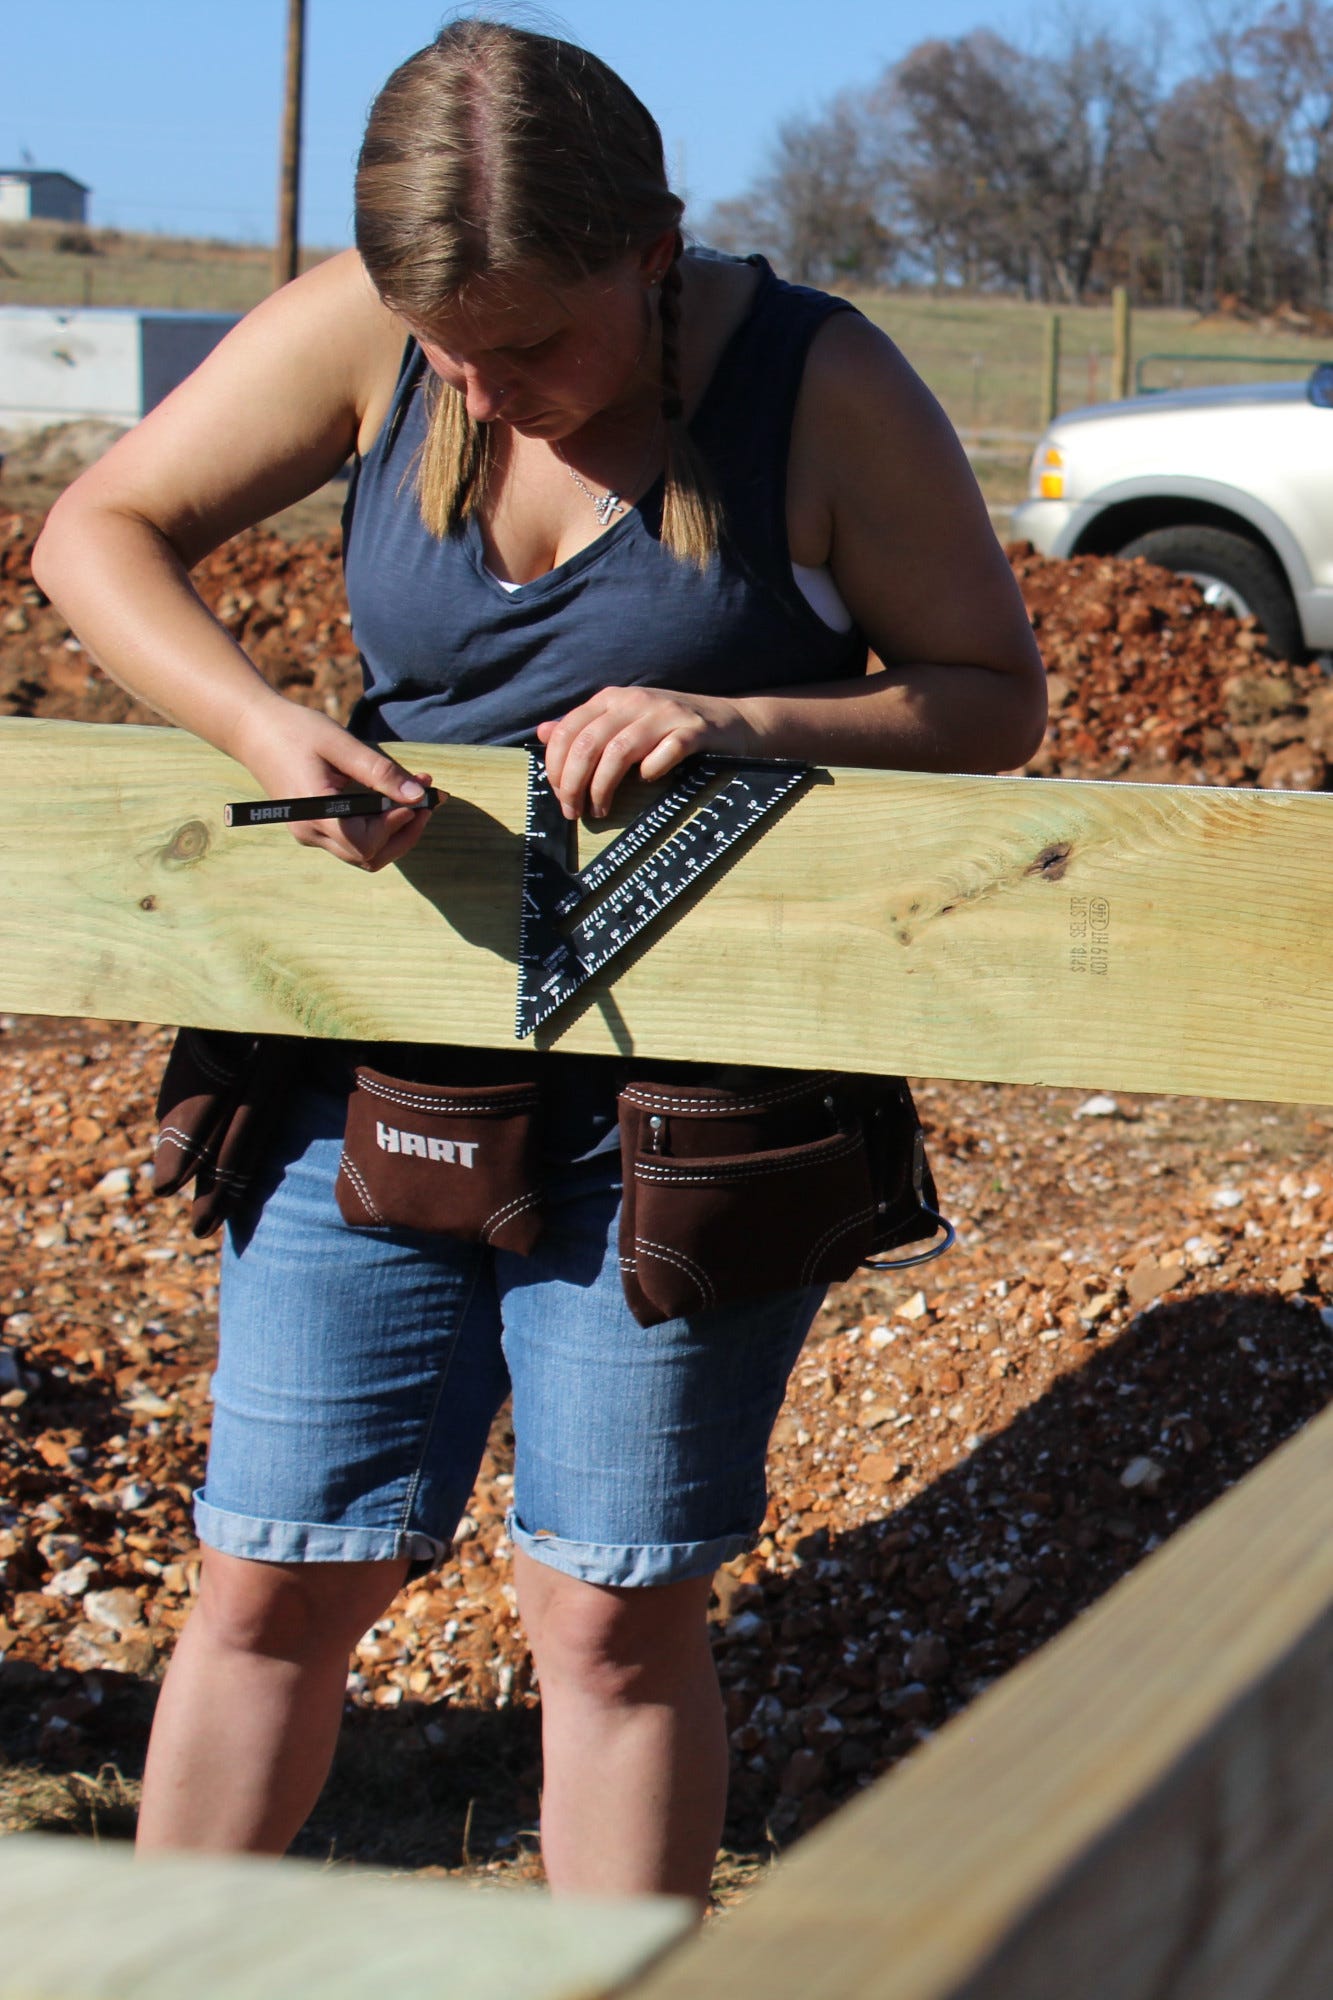
I started the process by marking the location of each joist. We quickly realized that a standard 16-inch-on-center pattern would land a joist on each of our posts. We decided to space our first joists about seven inches apart to fix this issue.
We began by hanging six of the joists, scattered across the whole deck. We wanted to check for square and make sure the joists would help force the sides of the deck into place and not pull them further out.
The results were not what we hoped.
We measured our diagonals across the deck, and we were not square. We were a good inch off. The joists helped the sides a bit, but they were also still bowed.
We began by pulling our deck square. For this rather monumental task (a 16'x32' frame is rather heavy), we had to break out our comealong. Our dad pulled his '84 Chevy to the corner of the deck, and we used it as a counterweight with the deck frame.
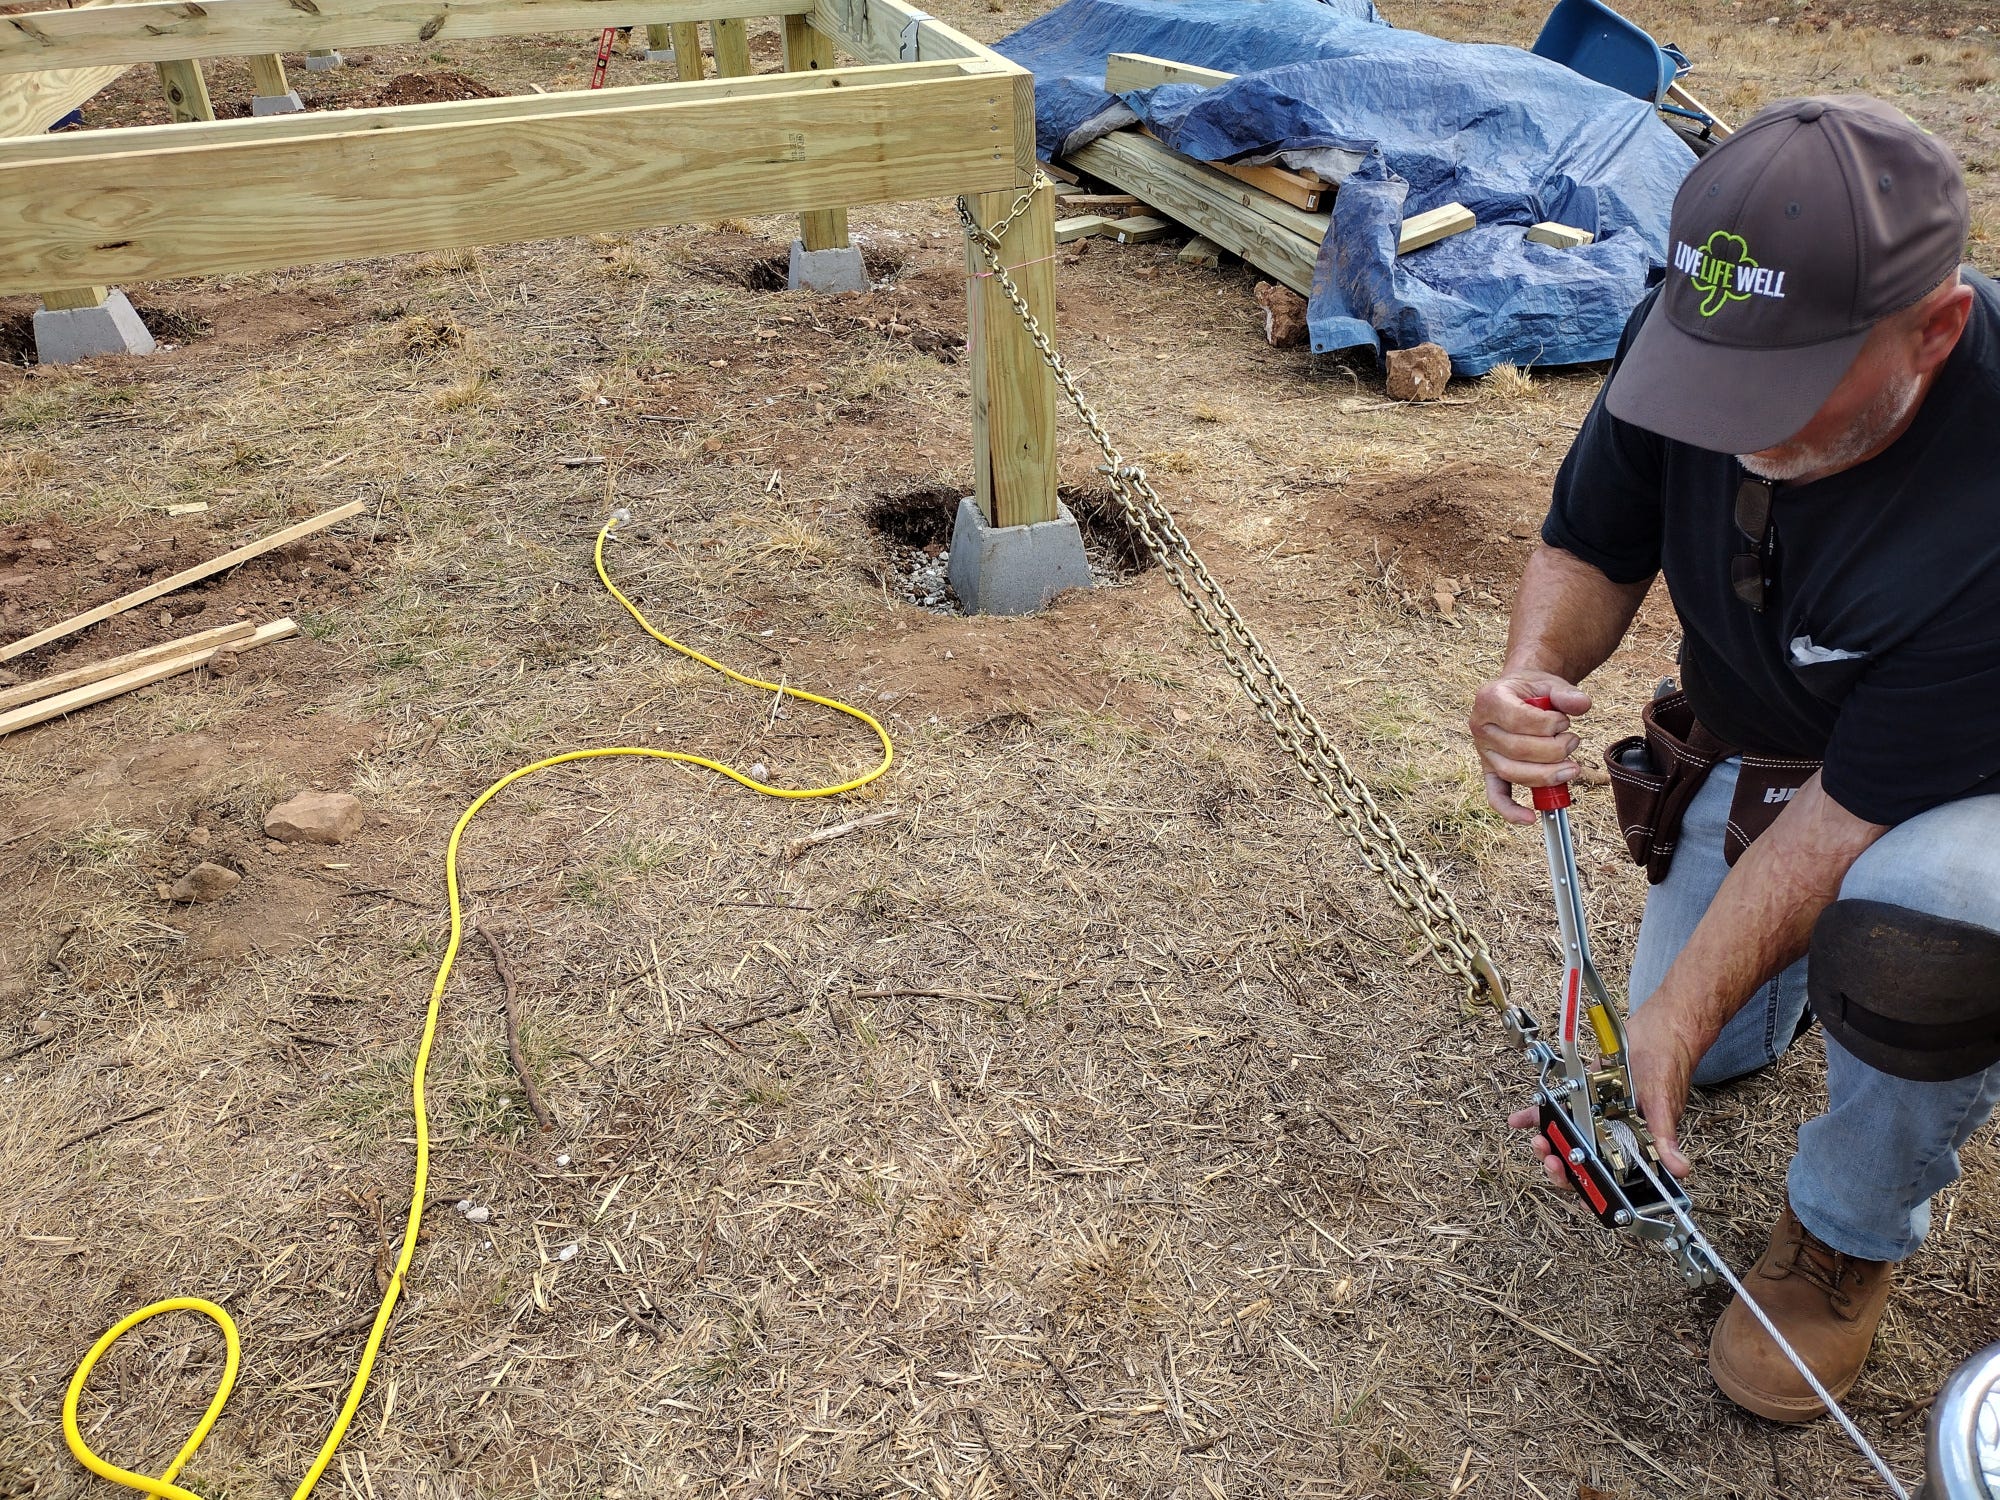
We sisters expected this fix to be complicated, but it really wasn't. Bonnie and I kept a tape on the corners to watch the progress. A few clicks of the comealong was too far, and we actually had to use a hammer to knock the post back a bit. When we double checked our diagonals and they were square, we wanted to do a happy dance! We also had to use hammers and pressure to push the sides of the deck straight. They wanted to curve, and the bowed joists really didn't help.
As soon as we got the deck square and plumb, we added a bunch of 2x4 bracing to our deck posts. We wanted to make sure that the frame wouldn't be pushed out of line again.
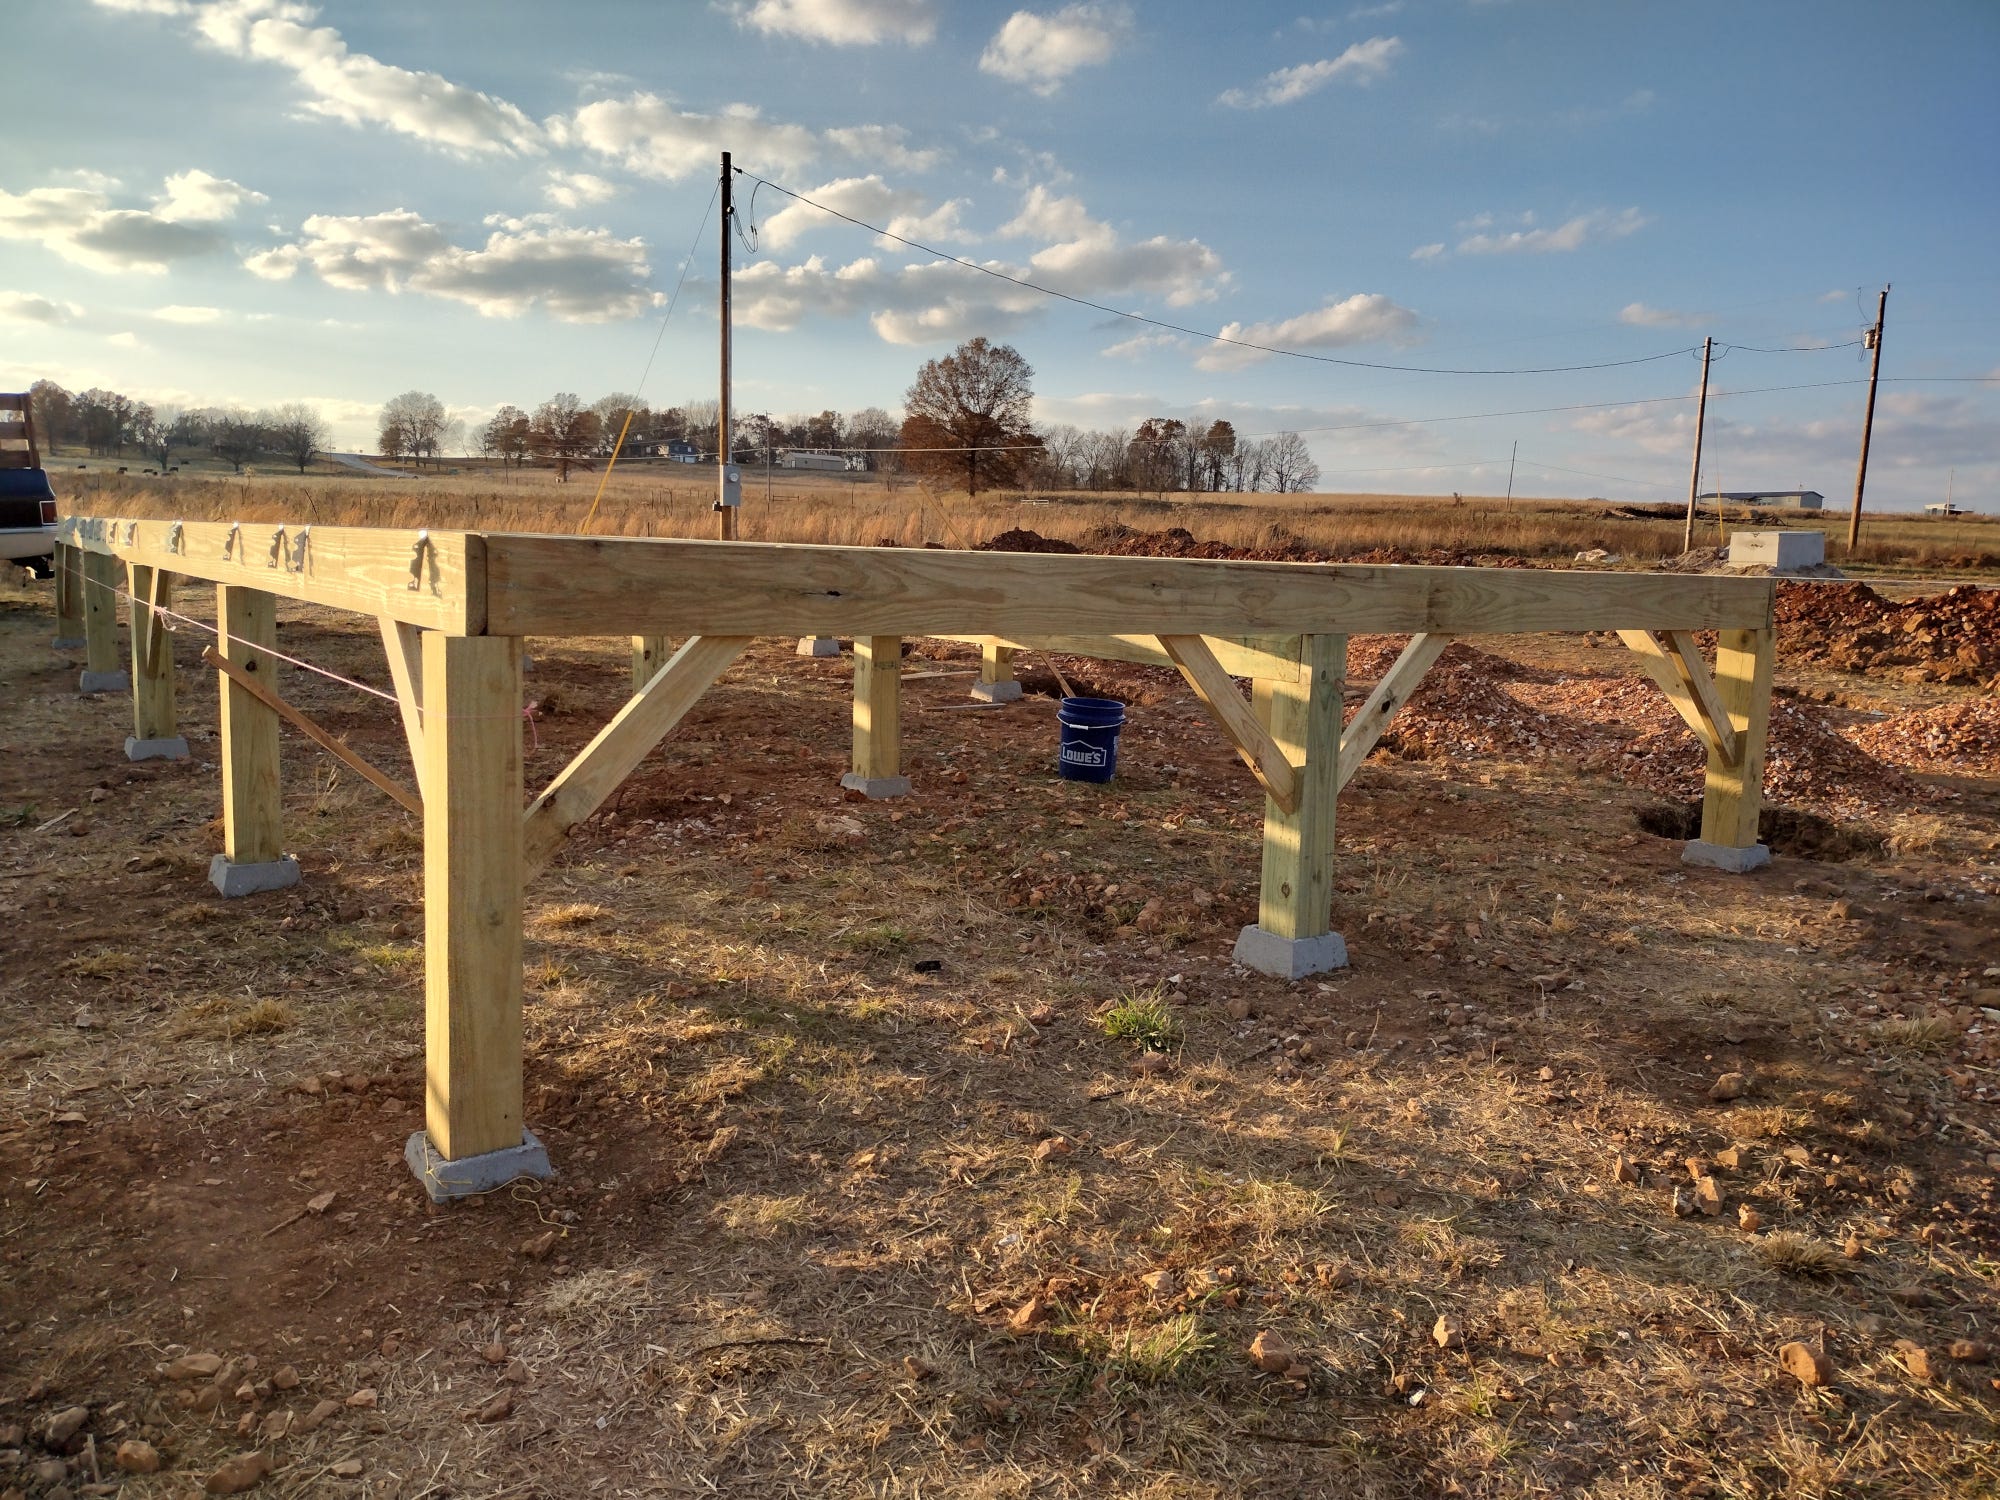
After we attached the bracing, we finished installing our joists. We used 2x6s for our design, except for the rim joists -- for those, we used 2x8s. As we worked, we checked to make sure our side beams and center beam stayed straight. Since the deck was floating, it kept wanting to move.
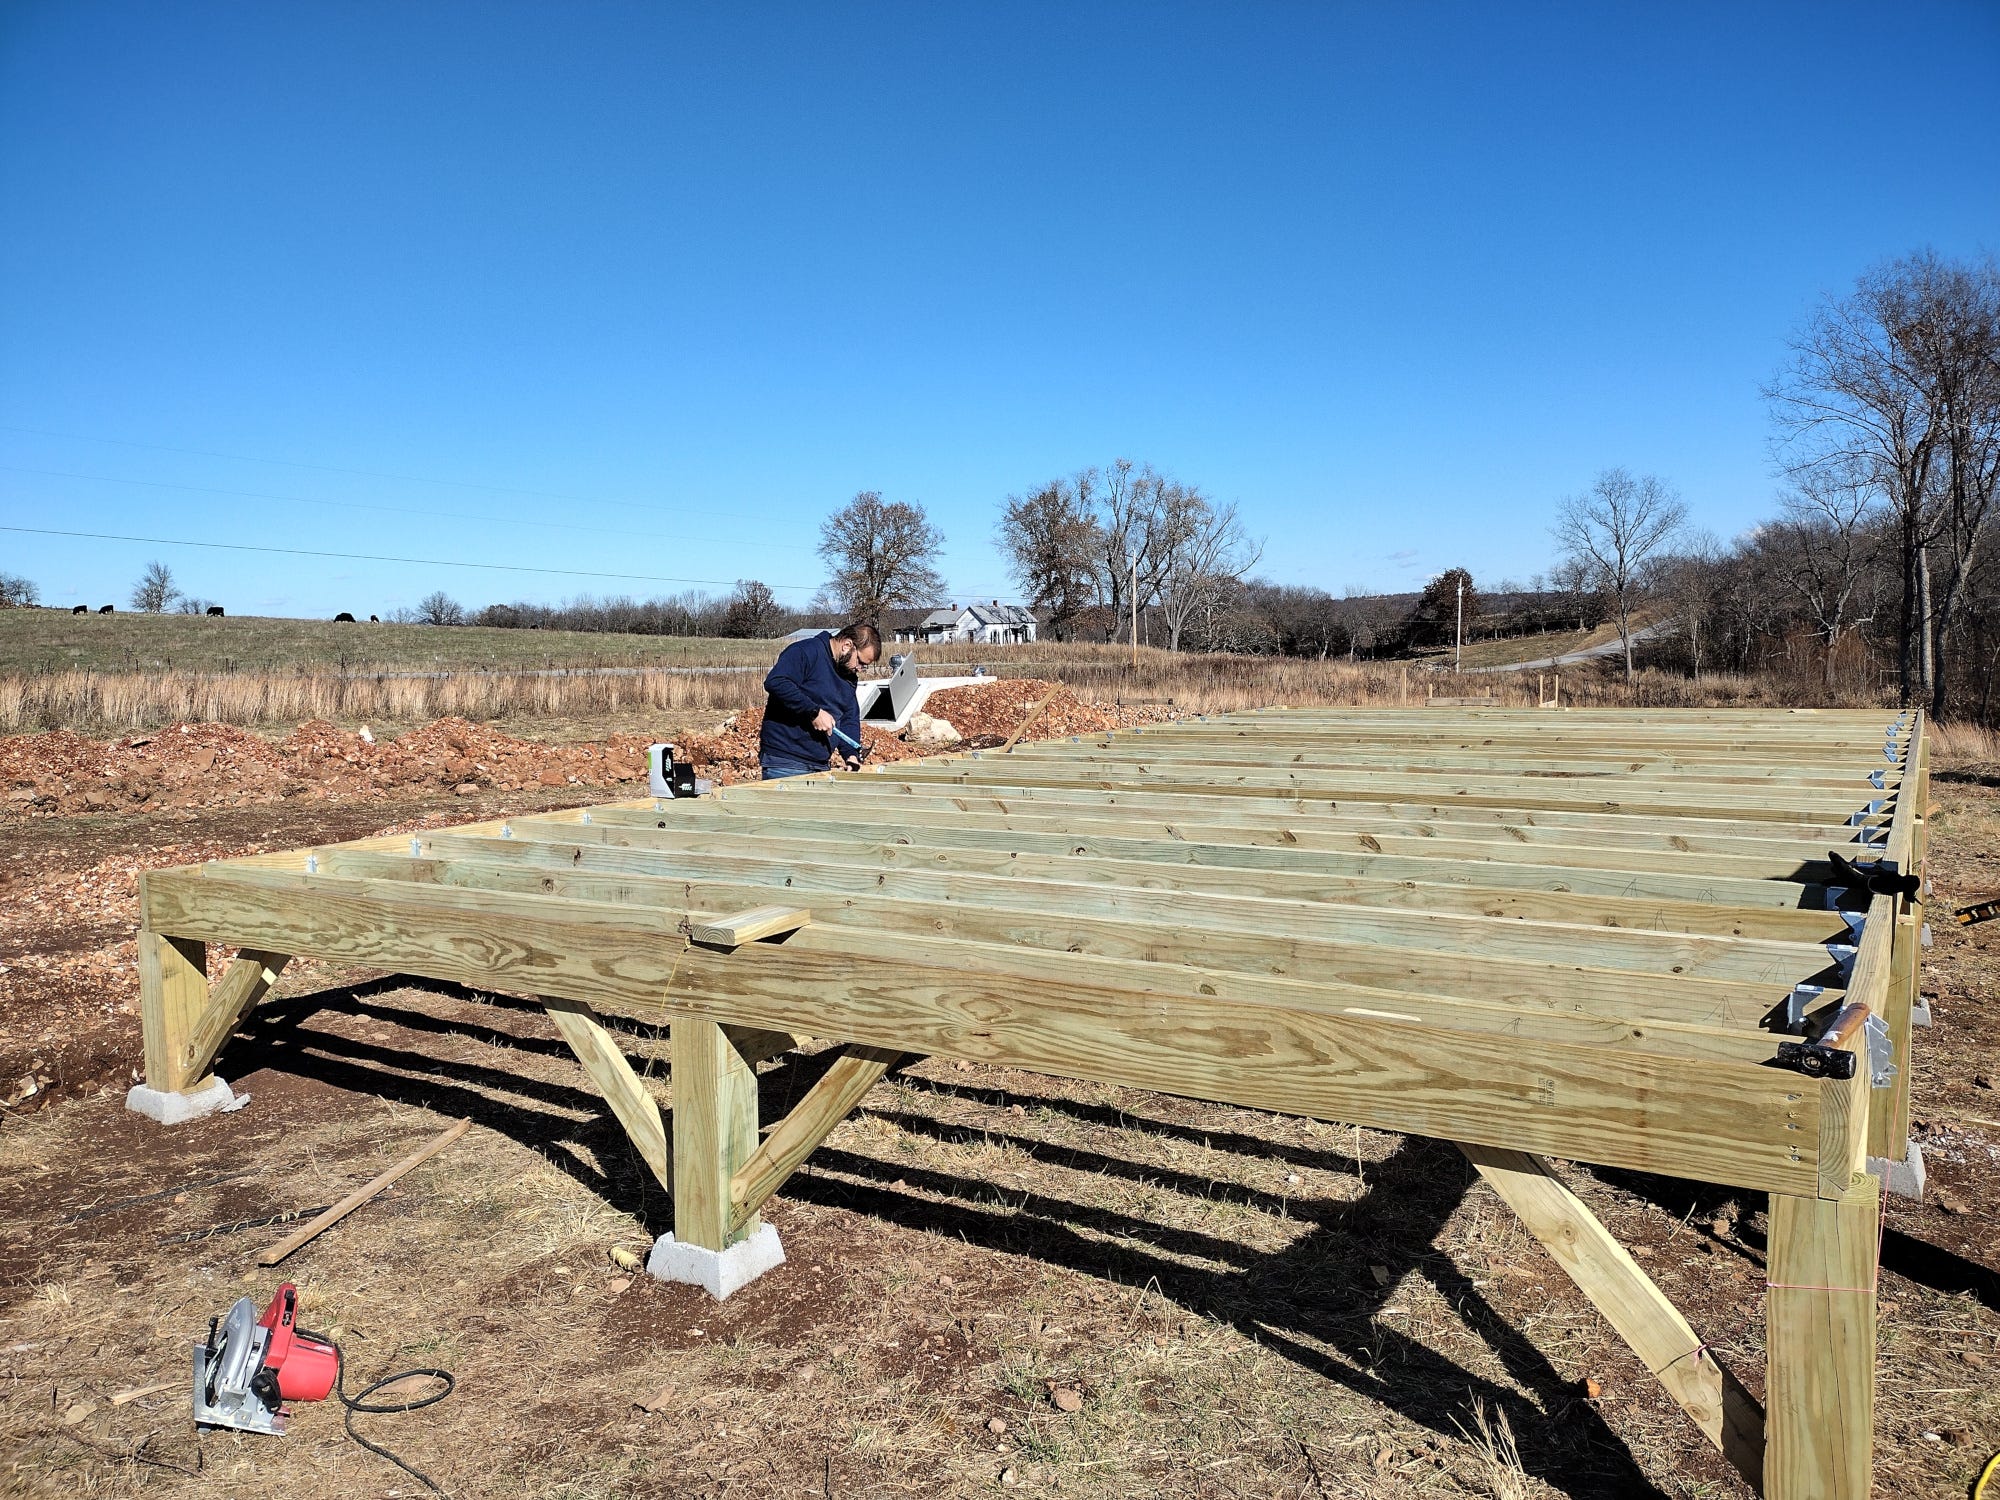
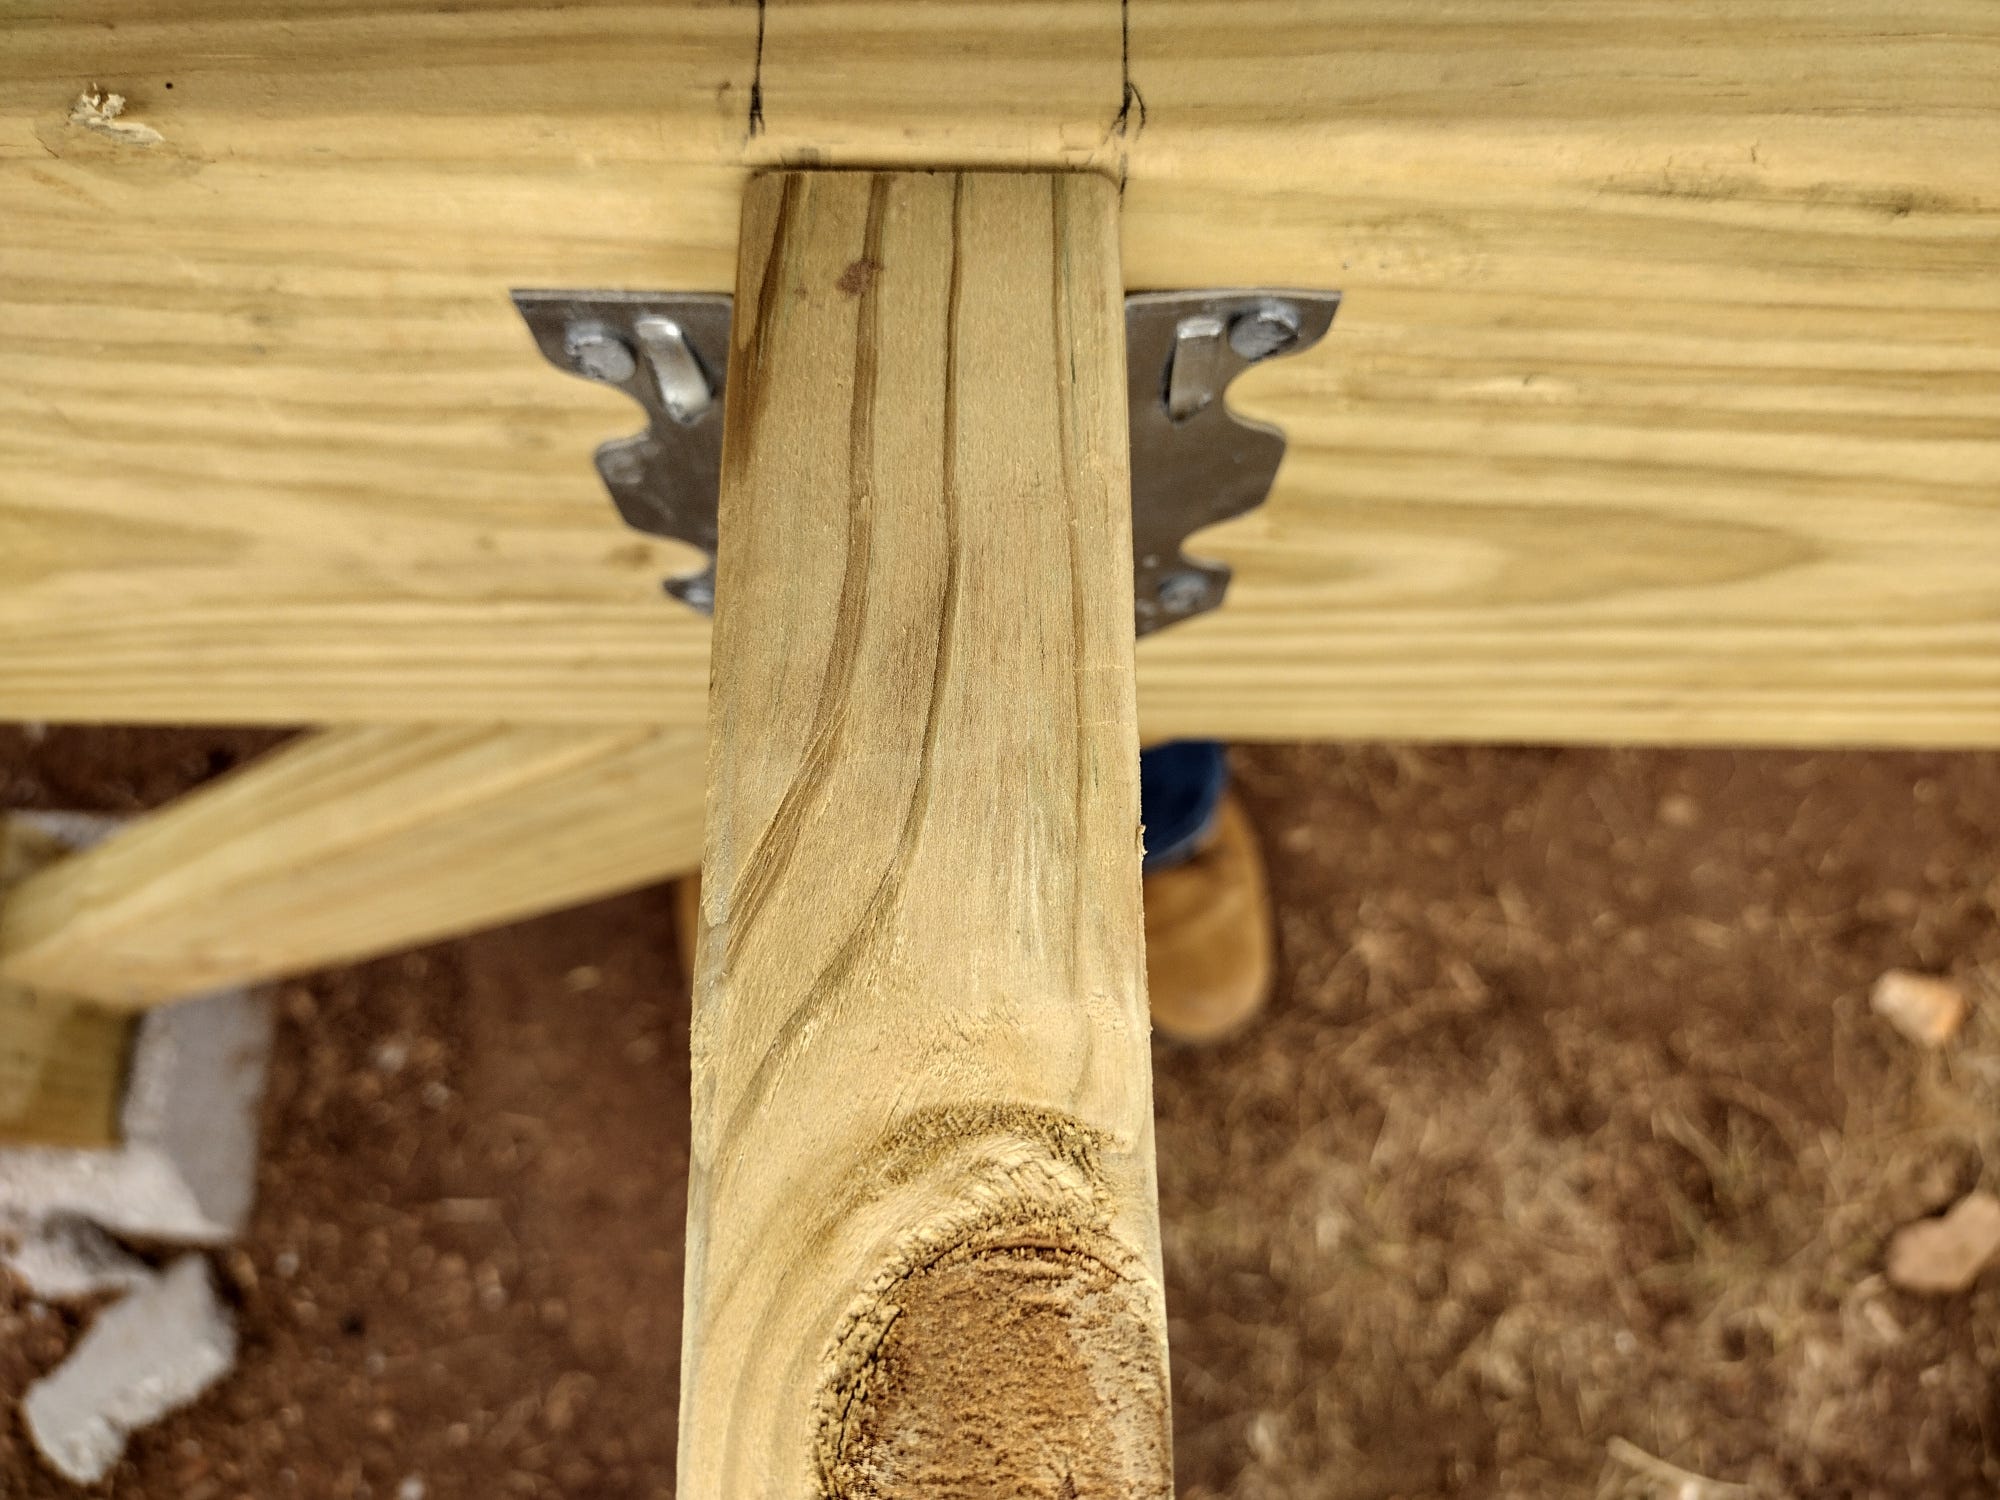
We chose to use joist hangers on our project, which was pretty simple. We purchased hangers for 2x6/2x8 boards from Menards. You can attach joist hangers before or after the joist is installed. We chose to install our joists first, nailing them into place from outside our 2x8 rim board. Then we nailed the hangers into place.
Once our joists were in place, we added blocking above our center beam. This was yet another surprisingly tricky task, as each joist wanted to curve and bow a different direction. We also attached 2x8s to the outside of our rim boards to create beams on both ends of the joists. Bonnie-Jean did a lot of the nailing on this part of the project and nearly broke her thumb in the process!
We forgot to purchase enough wood for blocking when we purchased our joists, so we made a quick trip to the local True Value. We didn't notice until later that those 2x6s were actually slightly larger than the ones from Menards. We ended up having to sand/trim the top of our blocking so that our decking went on smoothly.
We used the most affordable decking we could get our hands on -- green, pressure treated 5/4x6s from Menards. Since we didn't use standard 16-inch-on-center spacing, standard decking patterns didn't transfer well to our project. I played with our dimensions on sketch up and came up with a pattern that worked for us.

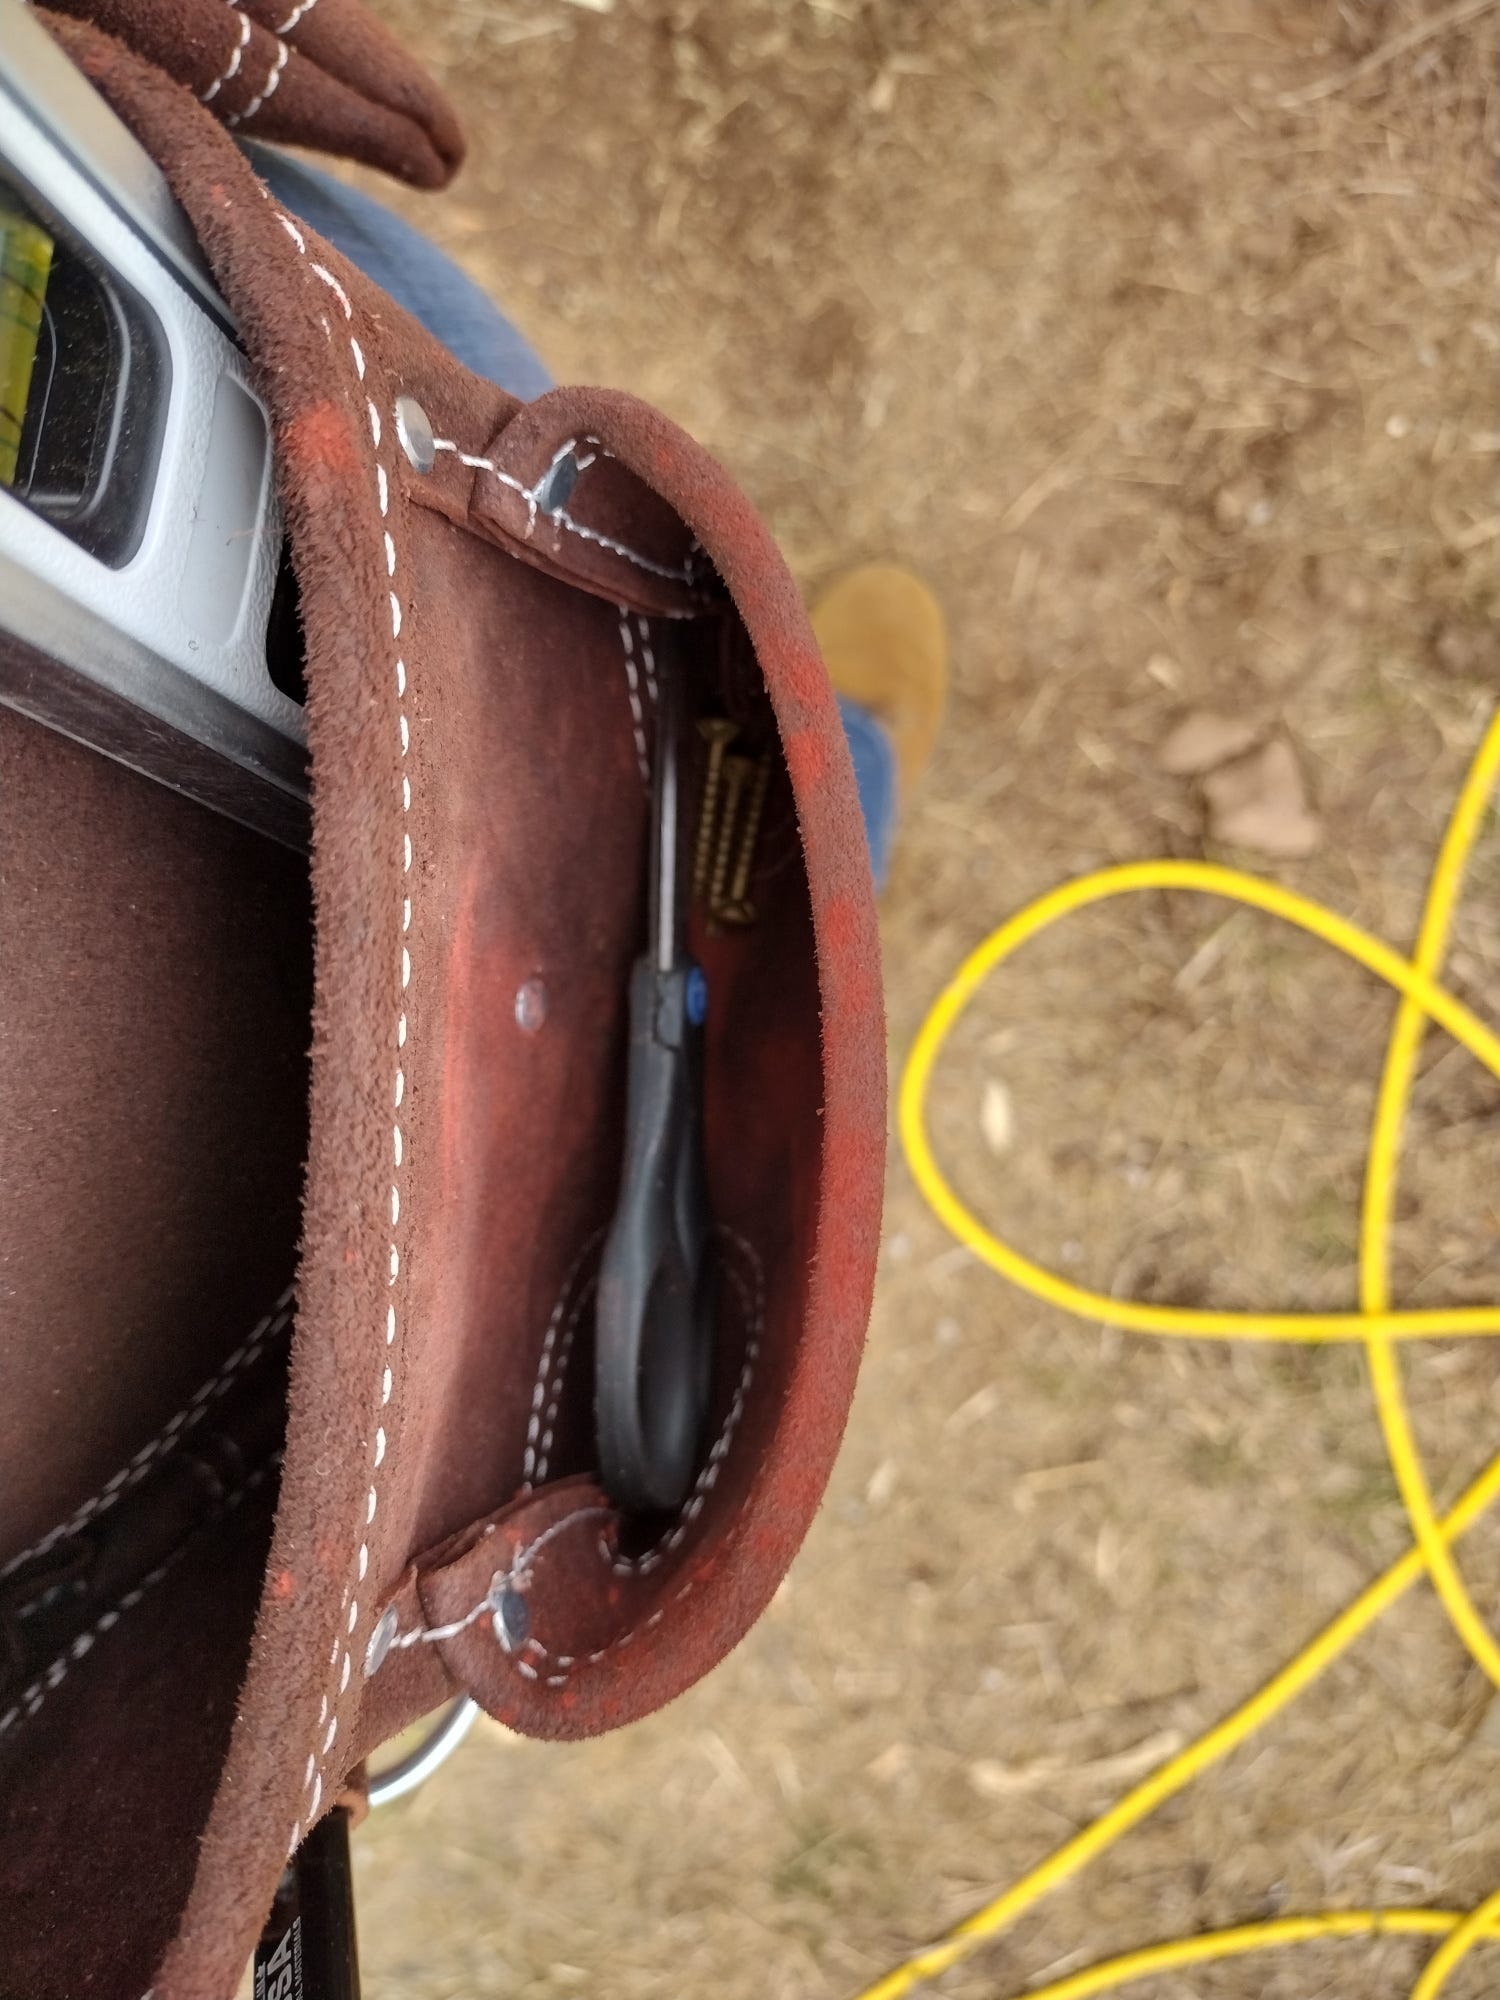
We planned to leave about 1/8 inch between boards, but because the thicknesses were so varied, we ended up having to run a chalk line for each row and have a variation in our spacing. And then our chalk line broke, filling my newish tool belt with red powder, much to my chagrin. So, we had to use a string line for the first half of the decking.

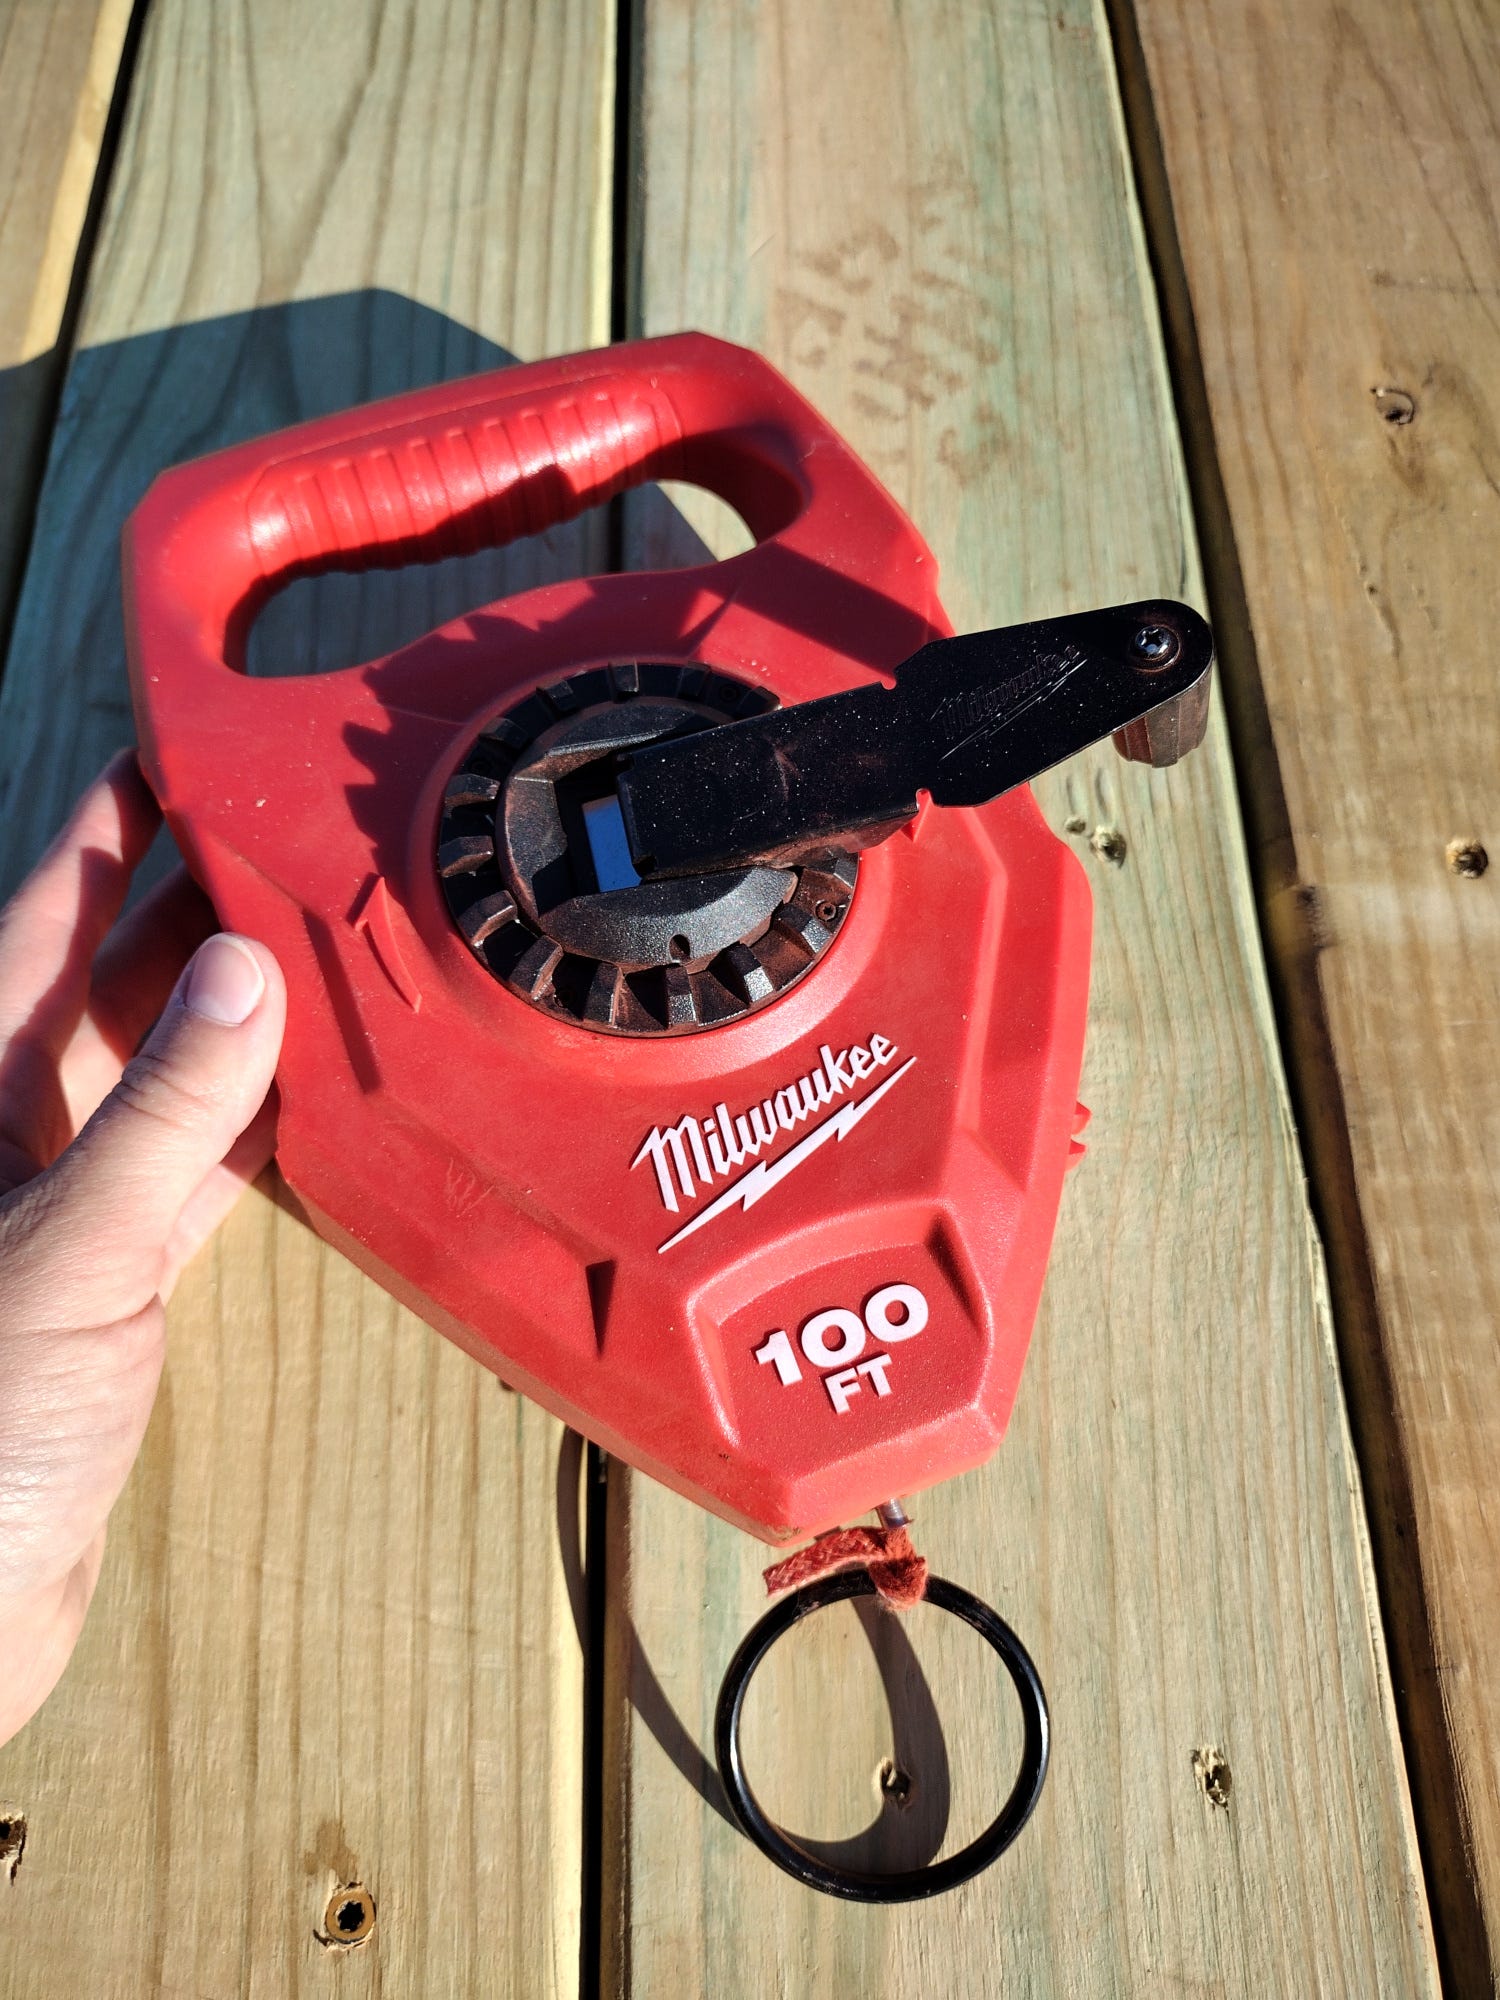
We replaced our broken chalk line with a Milwaukee 100-foot version that made our old one look like a toy. It was a bit of a splurge, but we also had a coupon (Home Depot has some of the best deals if you watch for them).
We started the decking on the side of the deck furthest from our tiny bunkhouse, as we plan to extend the deck later and didn't mind if we had to rip a board on that side. We will just replace it later when we add the extension.
We had quite the variety of weather while laying our decking -- warm one day and freezing the next.
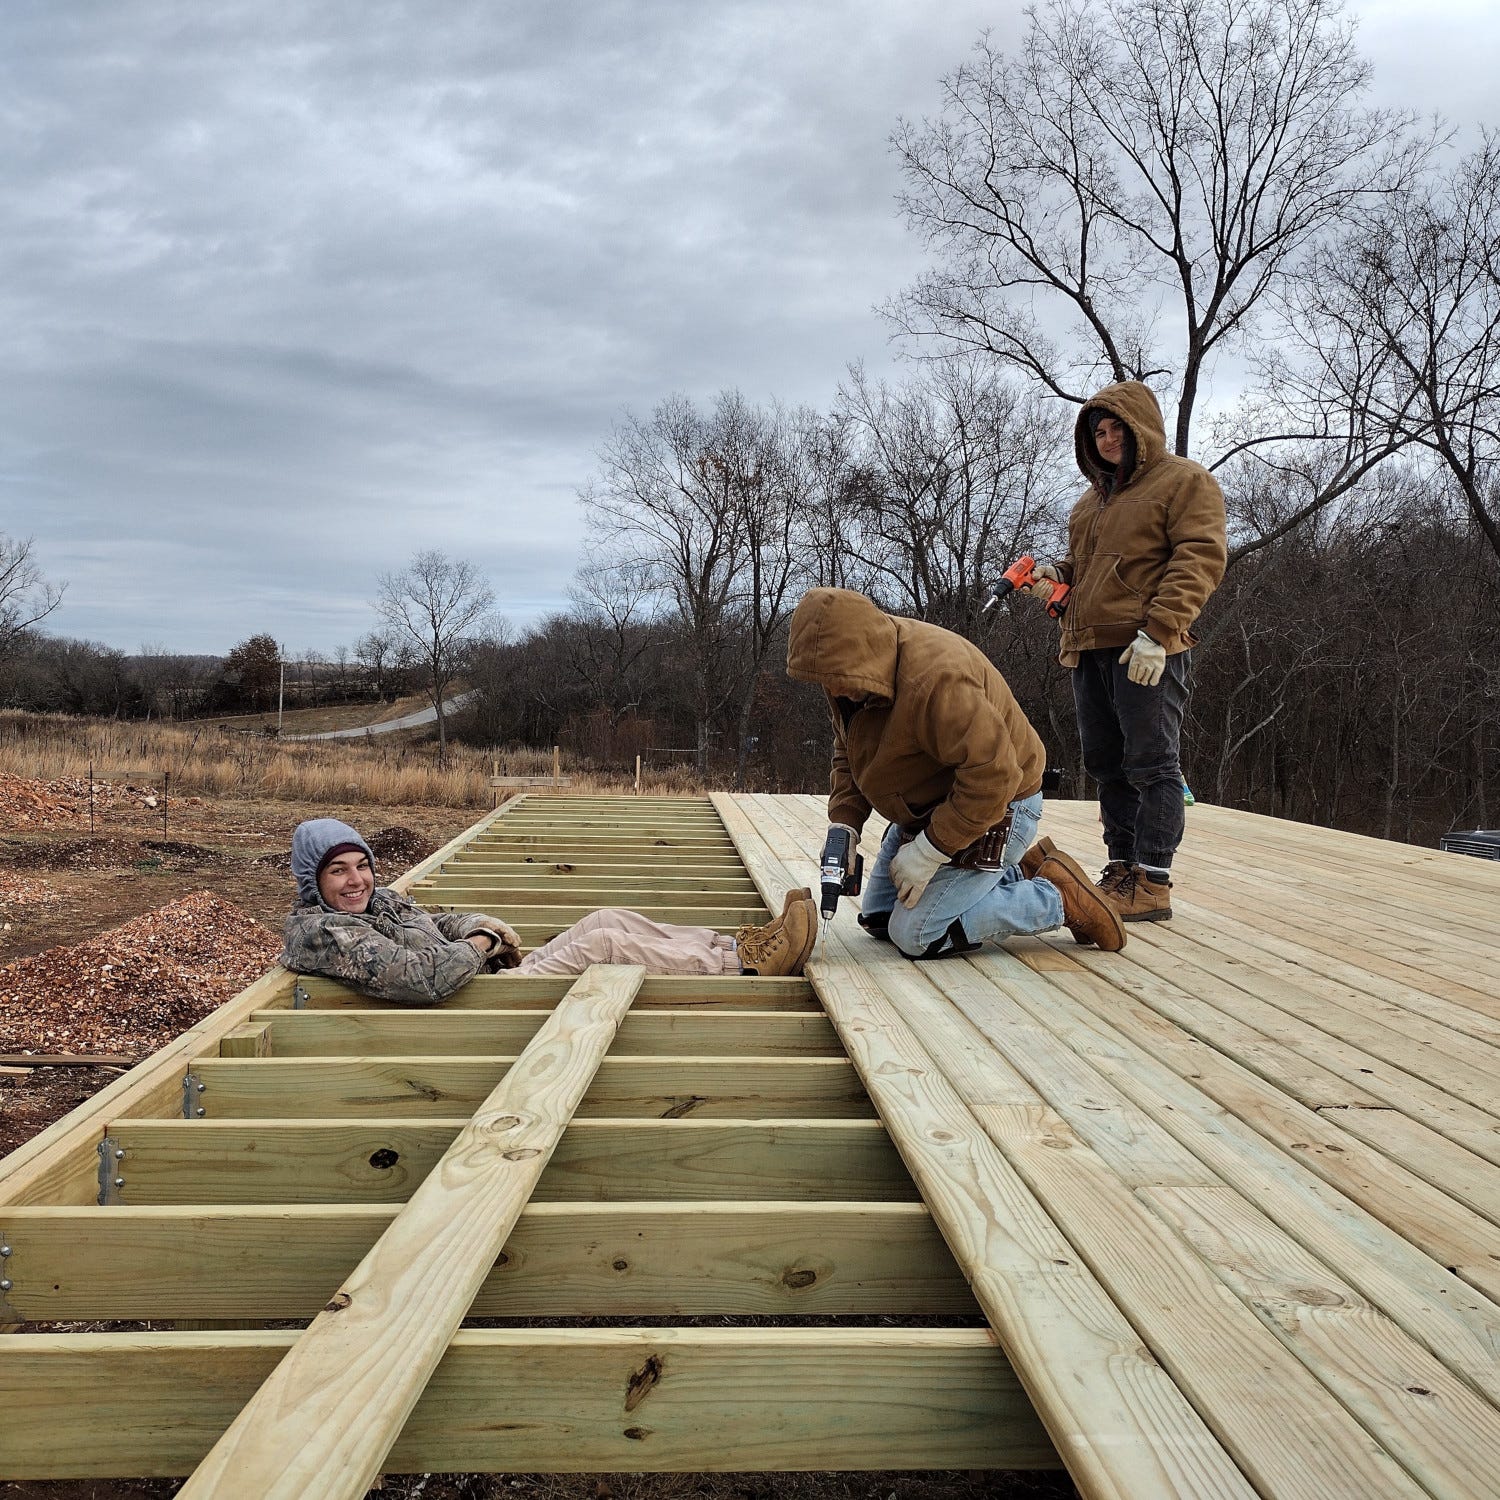
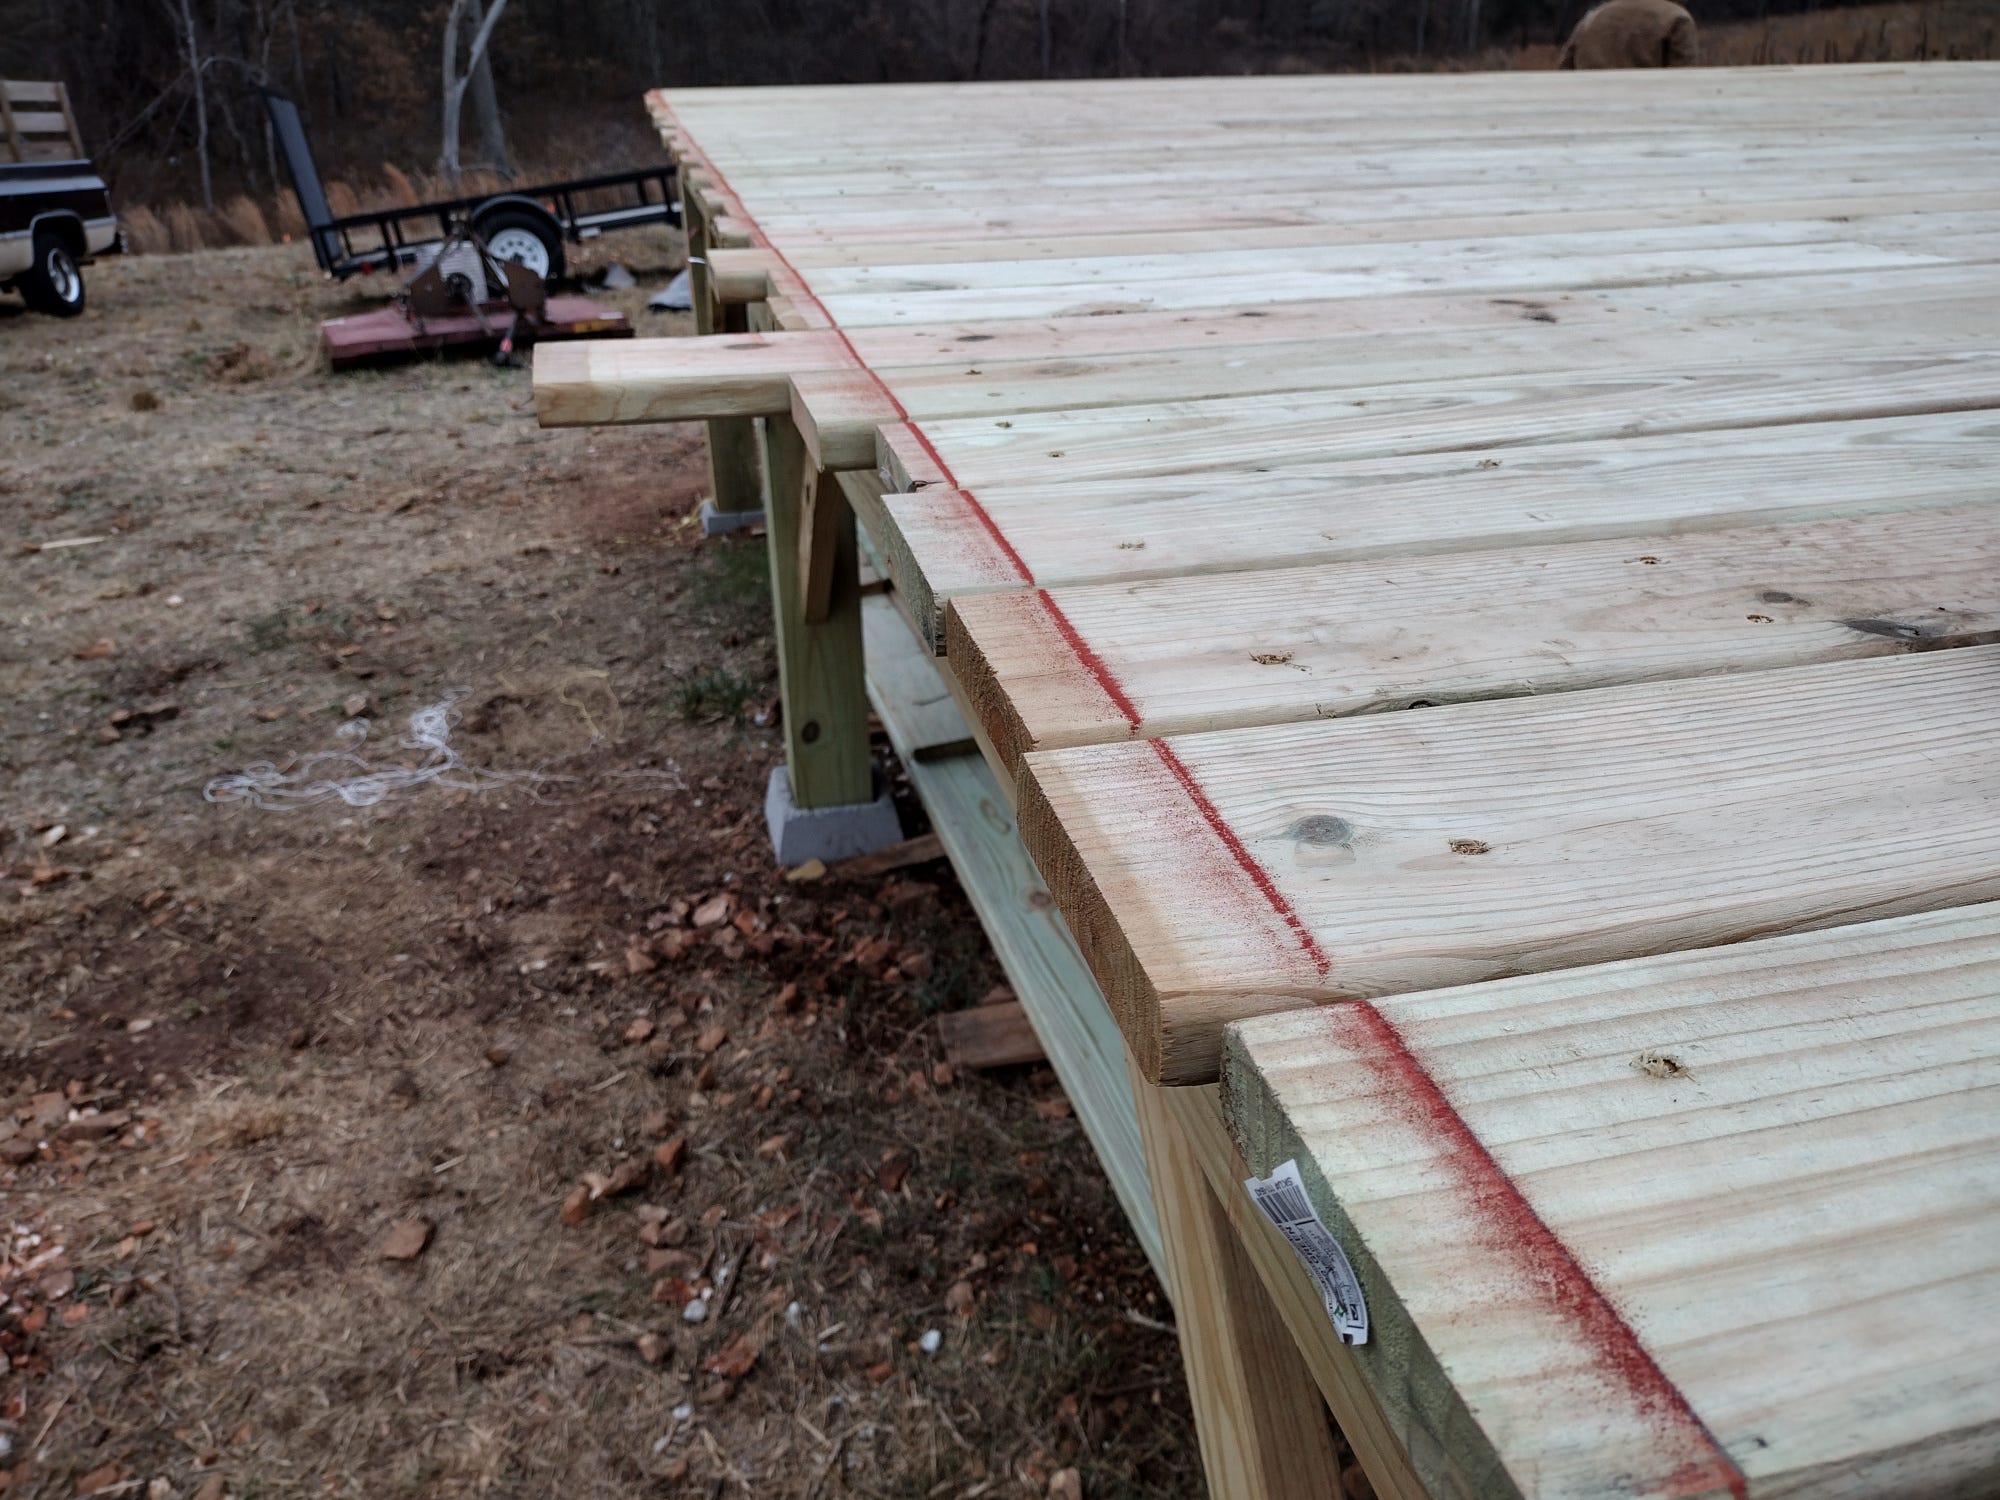
It took a lot of pushing and pulling to get the bowed boards on straight, but the deck looked great by the time we were done. We left the ends long on purpose. The last step was laying a chalk line across the ends and trimming them with the circular saw.
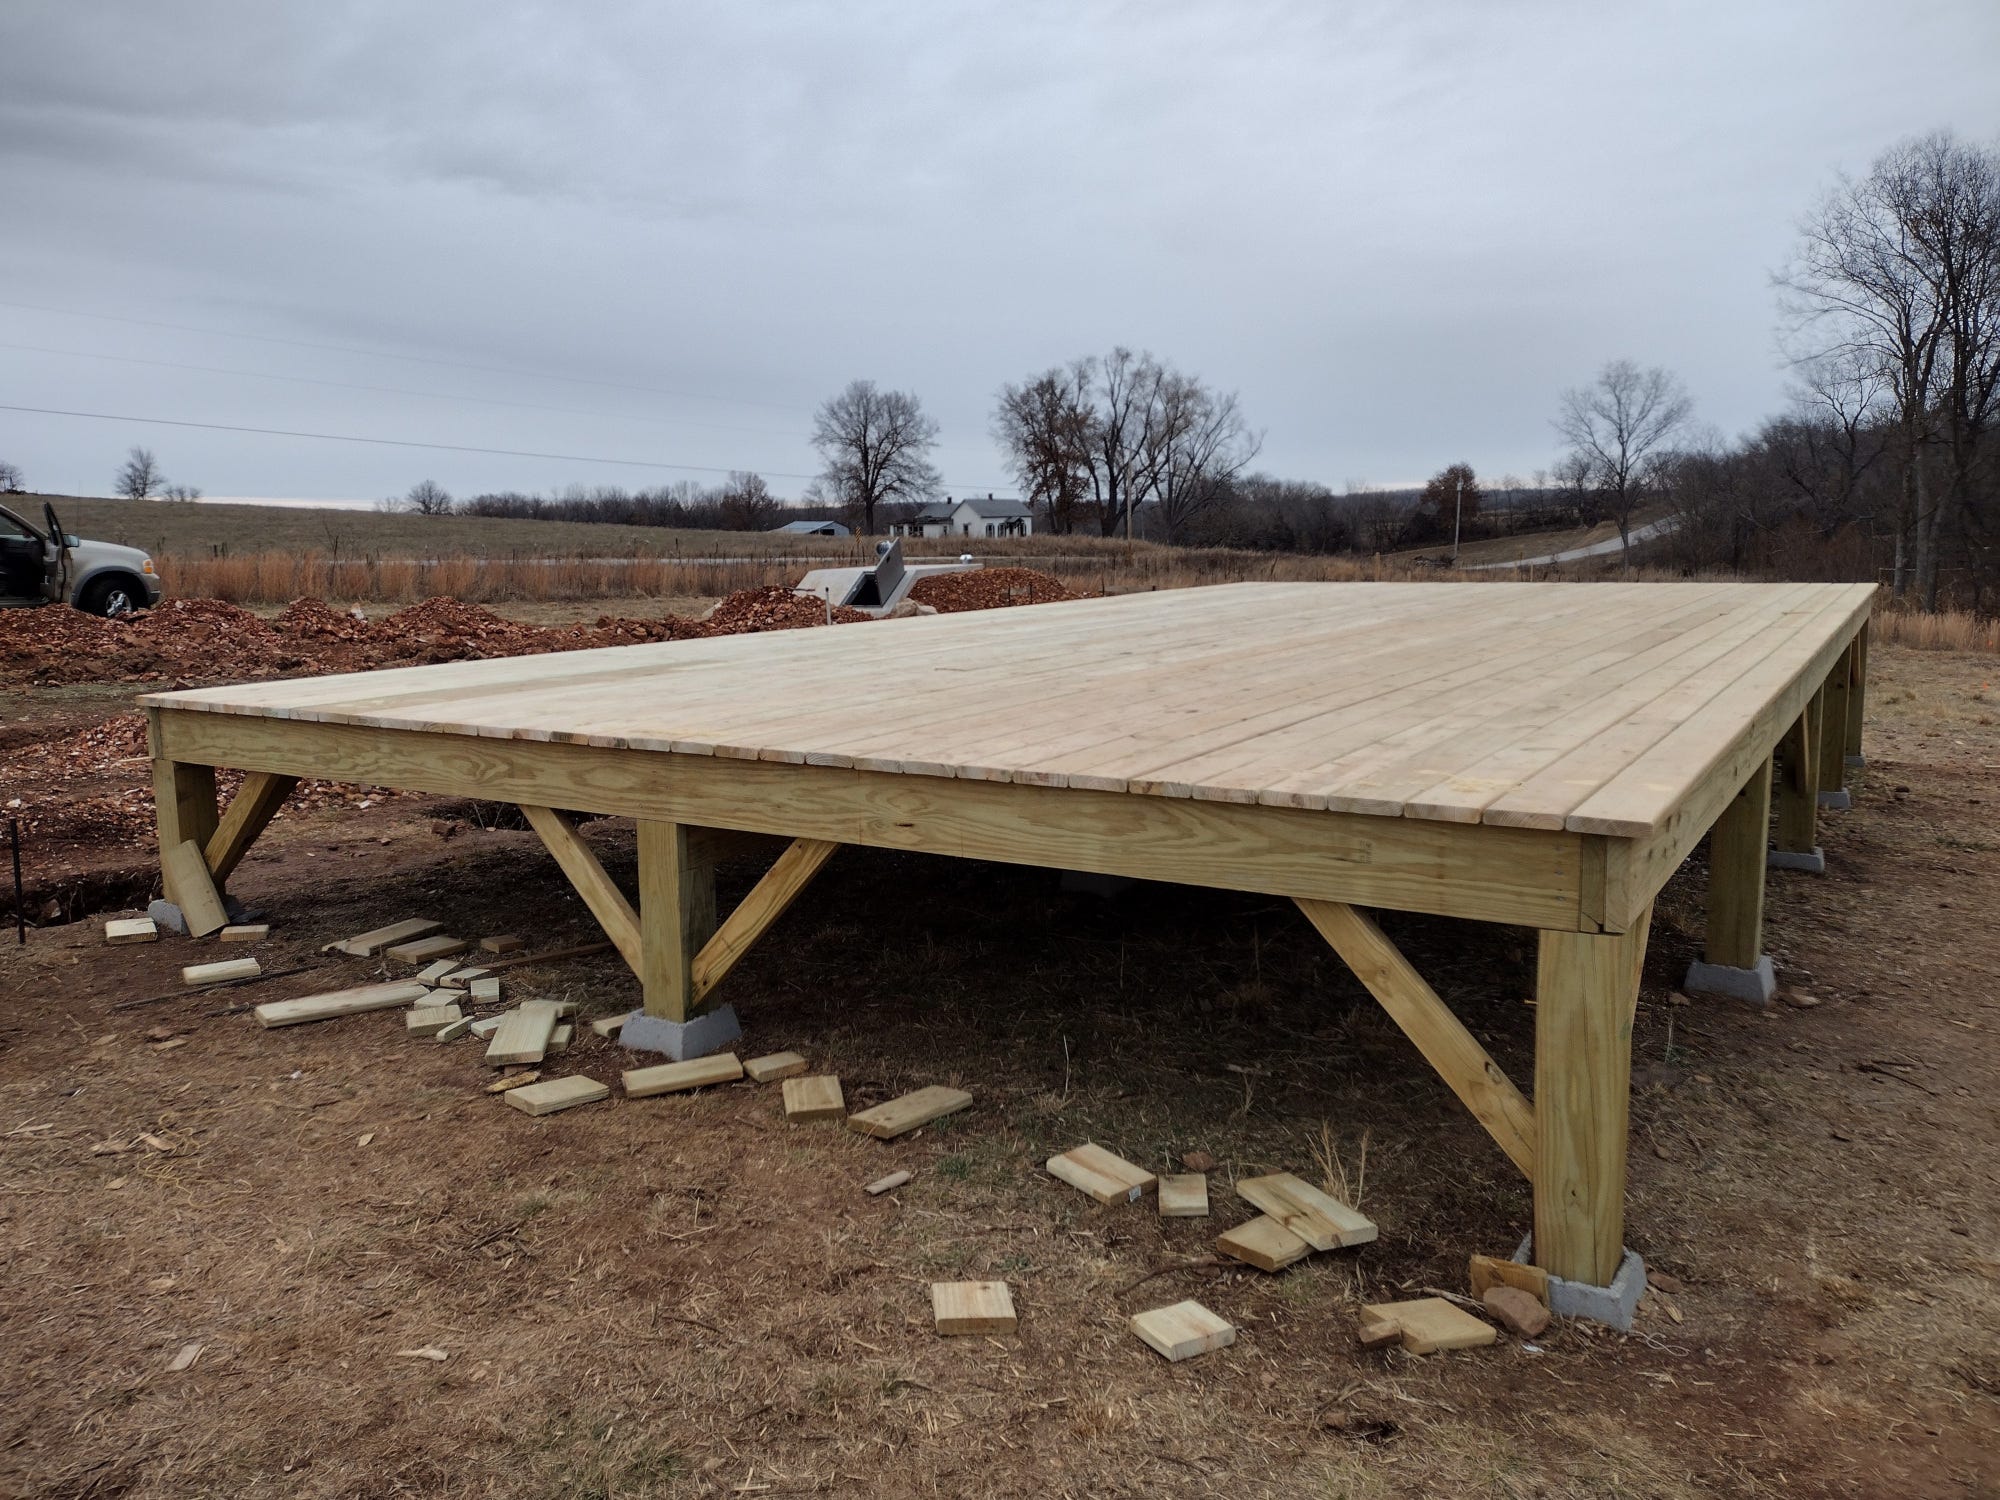
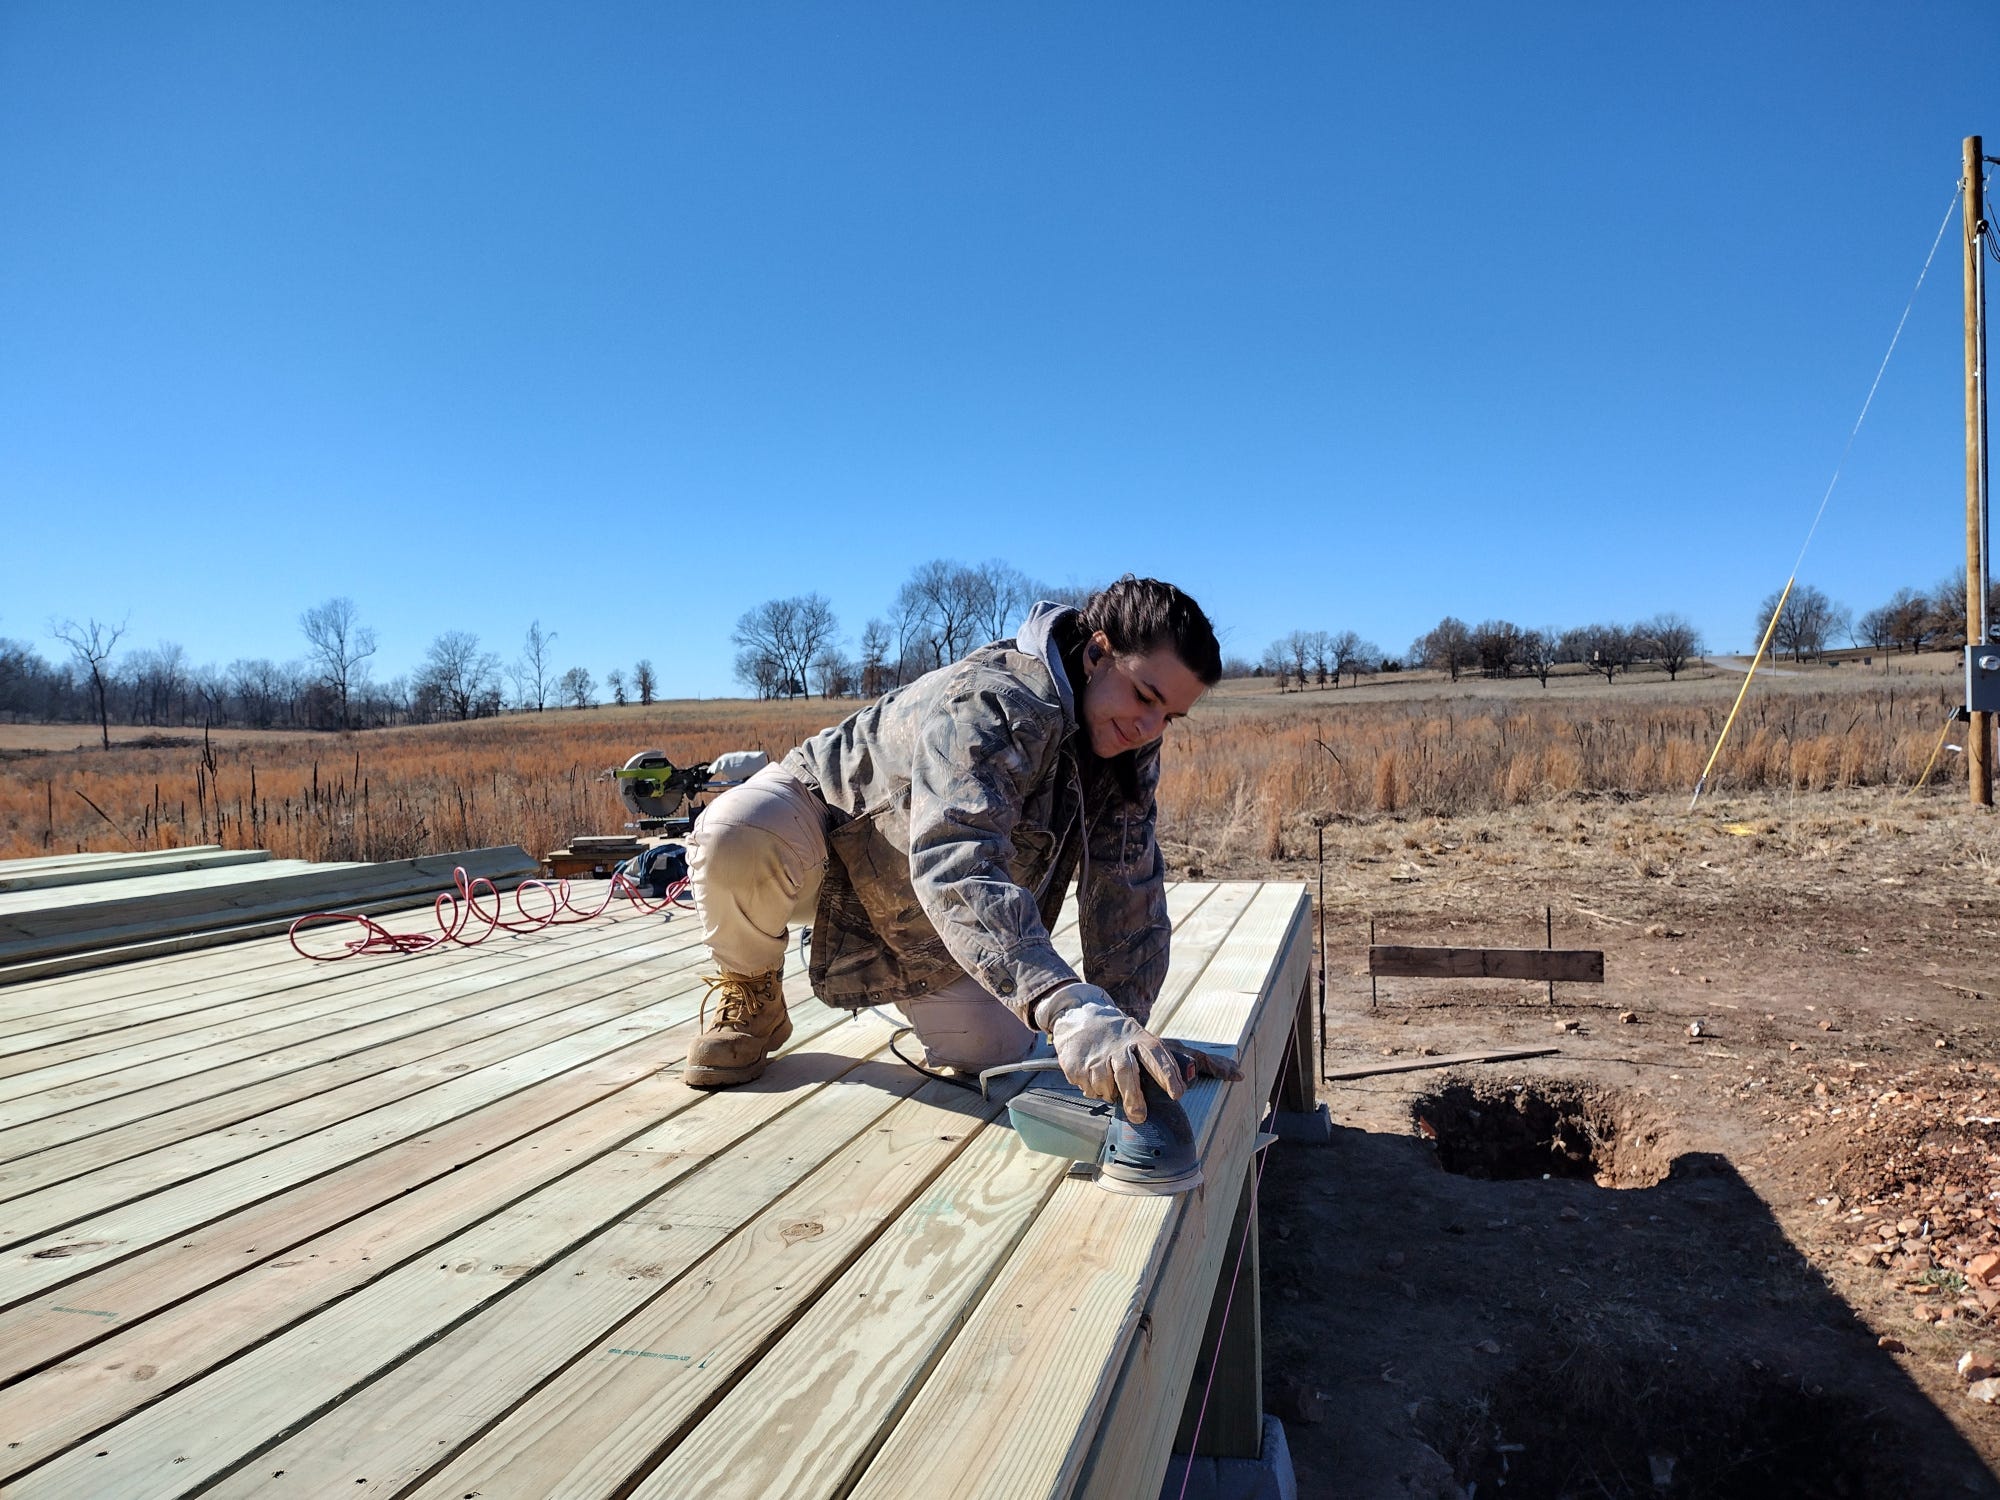
As a final step, Grace took our rotary sander to the deck, gently sanding the splinters that showed up around the screws.
While Grace was sanding, the rest worked on putting together a simple set of stairs. We cut our stringers from 2x12s, and we used decking for the treads. We may add some additional blocking later if it is needed.
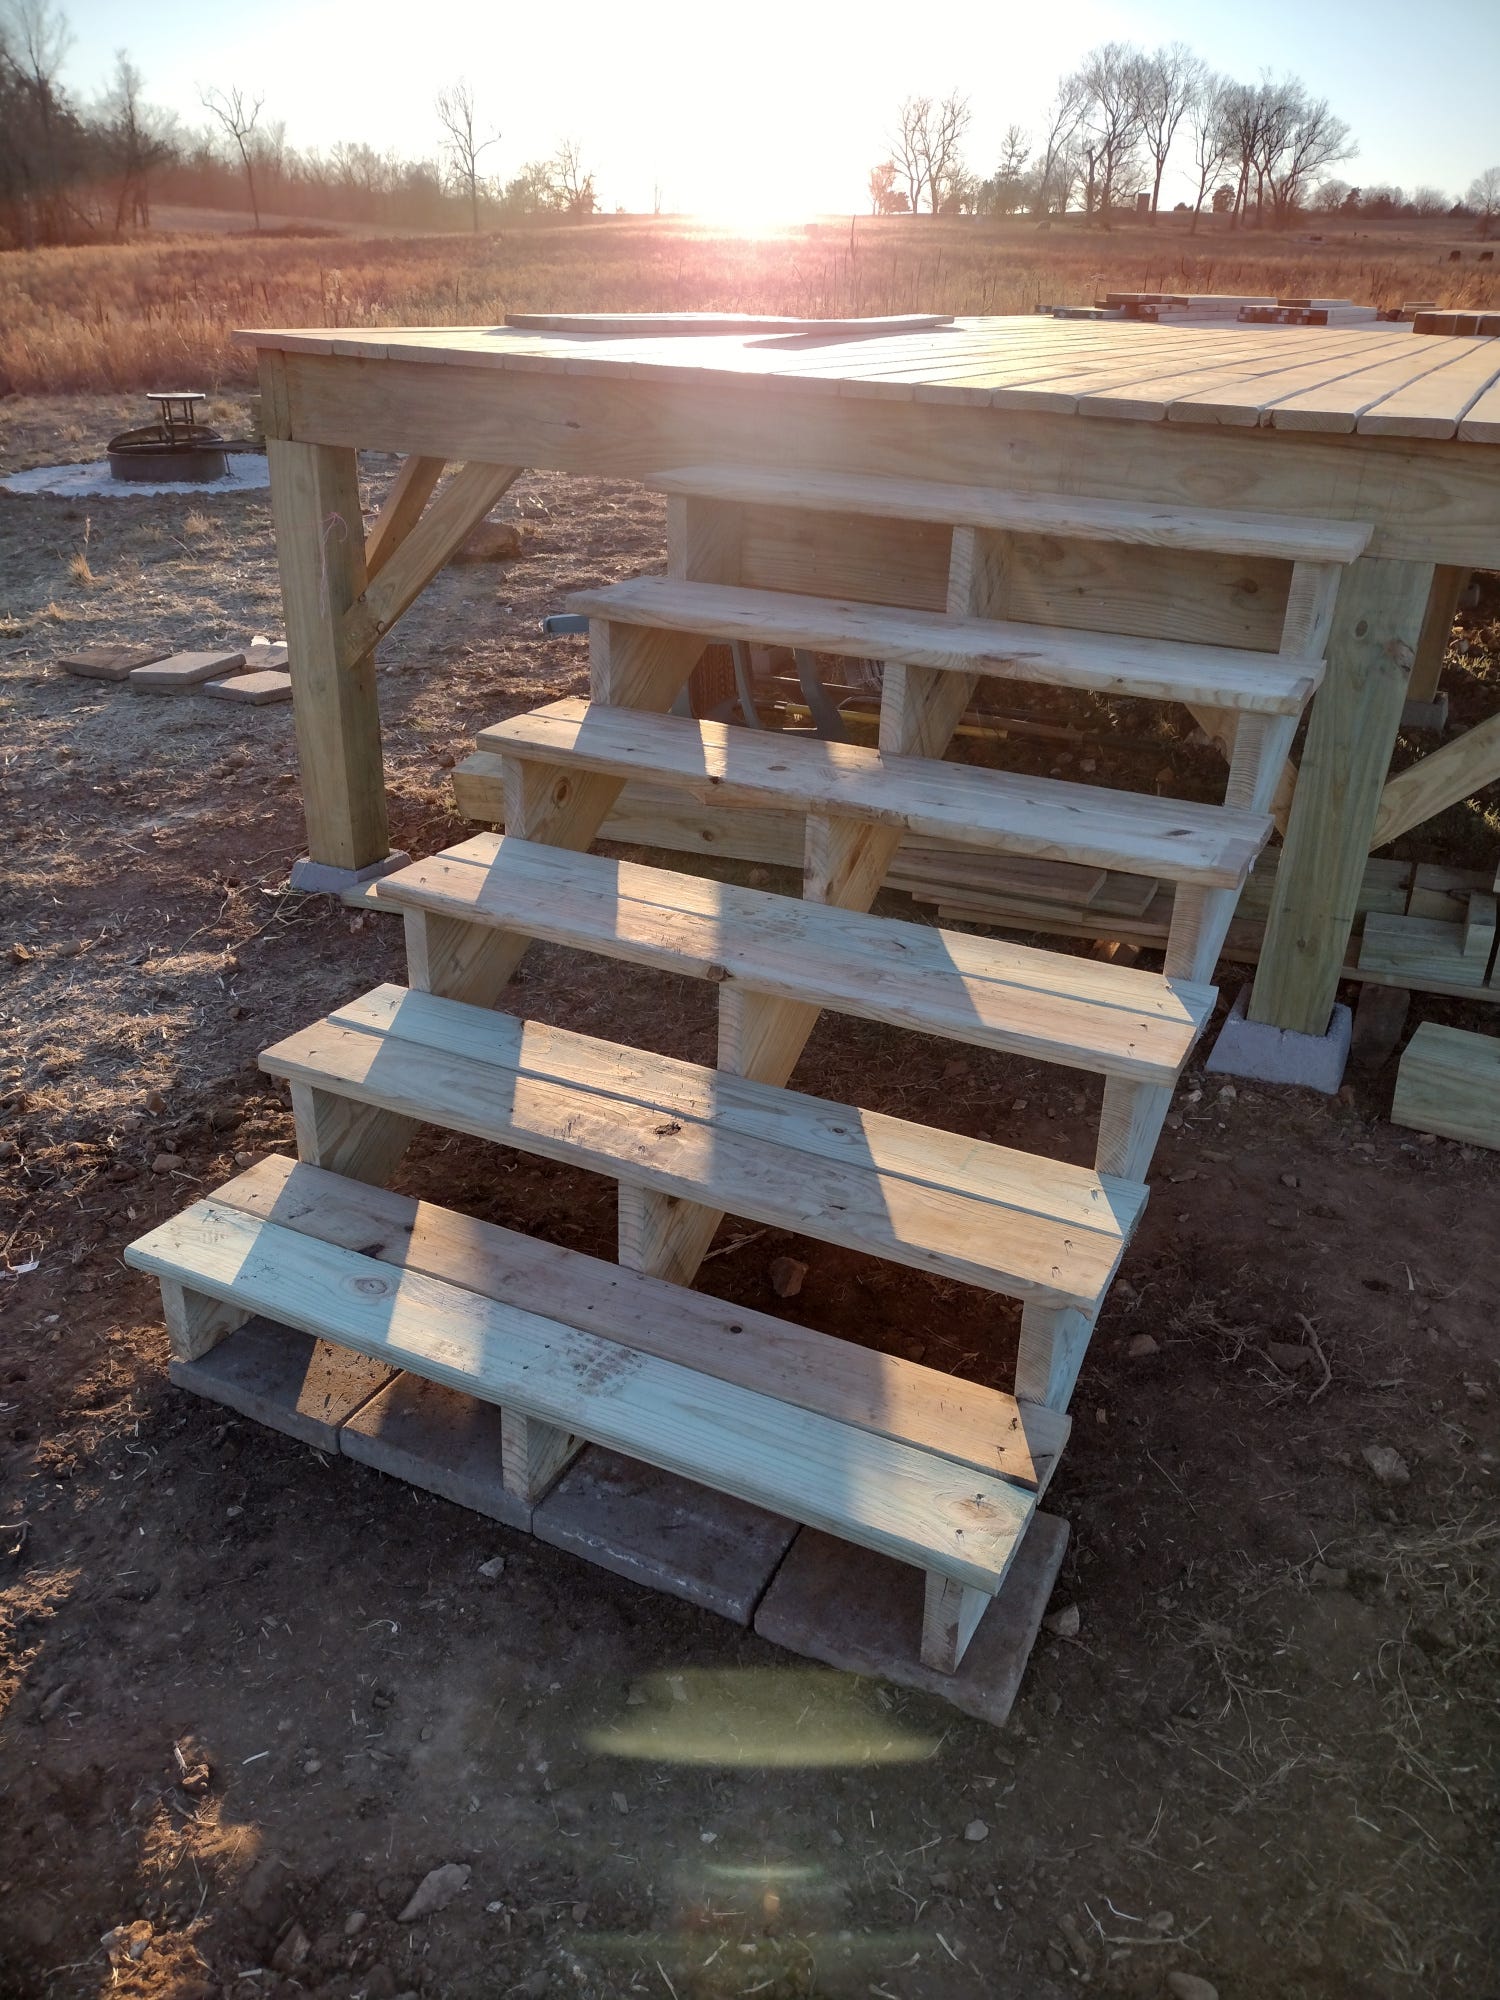
If those pavers look crooked, it's because they are. We moved them into place after this picture was taken.
All things considered, we are really pleased with our deck. If we could do it again, we would bury our posts for a solid foundation. We think the end result would have been more straight and plumb. Still, the deck will work for our purposes. We are so excited to be one step closer to having a finished wall tent! Next up -- building the frame!